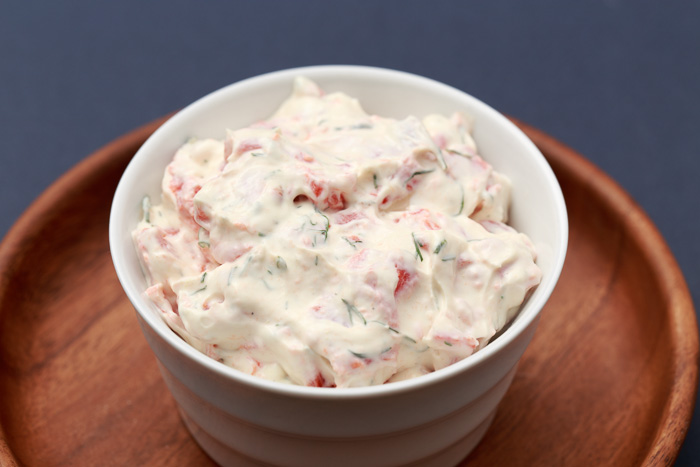
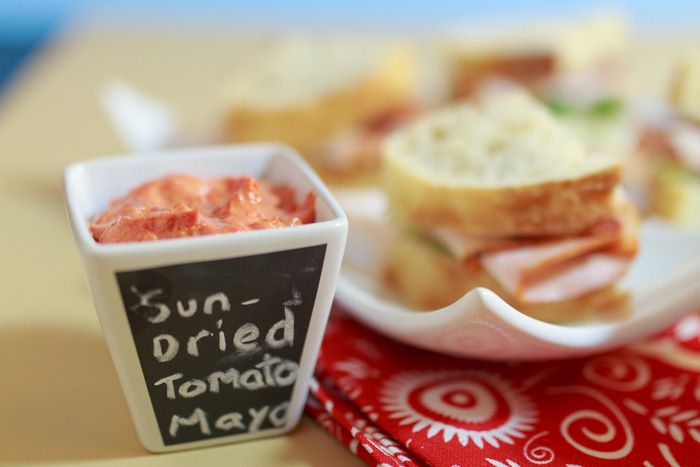
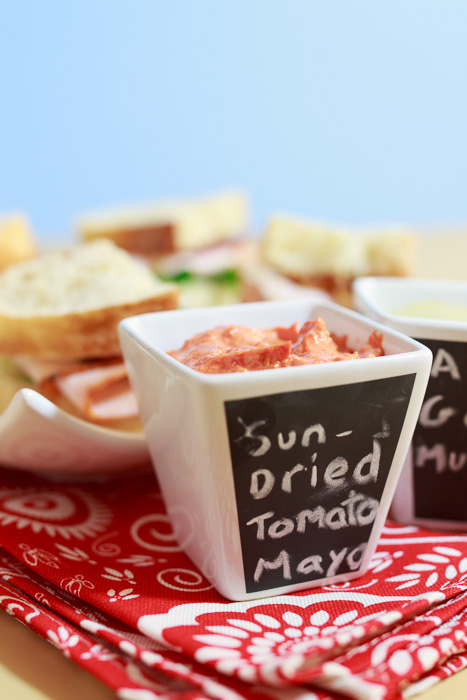
Sun-dried Tomato Mayonnaise
I’m unsure of what reactions I’m going to get about the following confession. I love mayonnaise. Love it with a capital L. I think it tastes fantastic on a wide variety of foods and, this is usually where people draw the line, I could eat it with a spoon. I’m hoping there’s at least a few fellow mayonnaise lovers out there!
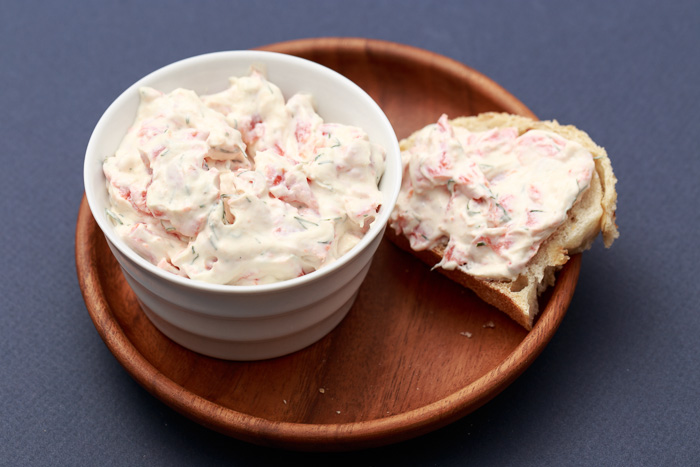
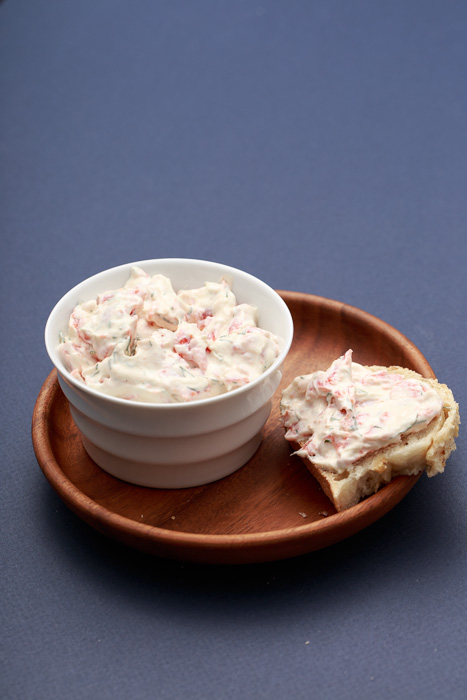
Well don’t worry, even if you aren’t as condiment obsessed as I am this sun-dried tomato mayonnaise is still sure to knock your socks off. It is so simple, but really brings something special to your sandwiches, paninis or other mayonnaise needs. I’m picturing this mixed in with some rotini pasta and crunchy veggies for a tasty twist on macaroni salad- yum!
One way I consume mayonnaise if I’m feeling naughty is dipping my french fries in it. This sun-dried tomato mayo would be especially good for fry dipping with the acidity and tomato flavor being reminiscent of ketchup. This delicious habit I got from my mom, who got it from living in the Netherlands for a few years. The Dutch are truly on to something.
When I was 12 my dad, brother, grandma and I went to the Netherlands and it was true, they dipped their fries in mayo. These were my people! Then I opened the mayonnaise packet and to my surprise it was pea green. Pea green mayonnaise? Twelve year-old me was concerned, but mayo-lover me decided to go for it. The verdict? Pea green mayo tasted just as delightful. So if you haven’t tried dipping your fries in mayonnaise before, make this sun-dried tomato mayo, eat some with your french fries and thank me later.
- ⅓ cup minced sun-dried tomatoes (not packed in oil)
- ½ cup mayonnaise
- 1 tablespoon lemon juice
- ¼ teaspoon minced garlic
- ¼ teaspoon sugar
- Pepper
- Soak the sun-dried tomatoes in ⅔ cup hot water until softened, about 5 minutes. Drain.
- Place the softened sun-dried tomatoes, mayonnaise, lemon juice, garlic and sugar in a food processor. Pulse until well blended. Season with freshly ground pepper to taste.
Recipe adapted from Taste of Home.