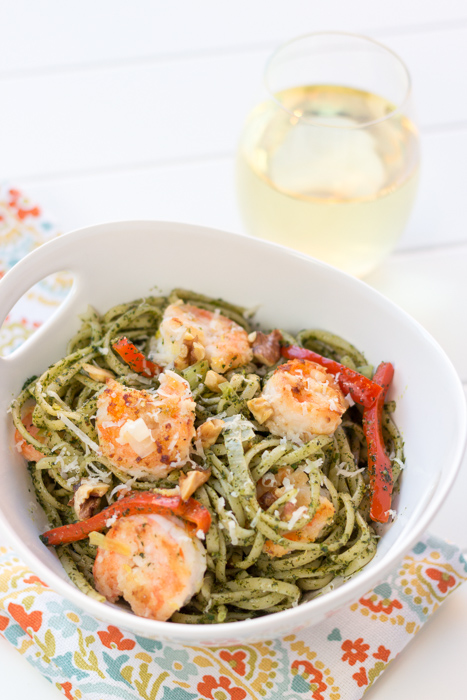
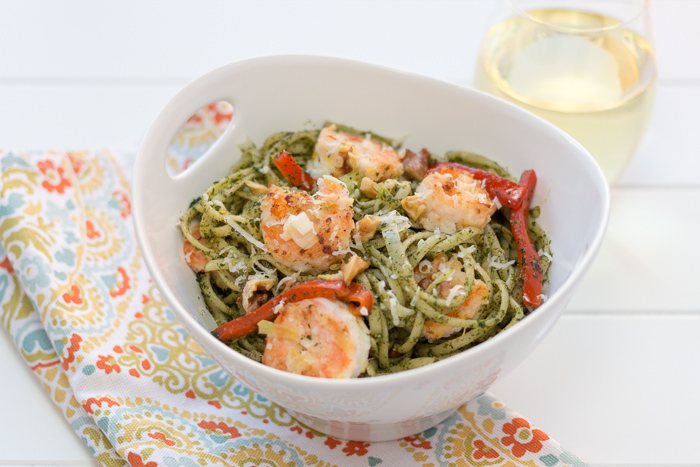
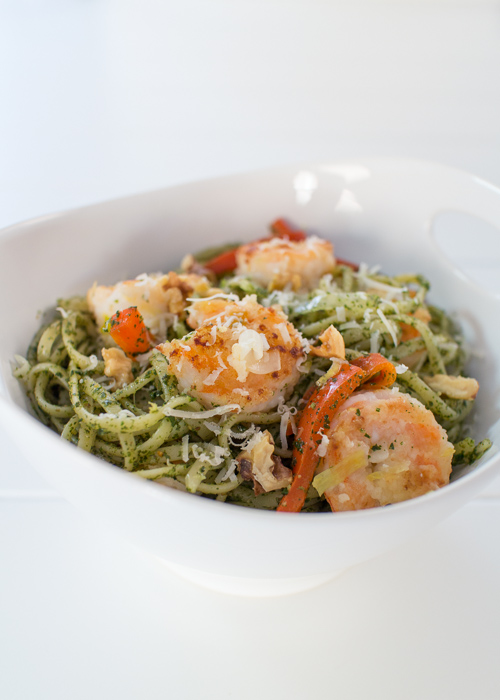
Kale and Walnut Pesto Pasta with Lemon Shrimp
I’m a little late to the kale trend, but I have recently started experimenting with it in the kitchen. Kale is a superfood and no that does not mean it has sonic vision or invisibility powers. A superfood is one that is light in calories, rich in nutrients and has additional health benefits. Kale’s extra health goodies include all kinds of fancy science words like phytochemicals and beta-carotene. But all you need to know is that it’s good for you.
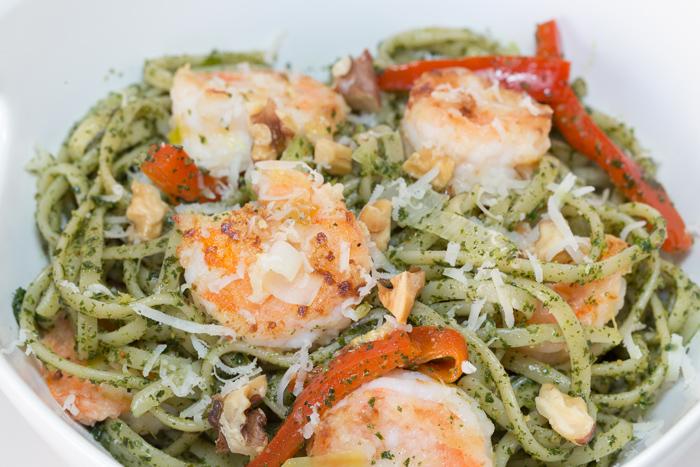
Don’t run away just yet! I promise I wouldn’t share something that wasn’t also sneak-back-for-seconds delicious. Through my adventures with kale I have discovered that it can also often be very bitter. Turning the kale into a pesto with walnuts, Parmesan, lemon and olive oil ensures that the kale is vibrant, savory and definitely not bitter. It might just be my new favorite pesto.
I love loading my meals with seasonal vegetables, which is why I added the leeks and red peppers. The kale may shine, but the lemon shrimp isn’t far behind. I love anything with a fresh lemon flavor and the shrimp in this recipe do not disappoint. They were so tasty I would certainly not promote skipping the shrimp in this dish, but if you needed it to be vegetarian you could omit the shrimp and add the lemon juice and zest to the vegetables instead.
- ¾ cup shelled walnuts
- 12 ounces kale
- 2 cloves garlic, minced
- ½ cup grated Parmesan
- 2 tablespoons lemon juice
- ⅔ cup olive oil
- Salt and pepper to taste
- 1 pound linguine
- 1 bunch leeks
- 1 red pepper, sliced
- 3 tablespoons olive oil
- 24 large shrimp, peeled and deveined
- 2 tablespoons flour
- Zest from 1 lemon
- 3 tablespoons lemon juice
- Salt and pepper to taste
- Preheat the oven to 350 degrees F. Evenly spread the walnuts in a single layer on a baking sheet. Bake until the walnuts are roasted, about 6 minutes. Set aside to cool. Once cool chop ¼ cup of the walnuts, leaving the rest whole, and set aside for garnish.
- Remove the hard stems from the kale then roughly chop. Steam for 4 minutes, or until tender.
- In a food processor or with an immersion blender pulse together the steamed kale, garlic, ½ cup of the roasted walnuts, Parmesan and 2 tablespoons lemon juice until a paste forms. While pulsing pour in ⅔ cup olive oil then season with salt and pepper.
- Cook the linguine until al dente then drain.
- Prepare the leeks. Trim off the dark green parts and discard. Trim off the root ends and discard. Cut the entire leek lengthwise then slice crosswise into pieces.
- Leeks harbor a lot of dirt so special care needs to be taken to remove all the grit. First rinse the sliced leeks thoroughly in a colander. Then fill a large bowl with cold water and add the rinsed leeks. Swirl and rub the leeks with your hands to dislodge any dirt. The dirt will sink to the bottom of the bowl so remove the leek pieces with a slotted spoon and set back in the rinsed colander to dry.
- Heat 2 tablespoons of olive oil over medium-high heat in a large sauté pan. Add the sliced red peppers and prepared leeks. Cook for 5 minutes, or until tender. Season with salt and pepper. Once cooked remove from the pan and set aside.
- Heat 1 tablespoon of olive oil over medium-high heat in the same sauté pan. Toss the shrimp with the flour then sauté in the pan for 5 minutes, or until firm and pink making sure to turn while cooking. Stir in the zest and 3 tablespoons lemon juice then season with salt and pepper. Add the sautéed leeks and red peppers then remove from the heat.
- Toss the pasta with 1 cup pesto, shrimp and vegetables. Garnish with the chopped walnuts and extra grated Parmesan, if desired.
Recipe adapted from November/December 2013 issue of Cuisine at Home.