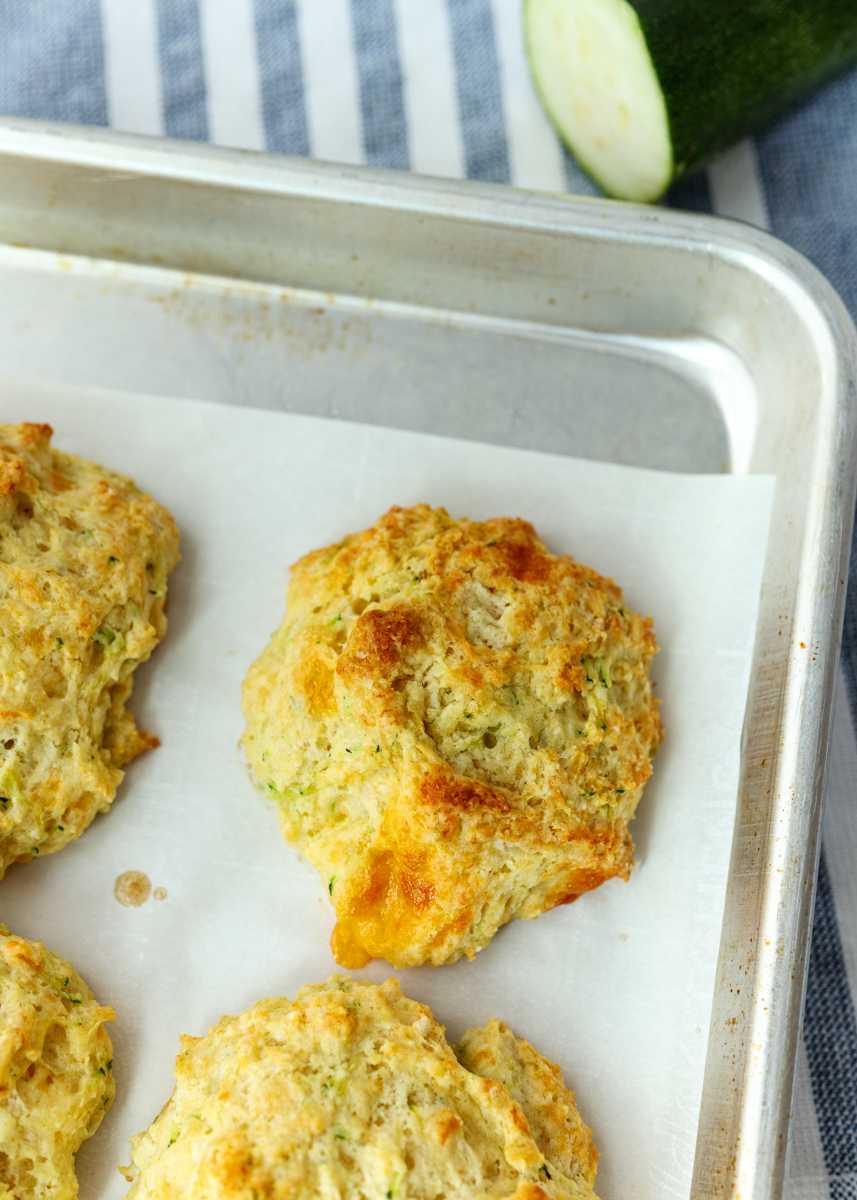
Three Cheese Zucchini Biscuits
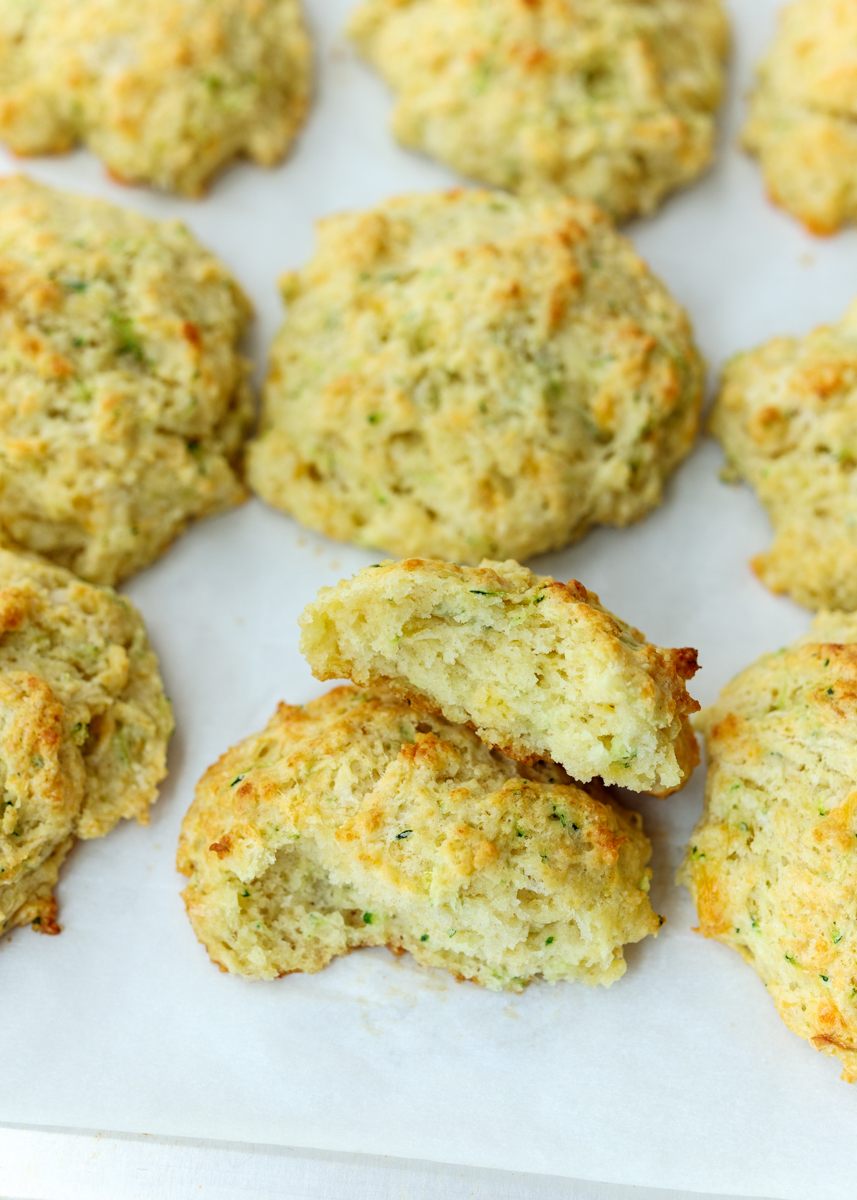
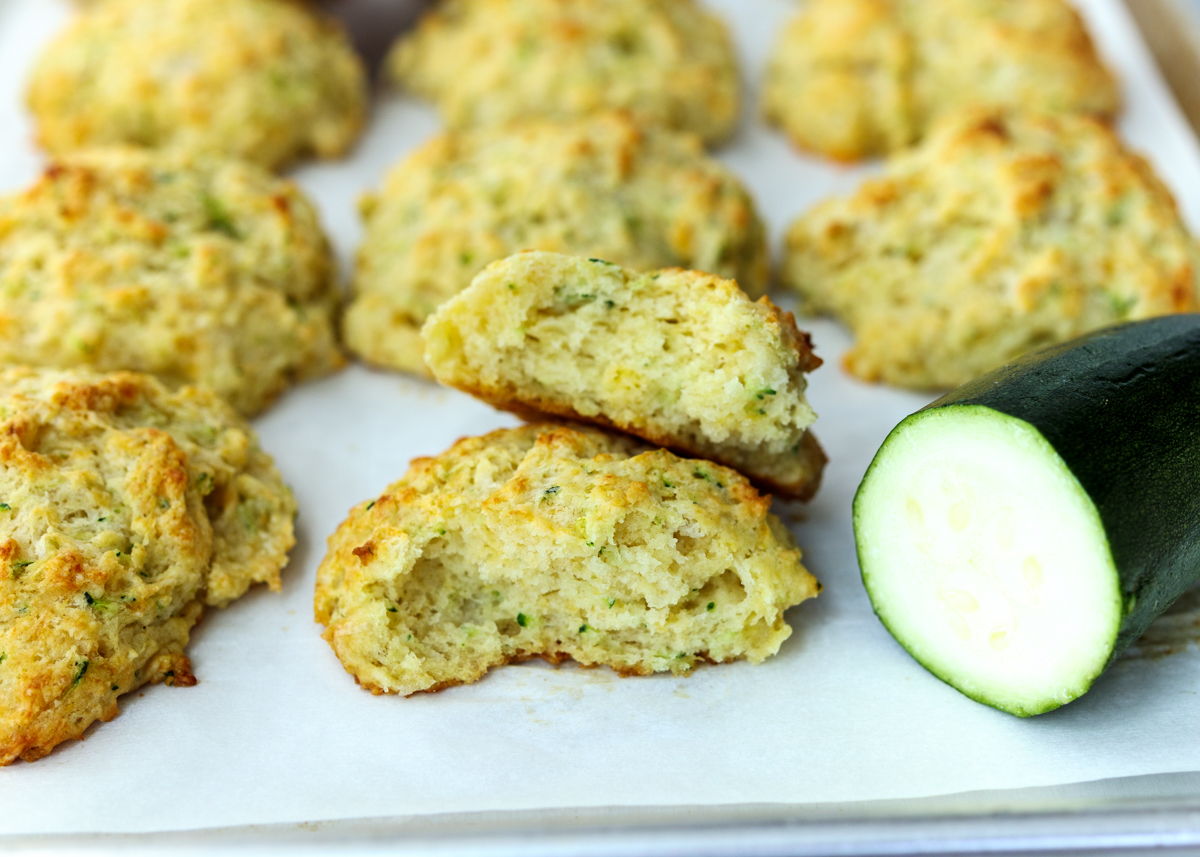
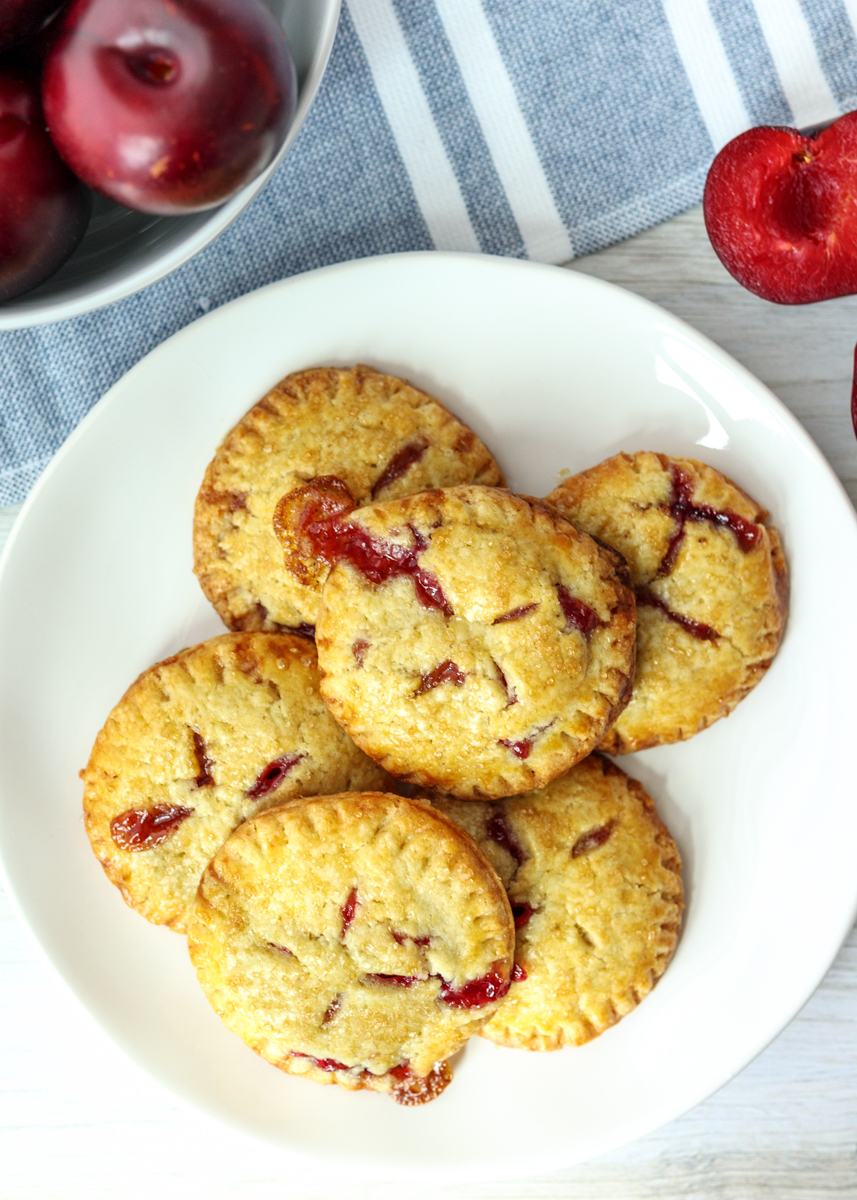
Sometimes I see a recipe and I need to scrap all my existing food plans and make the new recipe immediately. That is exactly what happened with these Three Cheese Zucchini Biscuits and I’m so happy I did. The biscuits are buttery, tender and savory from the cheddar, asiago and Parmesan cheeses. Just like the Double Chocolate Zucchini Bread, you don’t taste the zucchini in these biscuits, they just add some moisture. Also how good do all the little flecks of green make them look?
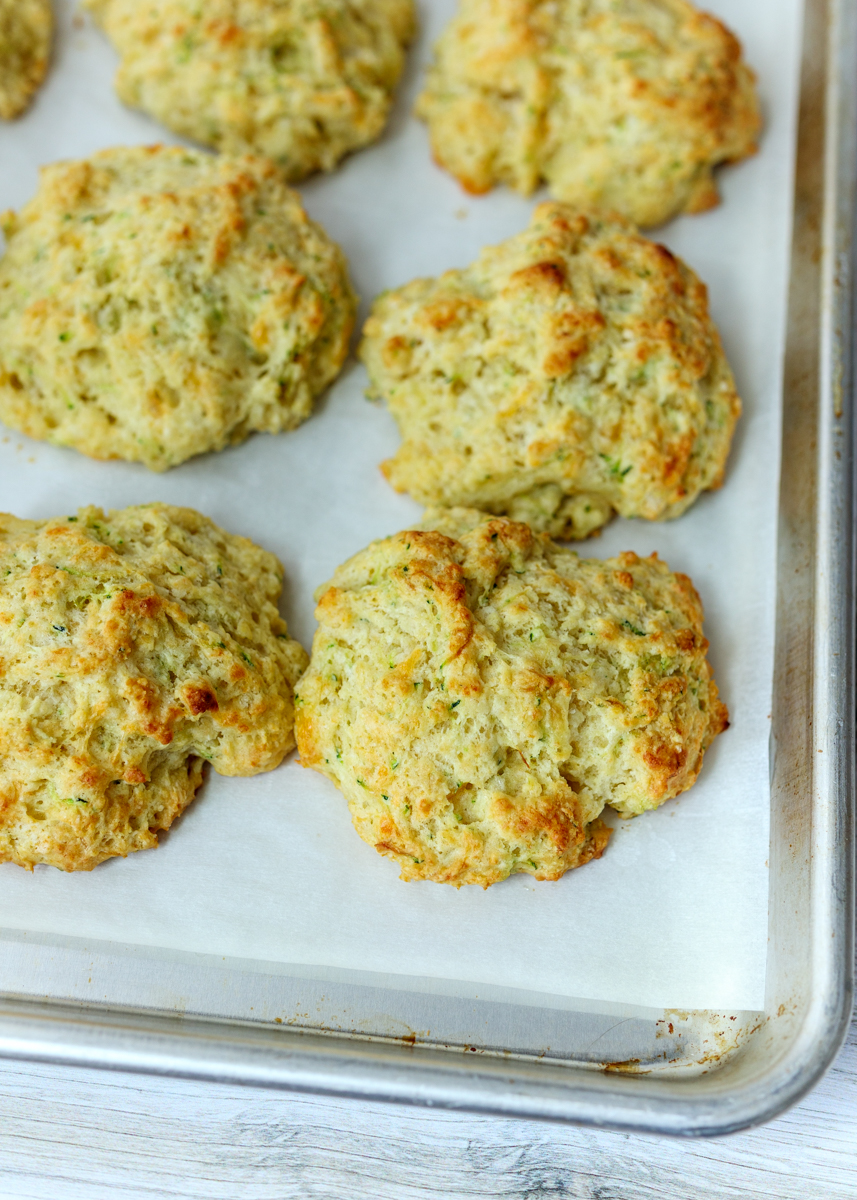
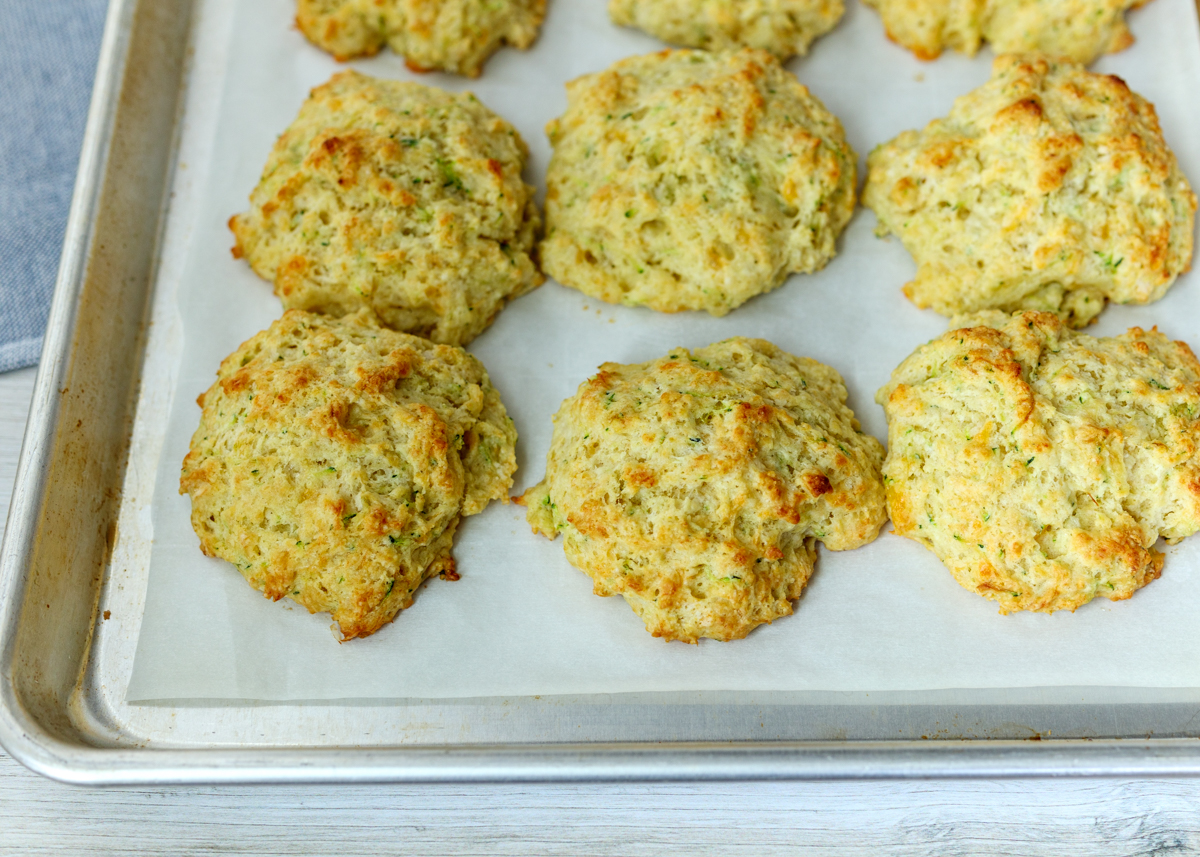
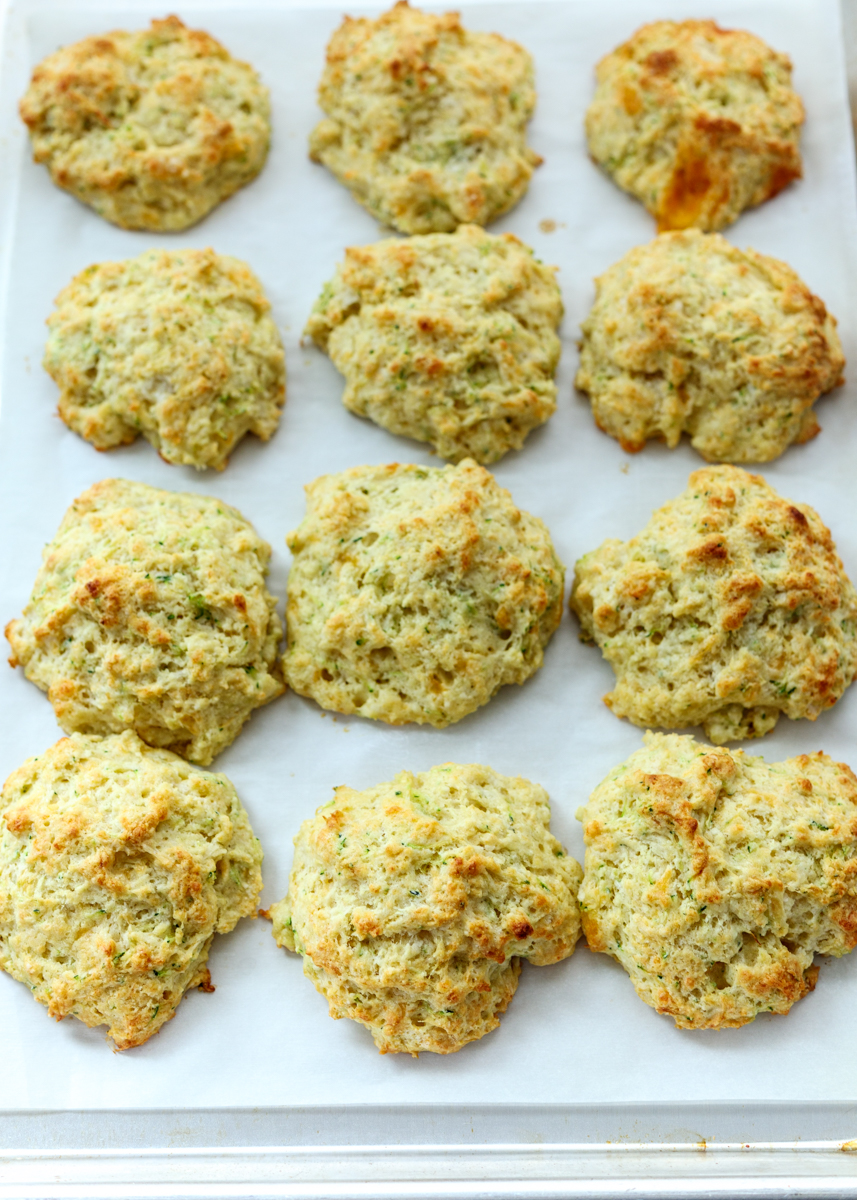
These are drop biscuits, which means you just drop the biscuit dough on your baking pan – no rolling out or cutting involved. Drop biscuits have a rustic and rocky looking exterior providing plenty of crispy nooks and crannies on the outside. I love making drop biscuits because you can make them so quickly, but they taste like such a special treat. The batter gets mixed together in one bowl and then they only have to bake in the oven for about twelve minutes after being dropped onto your baking sheet.
In fact, they’re easy enough for weeknights, but since they are so flaky and delicious, aka addictive, the last thing Matt and I need are daily biscuits! So we savored them while we had them. And by savor them I mean we snarfed them down in like three days tops. They of course taste so good when they’re hot and cheesy right out of the oven, but they also taste good at room temperature or – even better – reheated in the toaster oven.
I initially stumbled on this recipe because I was looking for recipes that would use up my zucchini that I thought I was going to have this summer. Thought is the key word because as usual I overloaded our vegetable planter and we haven’t even been able to pick a single zucchini yet. I’m already determined that next summer I’m going to figure out the perfect ratio of things to plant in the planter! We might just need a second larger ground planter for the veggies and keep our raised planter for herbs and maybe one cherry tomato plant. Oh well, I’m glad I found this recipe, even if I couldn’t use our homegrown zucchinis for it, because it is now on our must-make-at-least-once-a-summer rotation!
Oh, also, today is National Zucchini Day! So now you definitely need to make these biscuits tonight! Enjoy!
- 2¼ cups flour
- 2½ teaspoons baking powder
- 2 teaspoons granulated sugar
- ¾ teaspoon baking soda
- ¾ teaspoon salt
- 6 tablespoons cold butter, cubed
- ½ cup shredded cheddar
- ¼ cup shredded asiago
- ¼ cup shredded Parmesan
- ¾ cup grated zucchini (about ½ large zucchini), excess water removed (see note)
- 1 cup buttermilk (see note)
- 1 tablespoon butter, melted, for brushing
- Preheat oven to 450 degrees F. Line a baking sheet with parchment paper and set aside.
- In a large bowl, sift together the flour, baking powder, sugar, baking soda and salt. Add the cubed butter then use your hands to mix until you have what resembles coarse crumbs.
- Stir in the cheddar, asiago and Parmesan. Stir in the grated zucchini. Add the buttermilk and stir until just combined. Drop small handfuls of dough on the parchment sheet so you have 12 biscuits. It’s okay if they are close together because the biscuits don’t spread a lot during baking. Brush the tops with the melted butter then bake until slightly golden brown, about 10-12 minutes. Remove to a wire cooling rack so the bottoms remain crispy then eat warm or let cool.
If you don’t have buttermilk just put a tablespoon of lemon juice or vinegar in a liquid measuring cup then fill with milk until you reach 1 cup. You can use milk with any fat percentage, even skim, which is what I used. Then let sit for 5 minutes before using in the recipe.
Recipe from Two Peas and Their Pod.


 What flavors of ice cream should I use?
 What size pan should I use?