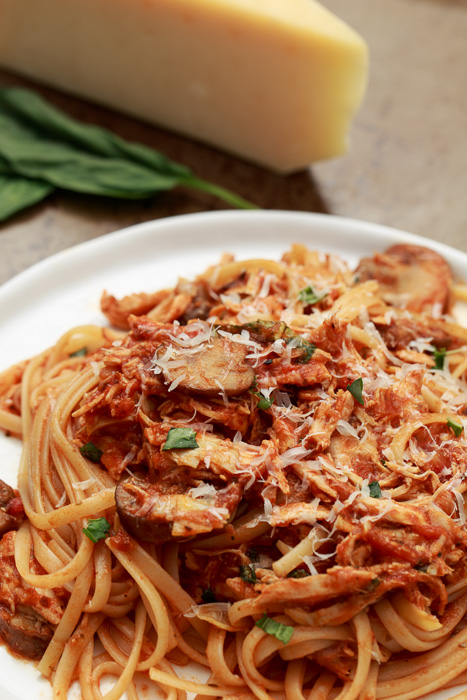
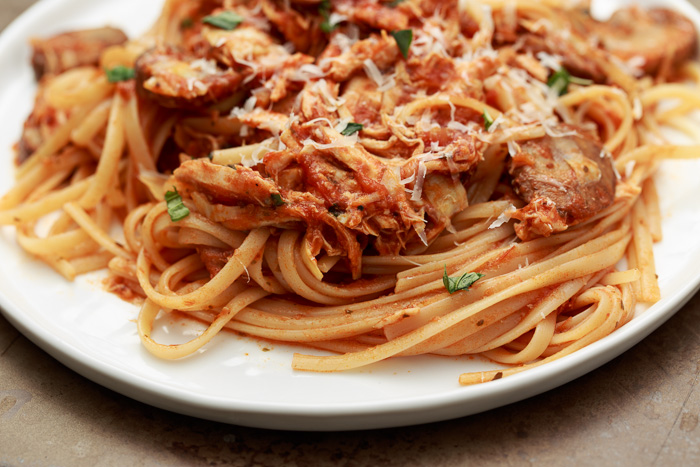
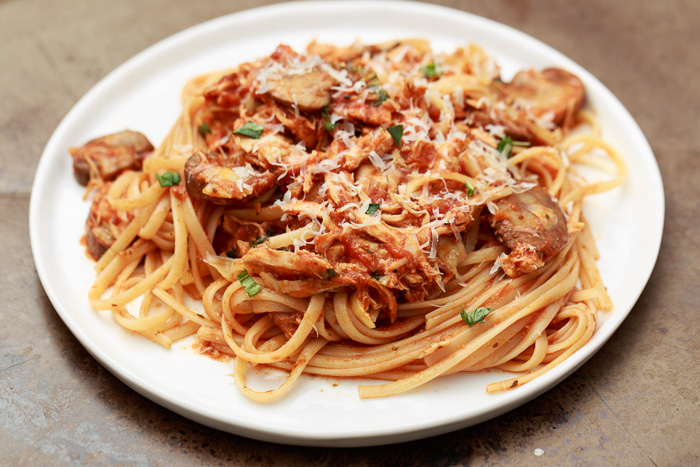
Chicken Cacciatore with Mushrooms and Artichokes
I am shocked and I hope you are utterly disappointed in me. This is only the third pasta recipe that has been posted on Lemon & Mocha. The nerve of me! Pasta is one of my all-time favorite foods. I certainly can’t pick a single favorite because that would be like choosing between children or classic Nickelodeon shows, but pasta is way high up there on the list. So it is only fitting that this post featuring Lemon & Mocha’s second ever pasta recipe is also commemorating another special day: Mother’s Day.
Mother’s Day is this Sunday and I wanted to do something special. I am a firm believer in thinking positive, looking for the good in the bad and trusting life’s course. So I can only say that I am both lucky and blessed to have, and have had, three amazing mothers in my life.
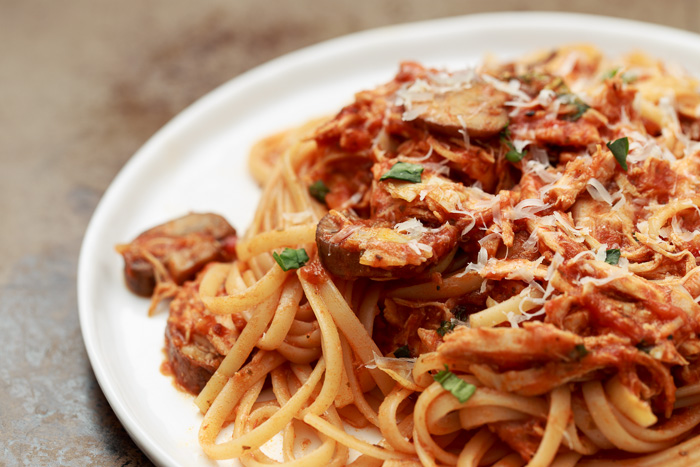
Today I am posting this savory linguine with chicken, mushrooms and artichokes dish to celebrate my wonderful stepmom. As you learned back on her birthday, many of my favorite foods and ingredients are the result of my stepmom and her determination to have me eat something other than macaroni and fish sticks for the rest of my life.
This dish is my interpretation of one she used to make to get us to try new things. I know you probably think I’m being ridiculous, but my dad, brother and I were not initially familiar with shredded chicken in pasta and mushrooms on our plate. The original dish had olives, but I substituted artichokes, another food my stepmom opened my eyes to. I am so thankful to have such a great supporter, caring person and friend in my life. Sometimes the best mothers in your life are the ones that don’t go by “mom”, but love you just the same.

- 1 pound split skinless chicken breasts, bone-in
- 2 tablespoons olive oil
- 2 garlic cloves, minced
- 1 shallot, minced
- 12 ounces sliced cremini mushrooms
- 1 26-ounce jar of tomato sauce
- 1 tablespoon sugar
- ½ cup artichoke hearts, chopped
- 3 tablespoons chopped fresh basil leaves, about 4 leaves
- ⅓ cup freshly grated Parmesan, plus more for serving
- ½ pound cooked linguine
- Season both sides of the chicken with salt and pepper. Heat 1 tablespoon of the olive oil in a large stockpot over medium-high heat. Add the chicken and brown it, about 5 minutes per side. Remove the chicken from the pot and set aside.
- Reduce the heat to medium on the stockpot and add the remaining olive oil. Add the garlic and shallots and sauté for 3 minutes. Add the mushrooms and sauté until browned, about 6 minutes, stirring occasionally. Push the mushrooms to the side so that there’s room on the bottom of the stockpot and return the chicken to the pot.
- Add the tomato sauce and sugar. Lightly stir then bring the pot to a boil before covering and reducing to a simmer on medium-low heat. Simmer for 30 minutes or until the chicken reaches an internal temperature of 165 degrees F.
- Keeping the sauce warm, remove the chicken, shred off the bone with 2 forks, then return to the sauce. Add the artichokes, basil and Parmesan to the sauce. Add the linguine and stir to coat. Serve topped with fresh Parmesan, if desired.