Poultry

Freezer Burritos: Chicken Verde, Mushroom, Kale and Brown Rice Burritos
Freezer Burritos: Chicken Verde, Mushroom, Kale and Brown Rice Burritos  |  Lemon & Mocha

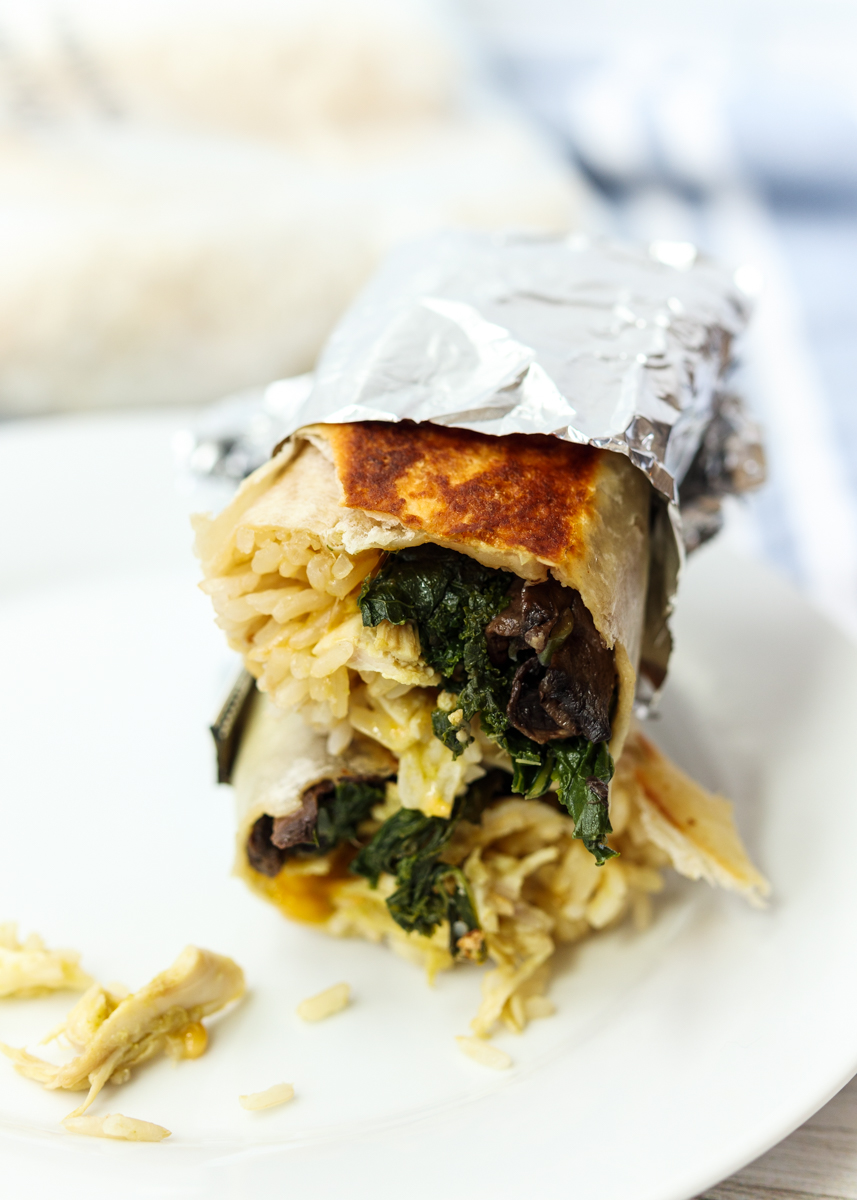
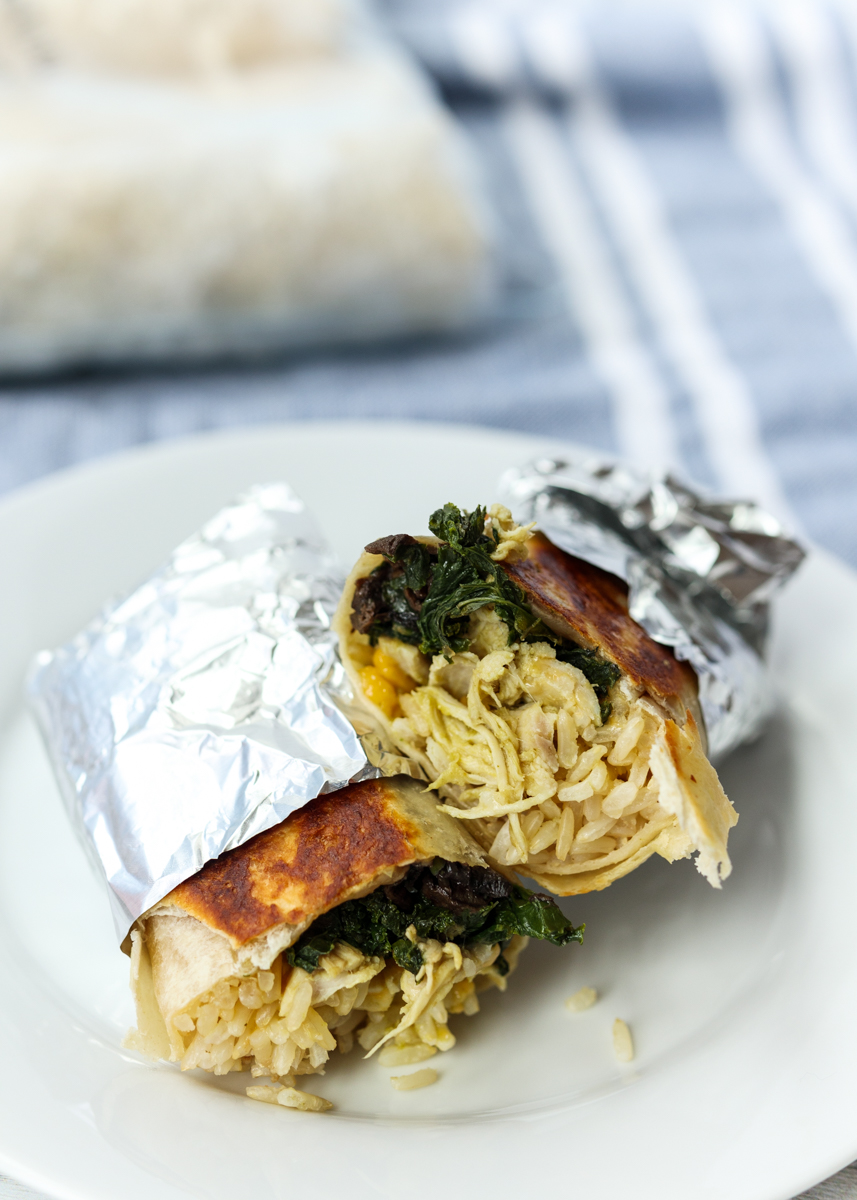
Sometimes you need a quick meal you can grab straight from the freezer and heat up. So today I’m going to walk you through my favorite new freezer meal: freezer burritos. The recipe today is for these Chicken Verde, Mushroom, Kale and Brown Rice Burritos, which are packed with flavor and plenty of good-for-you foods.
Freezer Burritos: Chicken Verde, Mushroom, Kale and Brown Rice Burritos  |  Lemon & Mocha

Not feeling that combination? That’s okay because we’re going to talk about all different tips you can use to make your own personal favorite freezer burritos. You can certainly buy freezer burritos from the store, but they’re typically loaded with sodium, might not have the exact ingredients you prefer and aren’t exactly cost effective.
Freezer Burritos: Chicken Verde, Mushroom, Kale and Brown Rice Burritos  |  Lemon & Mocha

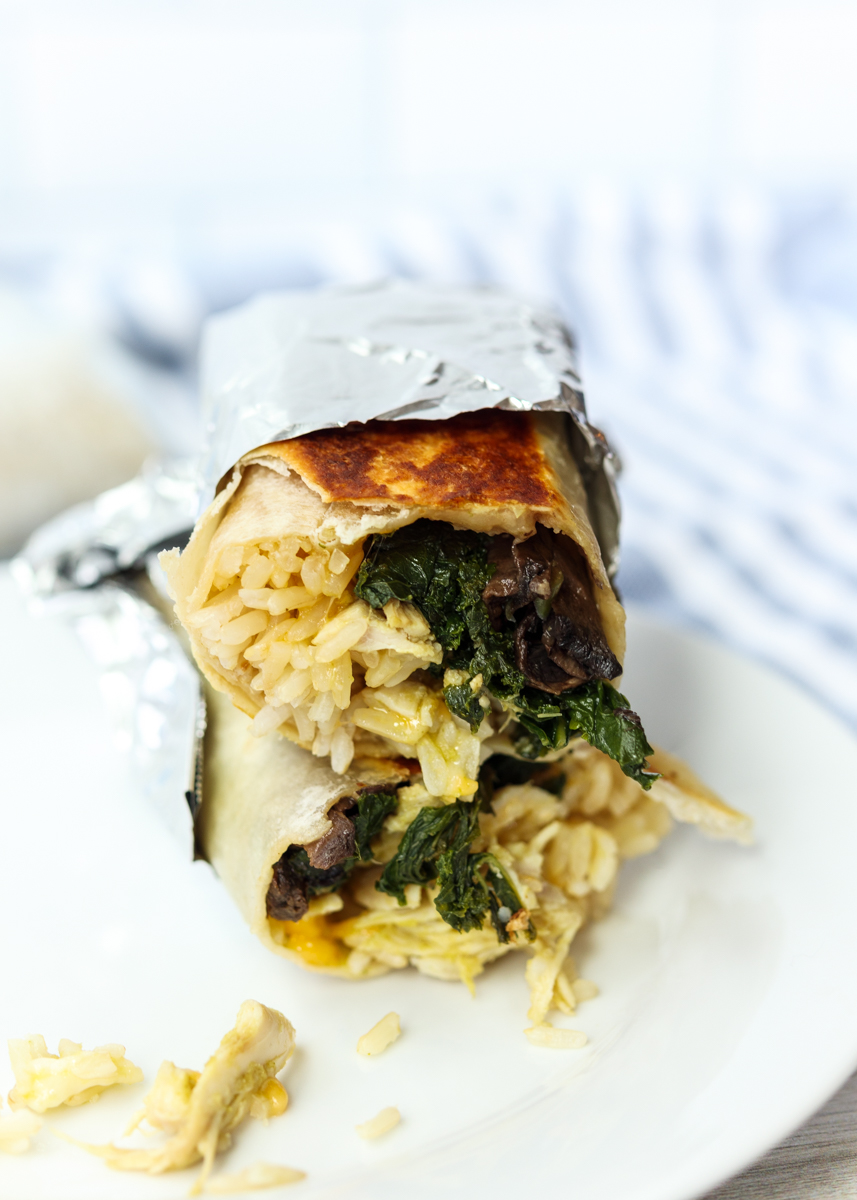
When I decided to try making my own I was skeptical that the version out of the freezer would taste just as good – and that the texture would be just as good – as a freshly made burrito. Much to my delight I discovered with a few simple tricks these homemade freezer burritos would become a mind-blowing game changer! How so? Because you can pop one out of the freezer, microwave it for three minutes and have a fresh, delicious and healthy (depending on what you put in them!) meal any day of the week. If you want to go one extra step further you can even sear it in a skillet for one to two minutes per side after microwaving to add that extra crispy factor. So let’s get into it.
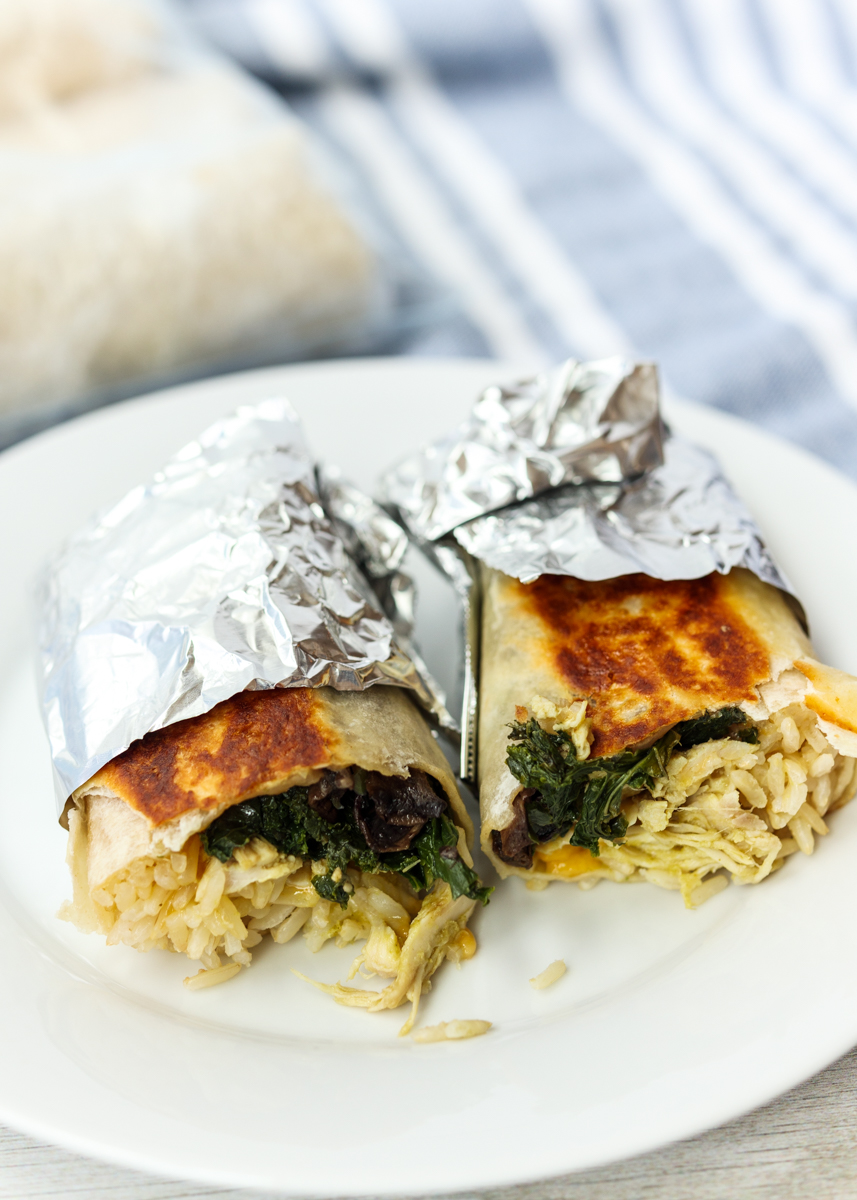
Freezer Burritos: Chicken Verde, Mushroom, Kale and Brown Rice Burritos  |  Lemon & Mocha

Keep Moisture Out of Your Burritos

The key to having a freezer burrito taste like you got it fresh from your neighborhood Mexican joint and not be a soggy mess is to keep away the wet ingredients.

  • You can still have salsa. This doesn’t mean no salsa. Just toss your protein or other ingredients in the salsa before adding to your burrito so that they are coated, but not dripping. This way you get the flavor the salsa provides without the moisture.
  • Drain well. If you’re using beans make sure they are well drained before adding to the burritos.
  • Sauté those veggies. Sautéing the vegetables before adding them to the burritos is a great way to add flavor while also reducing the moisture. Sautéing vegetables like mushrooms, peppers, onions and greens helps get the excess moisture out of them.
  • Room temperature everything. Make sure all your ingredients are room temperature before starting to assemble the burritos. Warm fillings lead to steamy insides, which cause future soggy burritos. This also goes for your tortillas since cold tortillas are stiff and tend to break. You’ll want to use fresh (aka not the ones that have been sitting in your fridge for weeks) room temperature tortillas.
  • Be smart about your fillings. If it doesn’t belong in the microwave then it doesn’t belong in your burrito. That shredded lettuce and sour cream? Back away from your burritos and put it back in the fridge.

Freezer Burritos: Chicken Verde, Mushroom, Kale and Brown Rice Burritos  |  Lemon & Mocha

Wrap the Burritos Well

This goes for making the actual burrito and for wrapping the finished burrito for freezer storage.

  • Wrap a tight burrito. There are plenty of Youtube videos out there that show you how to properly wrap a burrito. I’m not that much of a perfectionist though; I layer my ingredients in a long line towards the bottom of the tortilla closest to me, tuck in the short sides and then wrap as tightly as I can from the bottom. Having all your ingredients tightly nestled in there will help keep moisture out while they’re in the freezer.
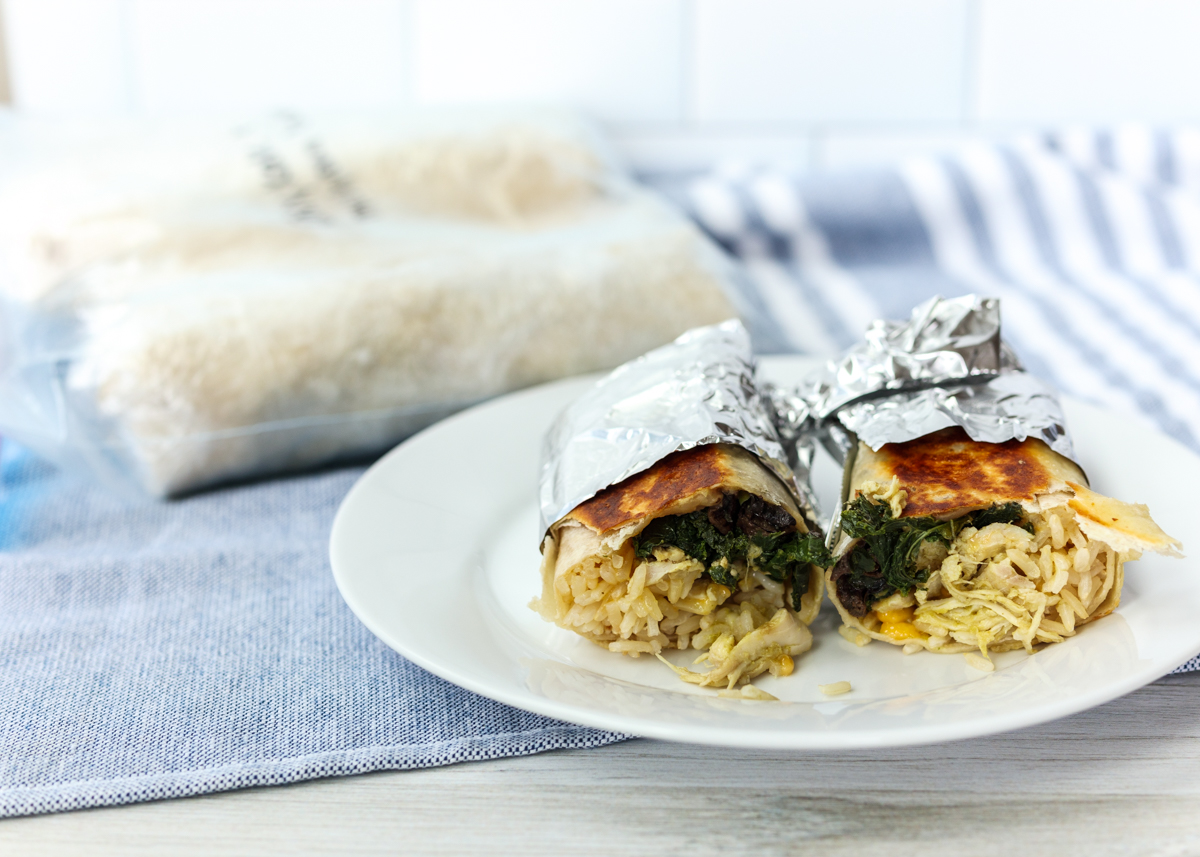
  • Prep for the freezer. There’s a few different ways you can go about this, but I prefer to tightly wrap each burrito in plastic wrap or aluminum foil then place all the wrapped burritos in a gallon storage bag, labeling the burrito type on the outside of the bag. This provides double protection and also allows you to easily remove just one burrito at a time.

In a couple weeks I’ll be sharing another favorite of ours: Slow Cooker Pork and Roasted Sweet Potato Freezer Burritos. I’ll also use that post as a follow-up to this one and list out plenty of protein, grain and filling ideas so you can mix and match your own freezer burritos. What do you load into your ideal burrito?
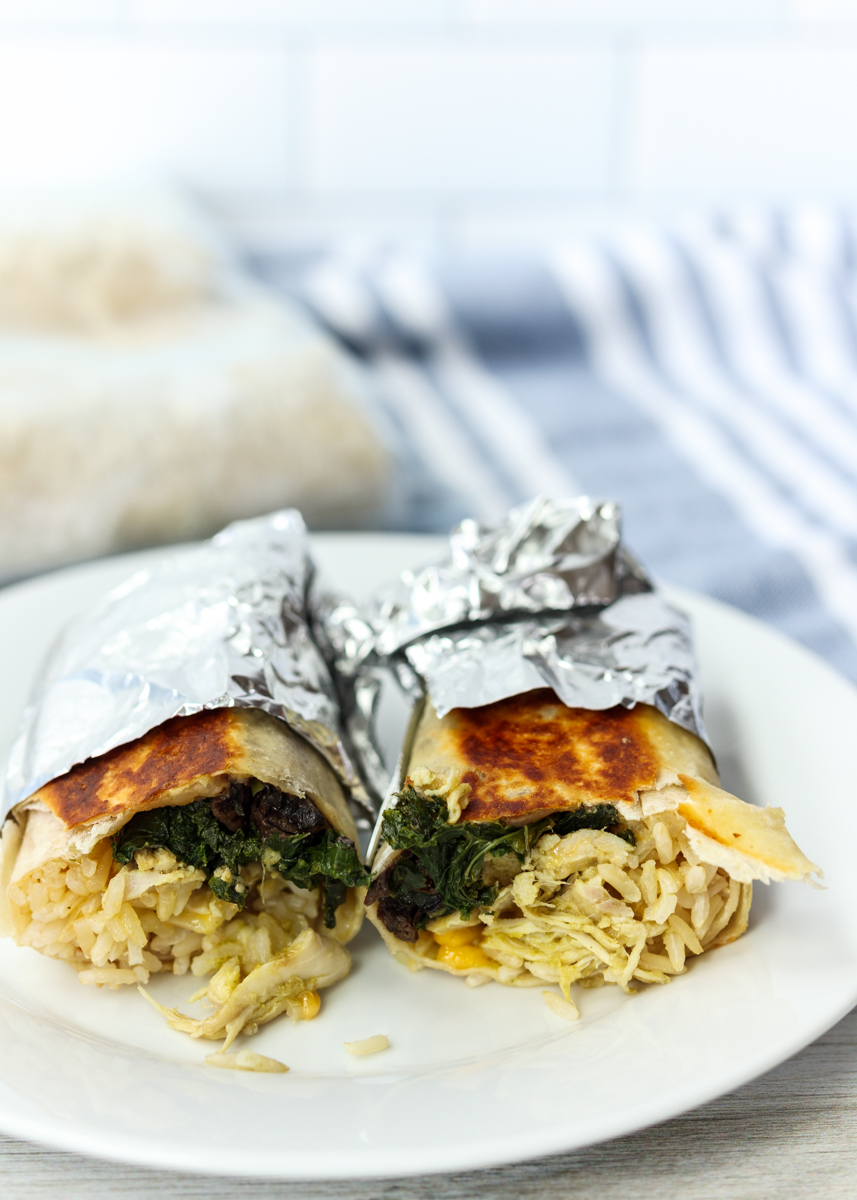
Freezer Burritos: Chicken Verde, Mushroom, Kale and Brown Rice Burritos  |  Lemon & Mocha

Freezer Burritos: Chicken Verde, Mushroom, Kale and Brown Rice Burritos
 
Yield: 6 burritos
Ingredients
  • 2 tablespoons olive oil, divided
  • 8 ounces kale, thick stems removed
  • ¼ teaspoon garlic powder
  • 8 ounces sliced cremini mushrooms
  • 1½ cups shredded cooked chicken
  • ⅓ cup salsa verde
  • 6 10-inch flour tortillas, room temperature
  • 3 cups cooked brown rice, cooled
  • ⅓ cup shredded mozzarella or colby jack cheese, optional
  • Salt and pepper
Directions
  1. Heat 1 tablespoon of the olive oil over medium-high heat in a large saucepan or lidded sauté pan. Add the kale, season with the garlic powder, salt and pepper. Sauté for 5 minutes. Reduce heat to medium, add ¼ cup water, cover the pan and cook for 12 minutes. Remove from the heat and let cool completely or put in the fridge to use later.
  2. While the kale is cooking, sauté the mushrooms. Heat the remaining tablespoon of olive oil in a sauté pan over medium-high heat. Add the mushrooms, season with salt and pepper and sauté for 7 minutes. Remove from the heat and let cool completely or put in the fridge to use later.
  3. When you’re ready to make the burritos, combine the shredded chicken with the salsa verde. Make sure all your ingredients are room temperature or cold. Place the first tortilla on a plate. Add some brown rice in a lengthwise strip towards the bottom of the tortilla closest to you. Top with some salsa verde chicken. Top with some kale, mushrooms and cheese, if using. Fold in each side then take the bottom of the tortilla closest to you and tightly roll it up and over the filling. Continue to roll up the burrito, tightly, tucking in the sides additionally as needed. Wrap in plastic wrap or aluminum foil. Set aside and repeat for the remaining tortillas and fillings. Place all the rolled burritos in a labeled gallon freezer bag and place in the freezer.
  4. To heat: Remove the burrito from the freezer. Remove and discard the plastic wrap or aluminum foil. Place the burrito on a microwave safe plate and microwave at 70% power for 3 minutes. Sear the burrito in a sauté pan lightly sprayed with cooking spray over medium-high heat for 1 minute on each side, until lightly browned. If you don’t want to sear your burrito, microwave for a total of 5 minutes instead of 3.

 
Salsa Verde
 
Yield: About 2 cups
Ingredients
  • 1 pound tomatillos, husks removed and rinsed
  • 1 clove garlic
  • 1-2 jalapeños, see note
  • ⅓ cup roughly chopped white onion
  • 1 cup cilantro leaves (can include top parts of stems)
  • 1 teaspoon salt
  • 3 tablespoons vegetable oil
Directions
  1. Add the tomatillos, garlic and jalapeño to a medium saucepan and then cover with water. Bring to a boil then reduce to low and simmer covered for 10 minutes. The tomatillos should become pale green and should be soft, but not falling apart.
  2. Use a slotted spoon to transfer the tomatillos, garlic and jalapeño to a high-speed blender or food processor. Add the onion, cilantro and salt then puree until smooth.
  3. Heat the vegetable oil in a medium saucepan over medium heat. Once hot, add the salsa and cook until thickened slightly, about 6-8 minutes, stirring occasionally. Serve warm or refrigerate for later and serve cold or at room temperature.
Notes
If you don’t want your salsa spicy only use 1 jalapeño and remove all the seeds and pith before putting in the blender. If you like it spicy try 1 jalapeño with the seeds and pith and if you want it even more spicy you could add a second jalapeño.

Chicken and Spinach Enchiladas Verde

Chicken and Spinach Enchiladas Verde  |  Lemon & Mocha

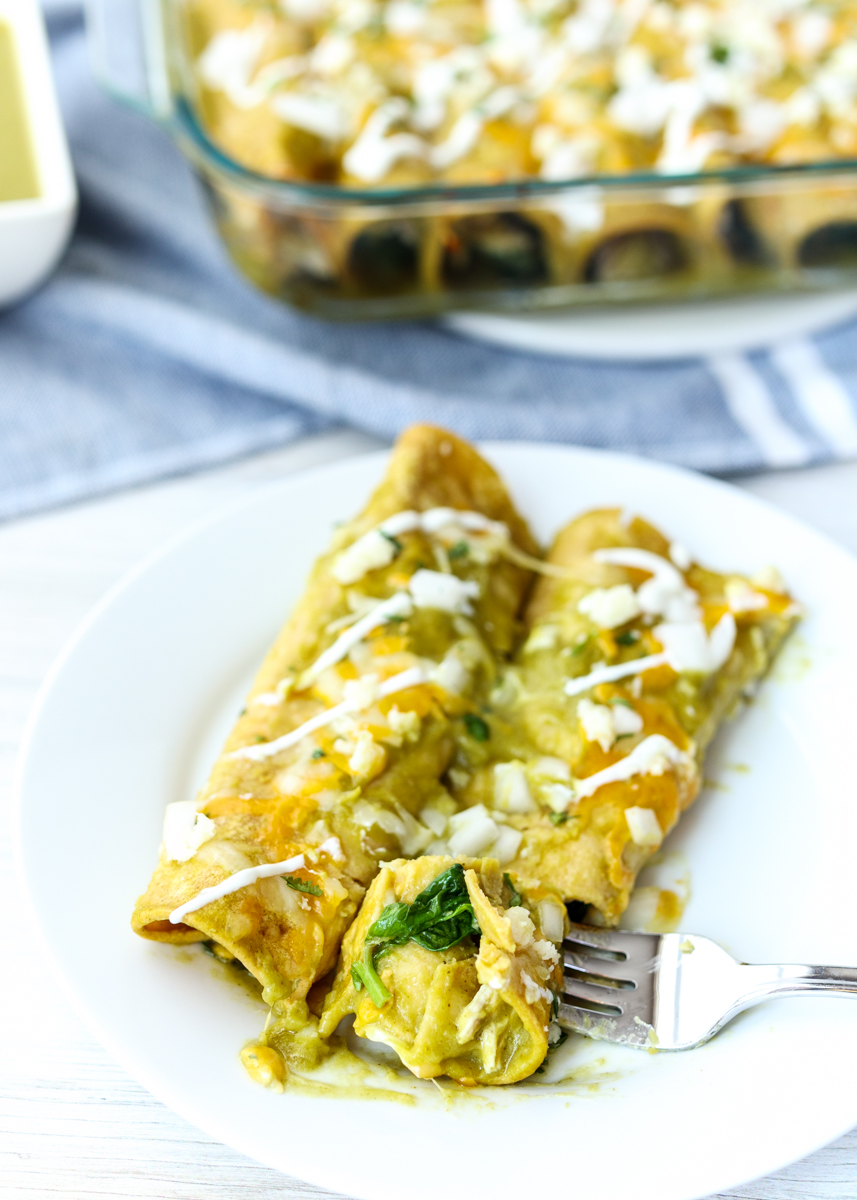
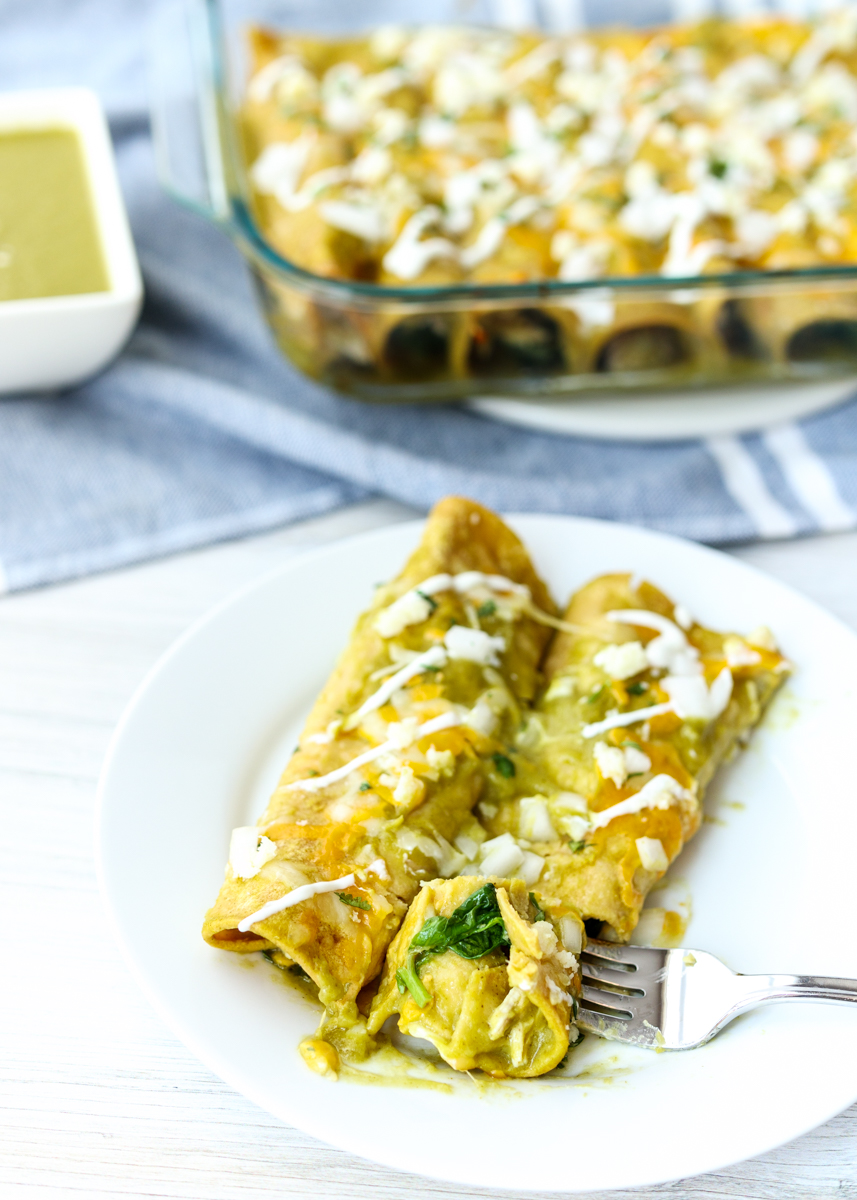
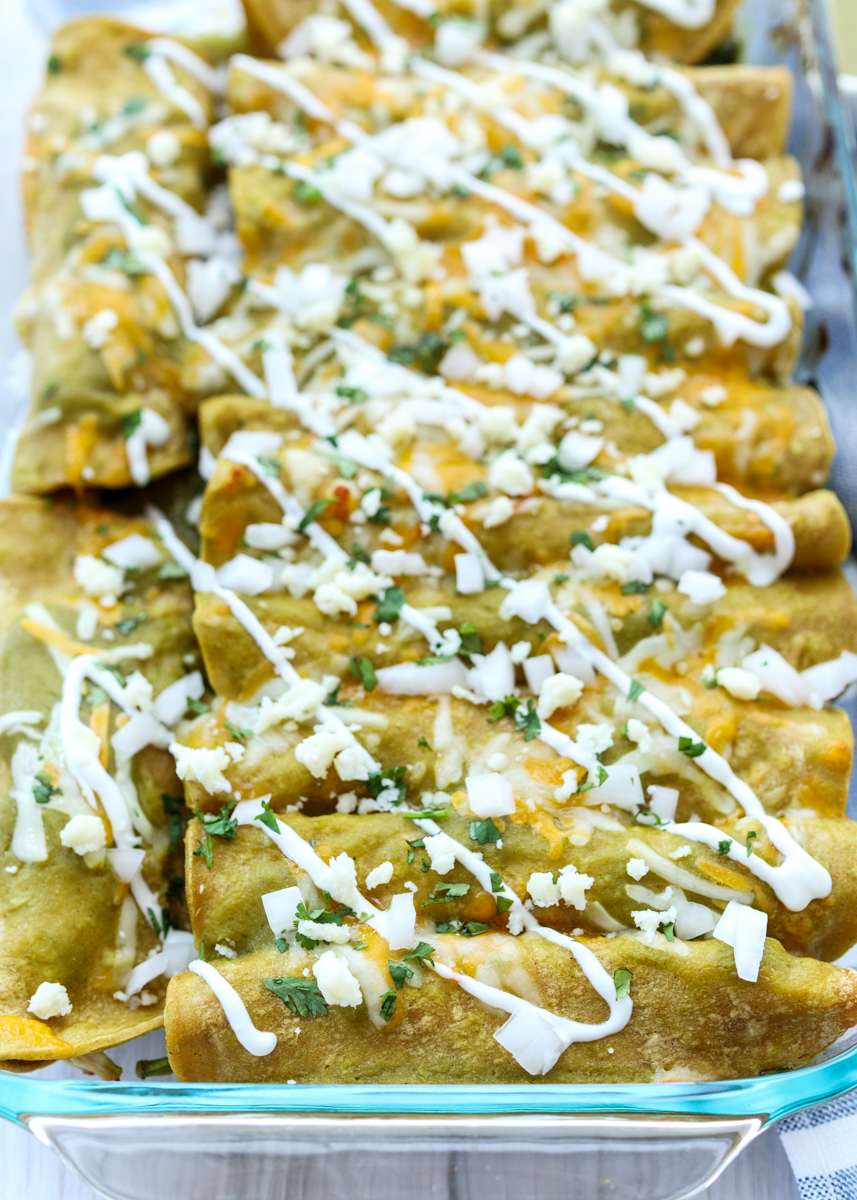
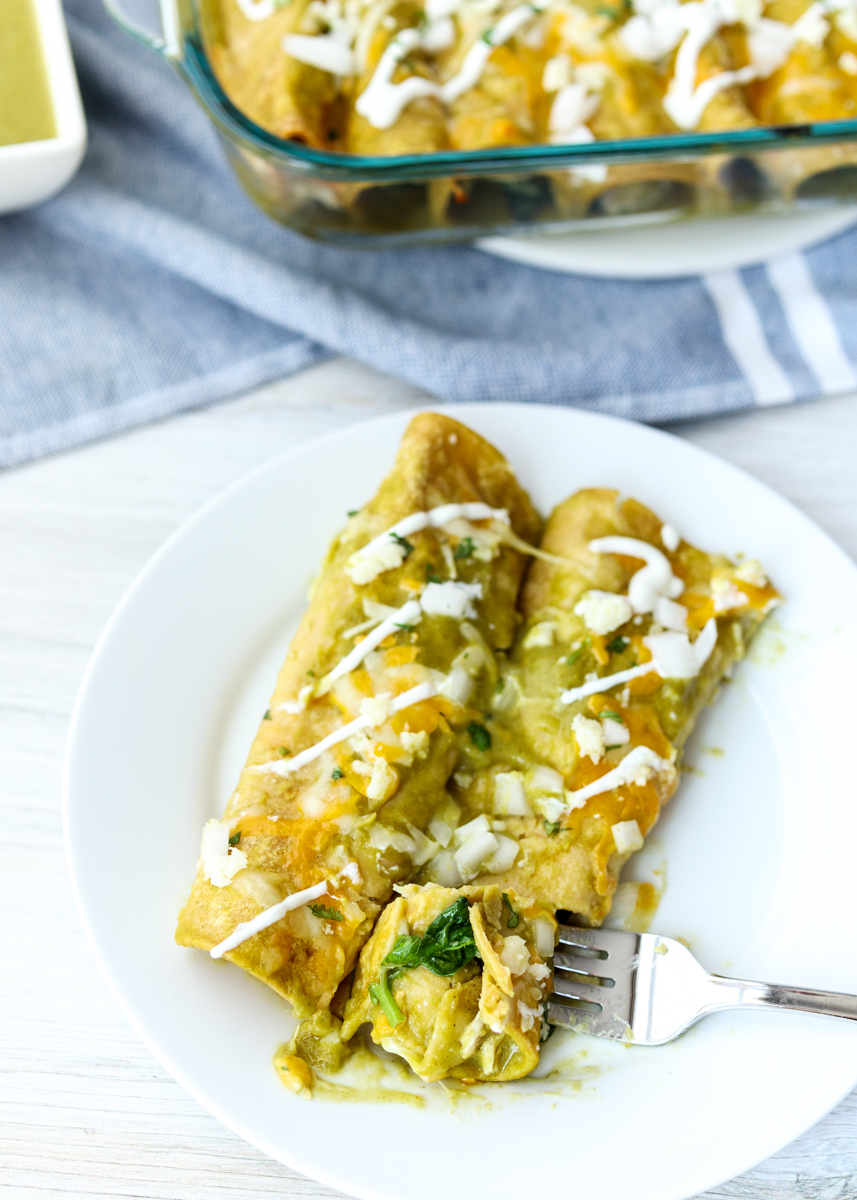
I’m so glad I experimented with another recipe from my Pati’s Mexican Table cookbook. This Chicken and Spinach Enchiladas Verde dish was so crave-worthy and will certainly be a new regular at our house. I’ve been thoroughly impressed by every recipe I’ve made from this book and I’m excited to keep cooking more and more recipes from it. Do you have a cookbook at home that just nails it every time for you?

Chicken and Spinach Enchiladas Verde  |  Lemon & Mocha

I did make a few changes to the original recipe by including spinach, since I love to sneak in green veggies whenever I can, and by adding some shredded colby jack cheese.

Chicken and Spinach Enchiladas Verde  |  Lemon & Mocha

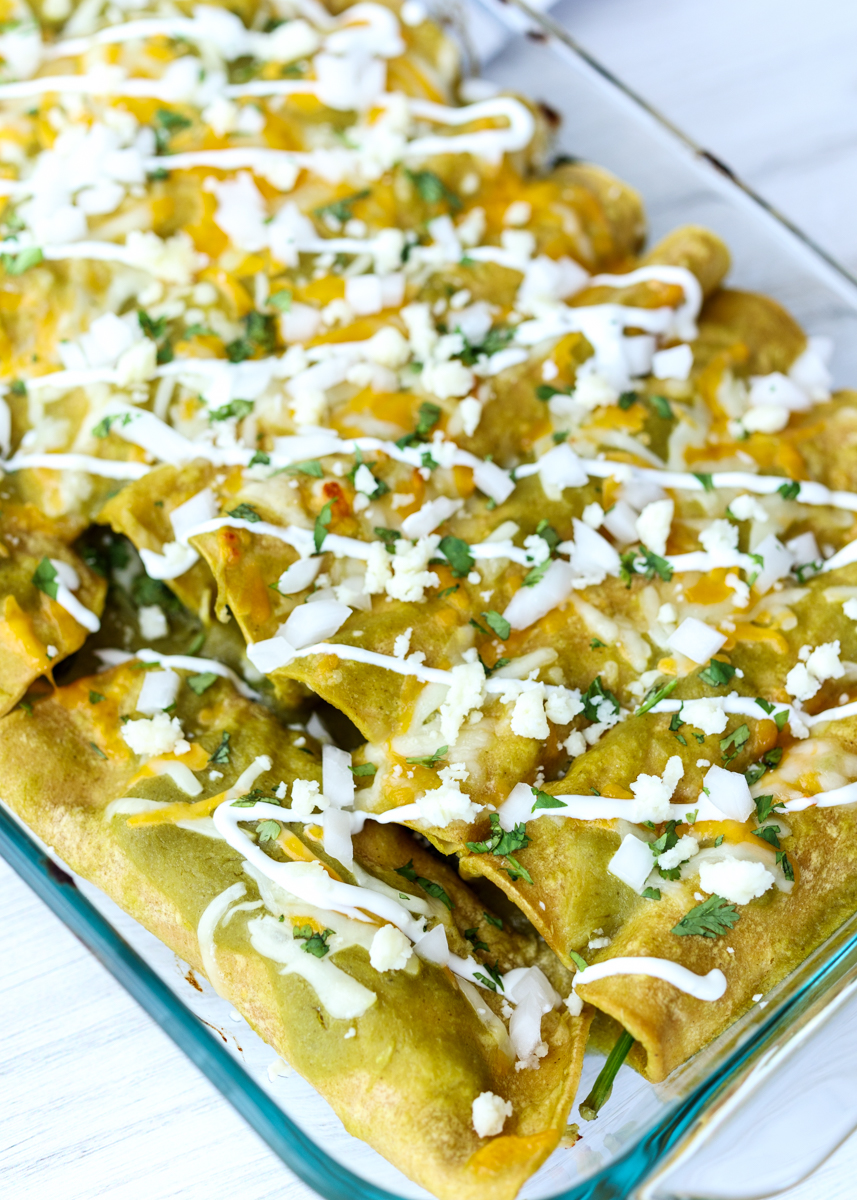
Normally when I think of enchiladas I picture a saucy, gooey dish loaded with melted cheese. Not that there’s anything wrong with that once in a while, but for a typical dinner I’m not looking to eat something quite so rich. There’s something about these Chicken and Spinach Enchiladas Verde that is lighter and more refined, while still having all the qualities of a comfort food dish you just want to dive into.

Chicken and Spinach Enchiladas Verde  |  Lemon & Mocha

The key is that the tortillas get fully submerged into the warm Salsa Verde before being stuffed with the chicken and spinach mixture so that when you roll them up you know every bite will have the flavor of the Salsa Verde. This helps give the enchiladas that fork-tenderness so that there isn’t a single dry bite to be had.

Chicken and Spinach Enchiladas Verde  |  Lemon & Mocha

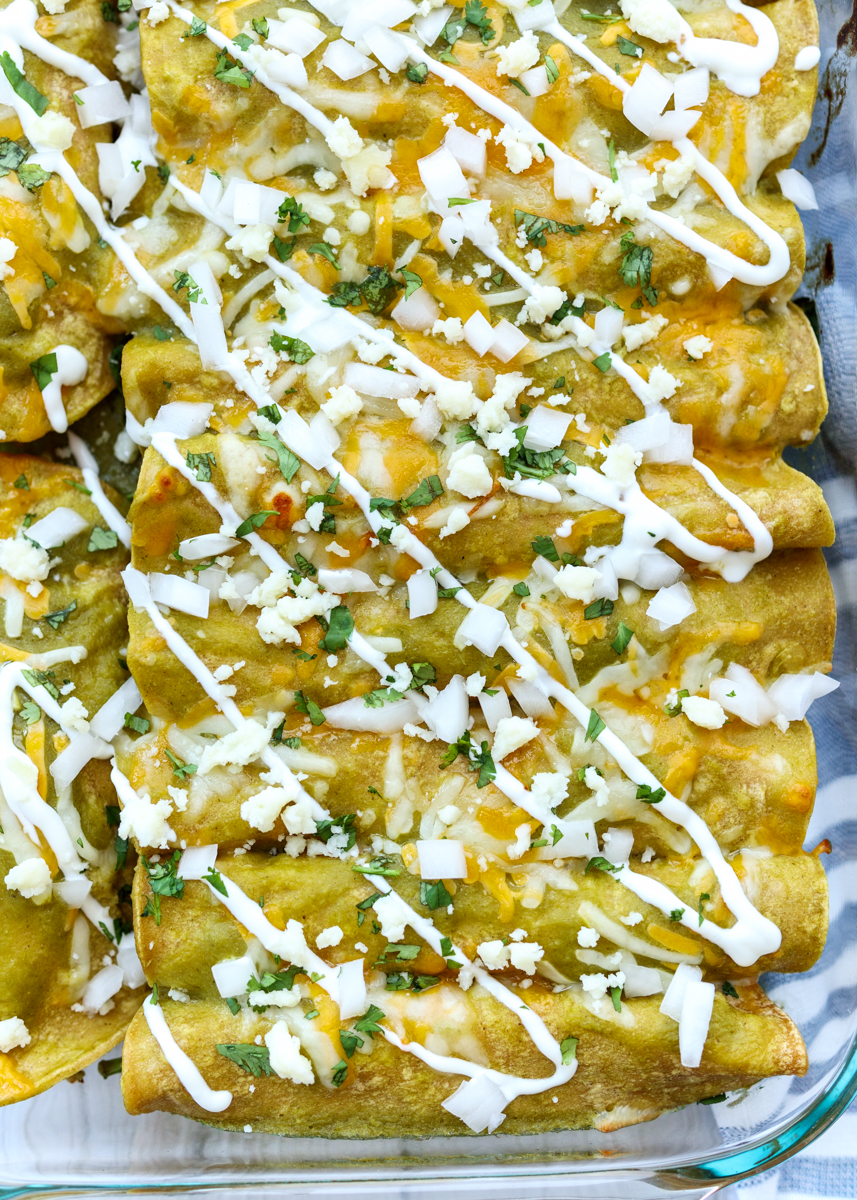
I added that layer of melted colby jack cheese on top because even if I didn’t want the enchiladas weighed down by cheese I still wanted a hint of gooeyness. The mildness of that cheese also pairs really well with the saltiness from the crumbly cotija cheese that gets sprinkled on top after the enchiladas come out of the oven. These Chicken and Spinach Enchiladas Verde are homey enough to be comforting in the cold of winter, while being light enough to eat with a nice glass of white wine in the summer so I’m looking forward to enjoying this dish all year long!

Chicken and Spinach Enchiladas Verde  |  Lemon & Mocha

Chicken and Spinach Enchiladas Verde
 
Yield: 6 servings
Ingredients
  • 2 batches salsa verde, about 4 cups
  • 12 6-inch corn tortillas
  • 2 cups shredded chicken
  • 3 ounces baby spinach leaves
  • 1½ cups shredded colby jack cheese, divided
  • Sour cream, for topping
  • Crumbled cotija cheese, for topping
  • Chopped white onion, for topping
  • Chopped cilantro, for topping
Directions
  1. Preheat the oven to 375 degrees F.
  2. Heat the salsa in a medium saucepan over medium-low heat; once warm reduce to the lowest setting to keep warm until ready to use.
  3. Lightly toast the tortillas. Heat a nonstick skillet over medium heat and add a tortilla. Heat the tortillas, one at a time, for 30 seconds per side in the skillet. Remove with tongs to a plate when done toasting both sides of the tortilla and just stack them on top of each other on the plate until you’re done toasting all the tortillas.
  4. Remove the salsa from the heat. Use tongs to dip a tortilla into the salsa so it’s completely coated then place on a plate. Add a handful of spinach leaves, 2-3 tablespoons of shredded chicken and 1 tablespoon of colby jack cheese. Tightly roll the tortilla up (no need to tuck in the sides) then place seam side down in a 9-inch by 13-inch baking dish. Repeat for the remaining tortillas until they’re all tucked into the baking dish. Top the enchiladas with the remaining salsa then sprinkle with the remaining ½ cup of shredded colby jack.
  5. Cover with aluminum foil and bake for 15 minutes. Remove the aluminum foil and bake for 5 more minutes, or until the cheese on top is melted. Take the enchiladas out of the oven and top with a drizzle of sour cream, the crumbled cotija cheese, chopped white onion and cilantro before serving.

 
Salsa Verde
 
Yield: About 2 cups
Ingredients
  • 1 pound tomatillos, husks removed and rinsed
  • 1 clove garlic
  • 1-2 jalapeños, see note
  • ⅓ cup roughly chopped white onion
  • 1 cup cilantro leaves (can include top parts of stems)
  • 1 teaspoon salt
  • 3 tablespoons vegetable oil
Directions
  1. Add the tomatillos, garlic and jalapeño to a medium saucepan and then cover with water. Bring to a boil then reduce to low and simmer covered for 10 minutes. The tomatillos should become pale green and should be soft, but not falling apart.
  2. Use a slotted spoon to transfer the tomatillos, garlic and jalapeño to a high-speed blender or food processor. Add the onion, cilantro and salt then puree until smooth.
  3. Heat the vegetable oil in a medium saucepan over medium heat. Once hot, add the salsa and cook until thickened slightly, about 6-8 minutes, stirring occasionally. Serve warm or refrigerate for later and serve cold or at room temperature.
Notes
If you don’t want your salsa spicy only use 1 jalapeño and remove all the seeds and pith before putting in the blender. If you like it spicy try 1 jalapeño with the seeds and pith and if you want it even more spicy you could add a second jalapeño.

Recipe slightly adapted from Pati’s Mexican Table.
Some of the links above are affiliate links, which means I may receive a small commission for my referral. This does not affect the retail cost of the item. Thank you for supporting Lemon & Mocha!

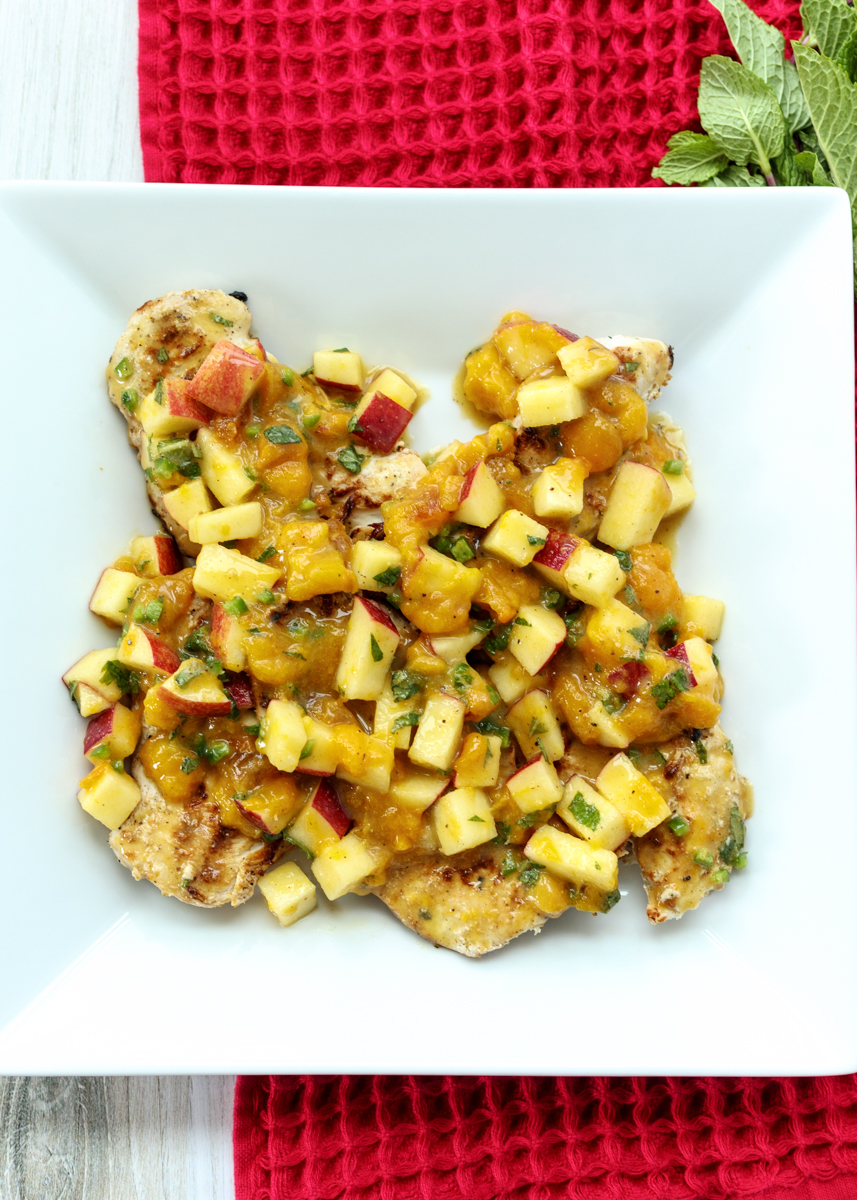
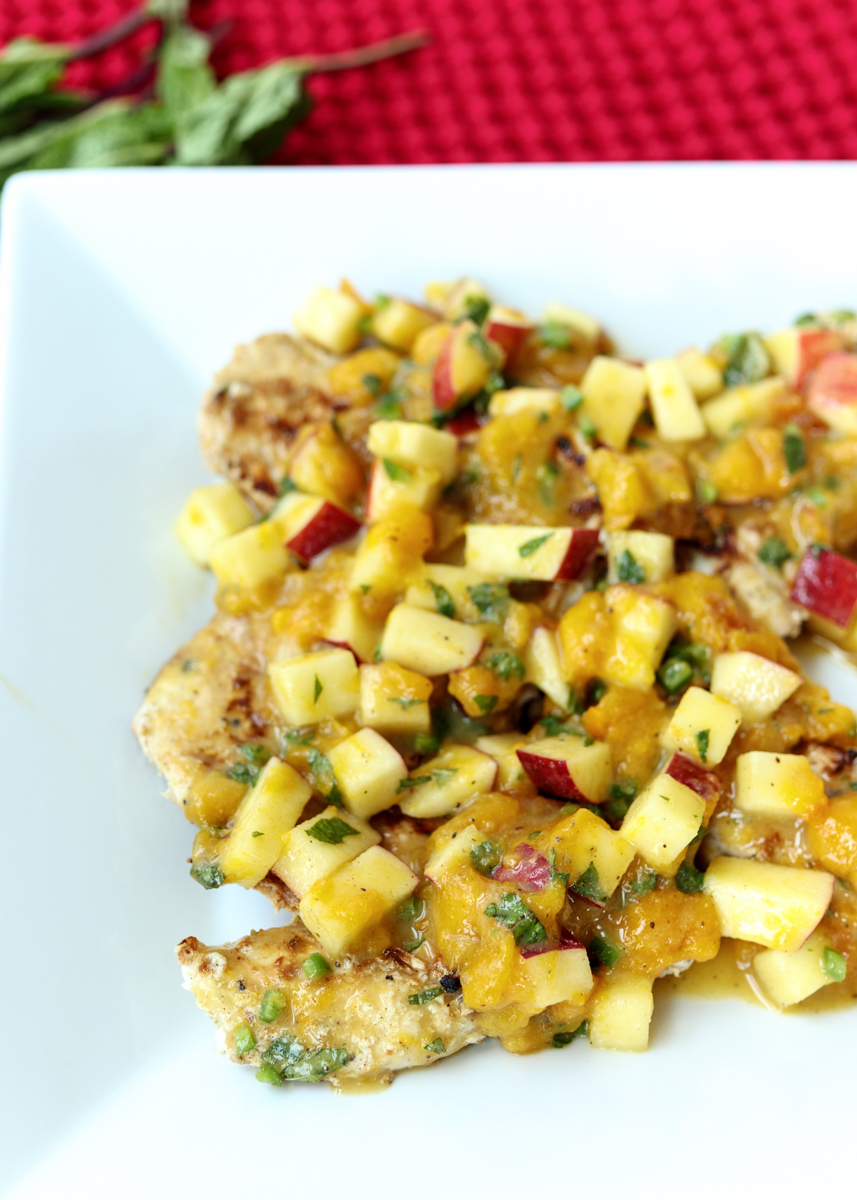
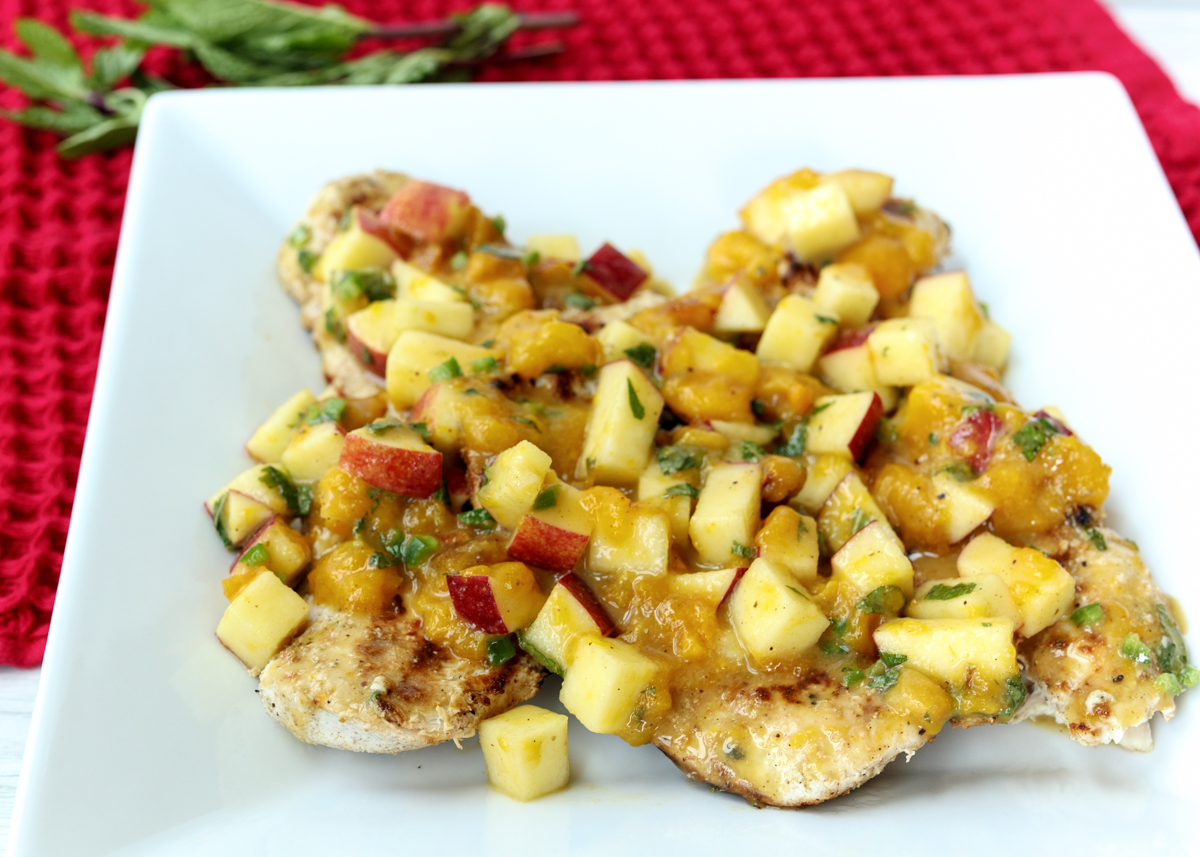
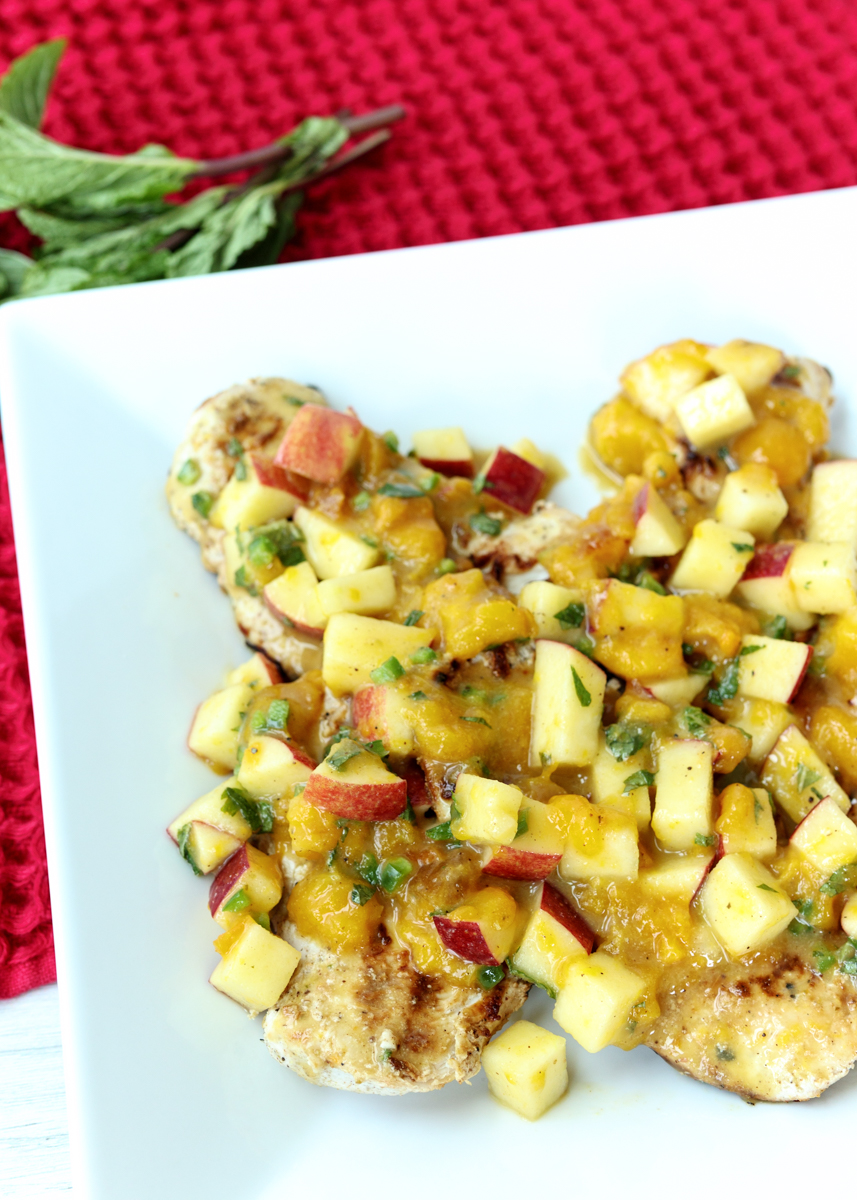
Grilled Chicken with Apple and Mango Chutney

Grilled Chicken with Apple and Mango Chutney  |  Lemon & Mocha

We’re continuing our apple week here on Lemon & Mocha! Fall and apple picking go hand in hand and there’s so many sweet and savory dishes you can make with apples. Today we’re going down the savory route with a healthy dinner dish.

Grilled Chicken with Apple and Mango Chutney  |  Lemon & Mocha

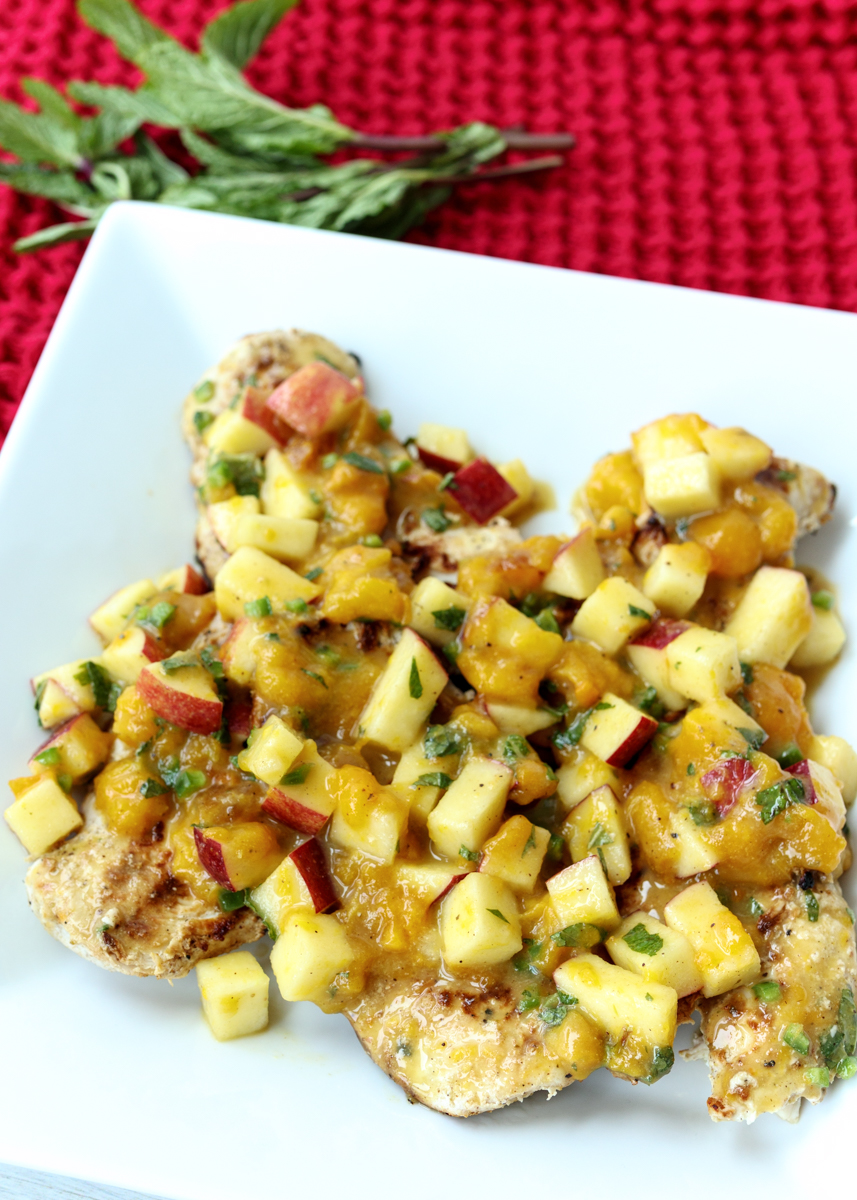
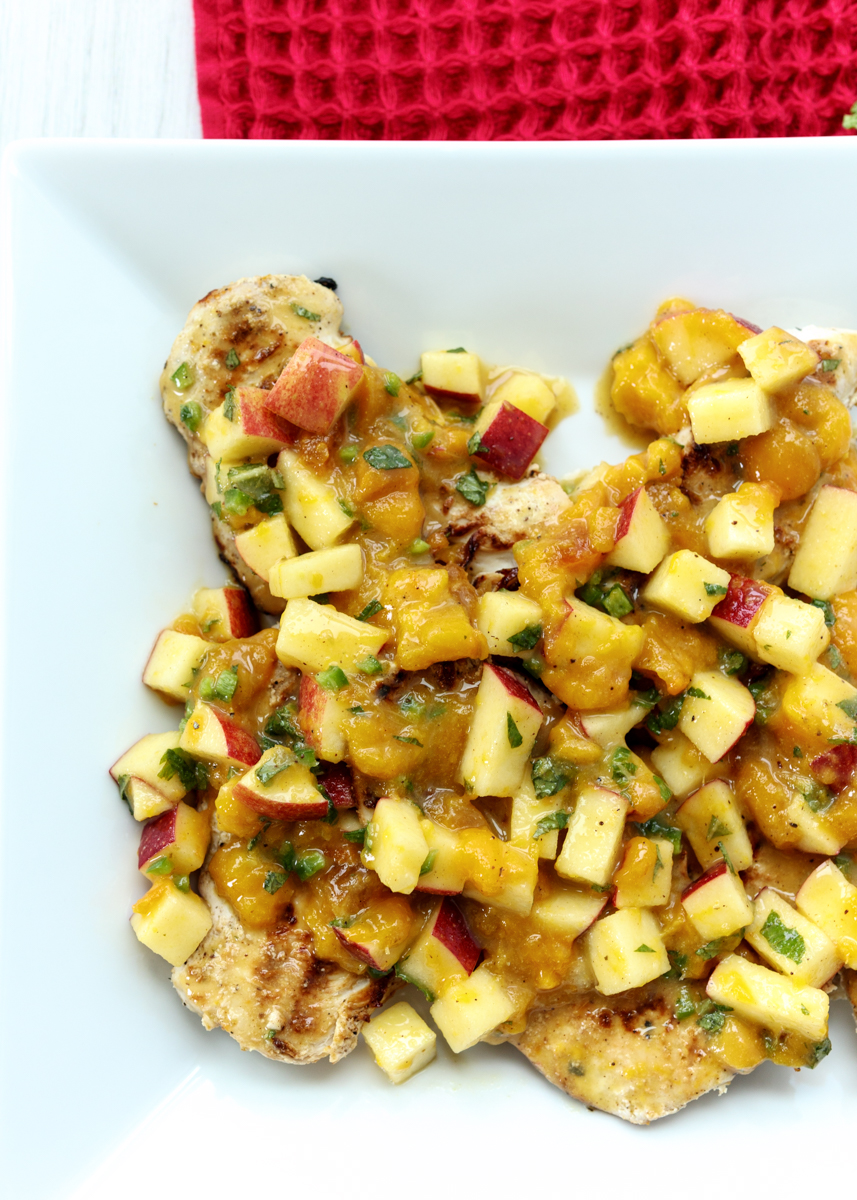
This Grilled Chicken with Apple and Mango Chutney is definitely a bit out of the box for me. It uses a spice, garam masala, I had previously never used, which is a spice commonly used in Indian cooking. It’s a warm spice blend that can incorporate different spices depending on the region or brand and it was the perfect ingredient to liven up this grilled chicken dish.

Grilled Chicken with Apple and Mango Chutney  |  Lemon & Mocha

The chicken is marinated in Greek yogurt, which I love for grilled chicken since it helps the meat stay juicy and flavorful. The apple and mango chutney has both complementary flavors and textures going for it with the tartness and crispness of the apples and the sweetness and softness of the ripe mango.

Grilled Chicken with Apple and Mango Chutney  |  Lemon & Mocha

Why it’s a chutney and not a salsa, I really have no clue, but whatever it’s called it complements the yogurt marinated grilled chicken perfectly.

Grilled Chicken with Apple and Mango Chutney  |  Lemon & Mocha

Matt and I both really enjoyed this dish (more chicken – sorry Matt!), but I don’t think it will bump ahead of the Sesame Pecan Chicken Strips or the Chicken Cordon Bleu anytime soon. Mostly because the flavor profile is just so far out of our normal realm of eating. But if you like Indian flavors or are looking for a different way to spice up your chicken dinner then definitely make this healthy recipe!

Grilled Chicken with Apple and Mango Chutney  |  Lemon & Mocha

Grilled Chicken with Apple and Mango Chutney
 
Yield: 4 servings
Ingredients
for the chicken
  • 1 cup plain non-fat or low-fat Greek yogurt
  • 2 tablespoons frozen apple juice concentrate, thawed
  • 1 tablespoon apple cider vinegar
  • 2 teaspoons garam masala
  • 1 teaspoon salt
  • 1 teaspoon ground black pepper
  • 8 2-ounce boneless skinless chicken cutlets (about ¼-inch thick)
for the chutney
  • 3 tablespoons apple cider vinegar
  • 2 tablespoons apricot preserves
  • 1 small jalapeño, seeds and pith removed, finely chopped
  • 2 tablespoons Dijon mustard
  • 1 teaspoon hot sauce
  • ½ teaspoon salt
  • ⅛ teaspoon ground black pepper
  • ⅛ teaspoon ground cloves
  • 1 apple, such as Gala, cut into ⅓-inch dice (about 1¼ cups)
  • 1 small mango, peeled and cut into 1-3-inch dice (about 1 cup)
  • ¼ cup chopped fresh mint leaves
  • Cooking spray
Directions
for the chicken
  1. In a shallow plastic storage container or baking dish, whisk together the yogurt, apple juice concentrate, apple cider vinegar, garam masala, salt and pepper. Add the chicken cutlets then toss to coat. Cover and return to the fridge to let marinate for at least 2 hours or up to 1 day.
  2. Preheat a grill or place a grill pan over medium-high heat. If using a grill, use a paper towel to lightly coat the grill grates with vegetable oil before turning on. If using a grill pan, lightly spray with cooking spray before turning on the stove. Place the chicken cutlets on the grill and grill until they reach an internal temperature of 165 degrees F, about 4-5 minutes per side. Remove from the grill and let rest before serving with the chutney over top.
for the chutney
  1. Combine the apple cider vinegar, apricot preserves, jalapeño, Dijon, hot sauce, salt, pepper, cloves and ginger in a medium bowl until combined. Toss in the apple, mango and chopped mint. Let sit for 30 minutes before serving or cover and return to the fridge for up to 2 days.

Recipe from Giada’s Feel Good Food.
Some of the links above are affiliate links, which means I may receive a small commission for my referral. This does not affect the retail cost of the item. Thank you for supporting Lemon & Mocha!

Cheesy Broccoli Stuffed Chicken

Cheesy Broccoli Stuffed Chicken  |  Lemon & Mocha

Do you have one specific protein that you eat a lot at your house? For us it’s chicken, much to Matt’s dismay. Not that he doesn’t like it, it’s just that we do have it for dinner a lot.

Cheesy Broccoli Stuffed Chicken  |  Lemon & Mocha

Unless I’m cooking a specific recipe I tend to gravitate towards chicken. It’s healthy, fairly inexpensive and versatile. Since it’s easy to get stuck in the baked chicken rut I’m always on the lookout for new chicken recipes.

Cheesy Broccoli Stuffed Chicken  |  Lemon & Mocha

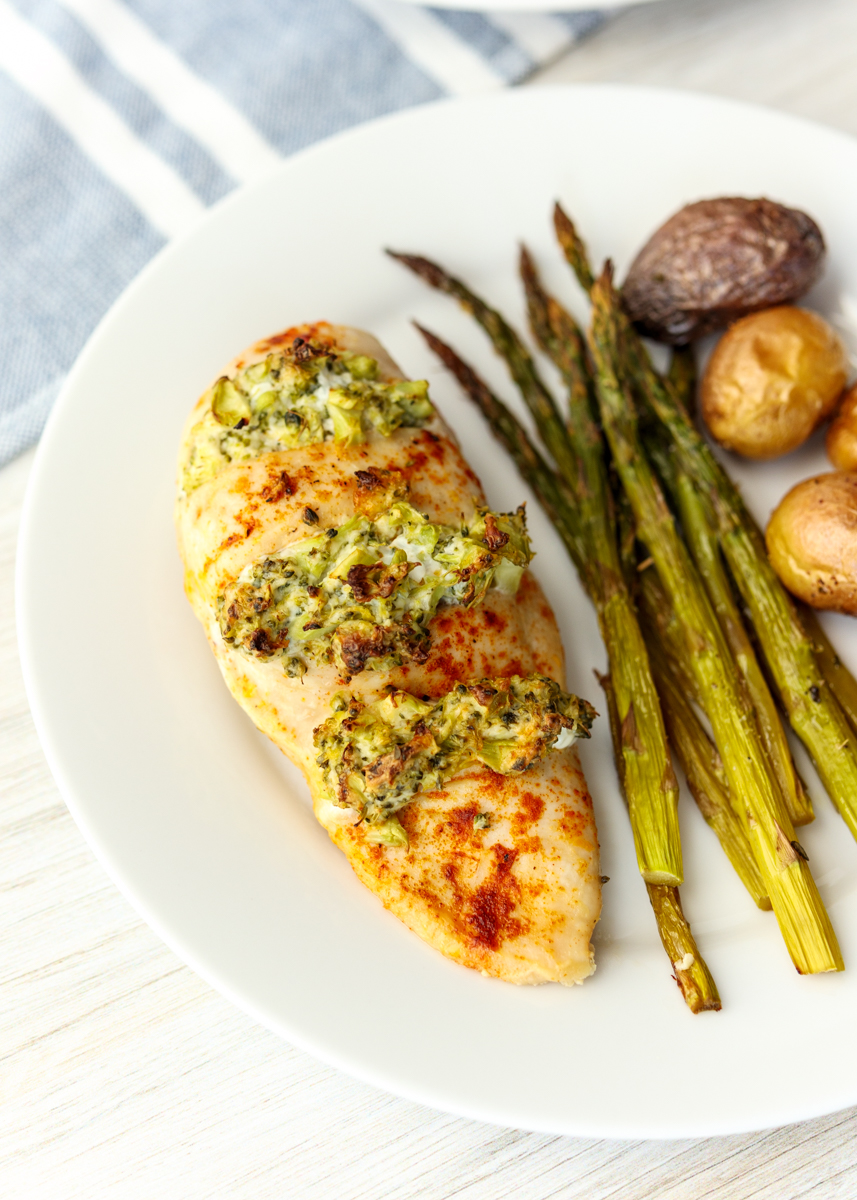
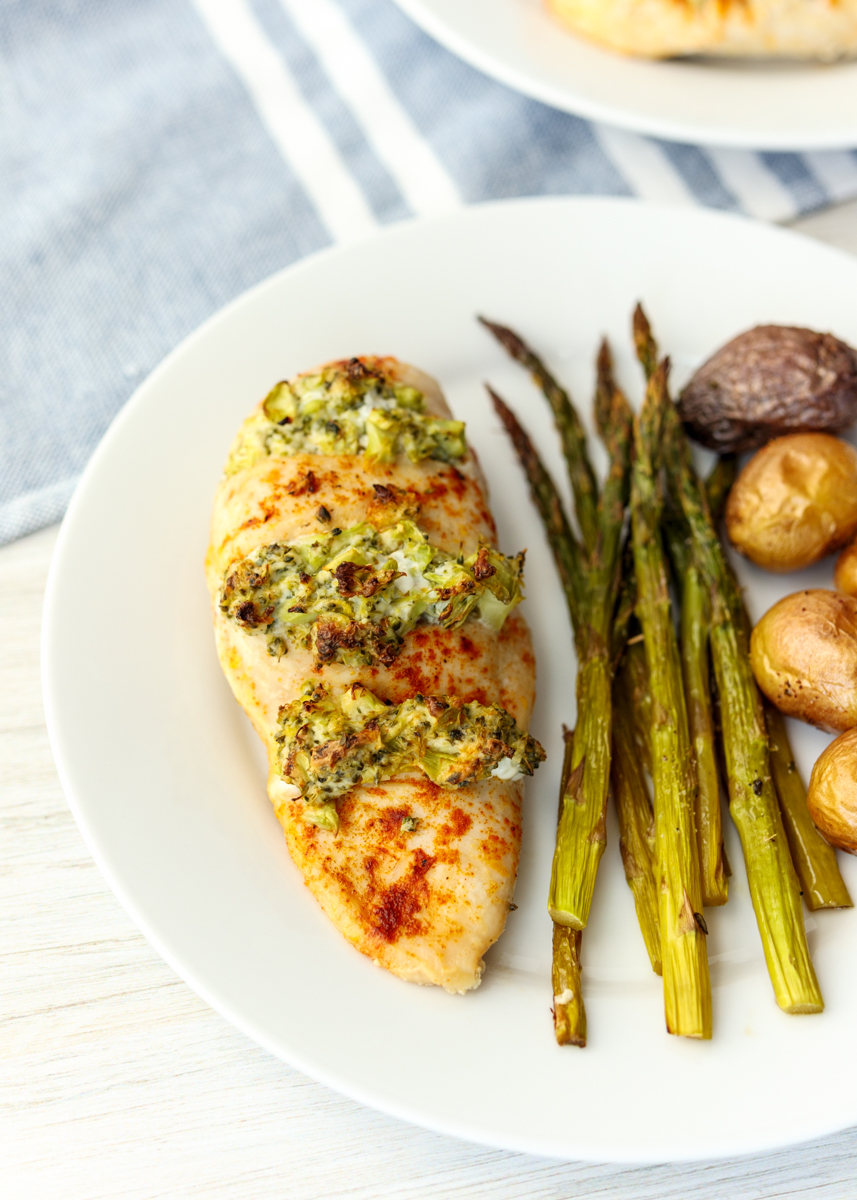
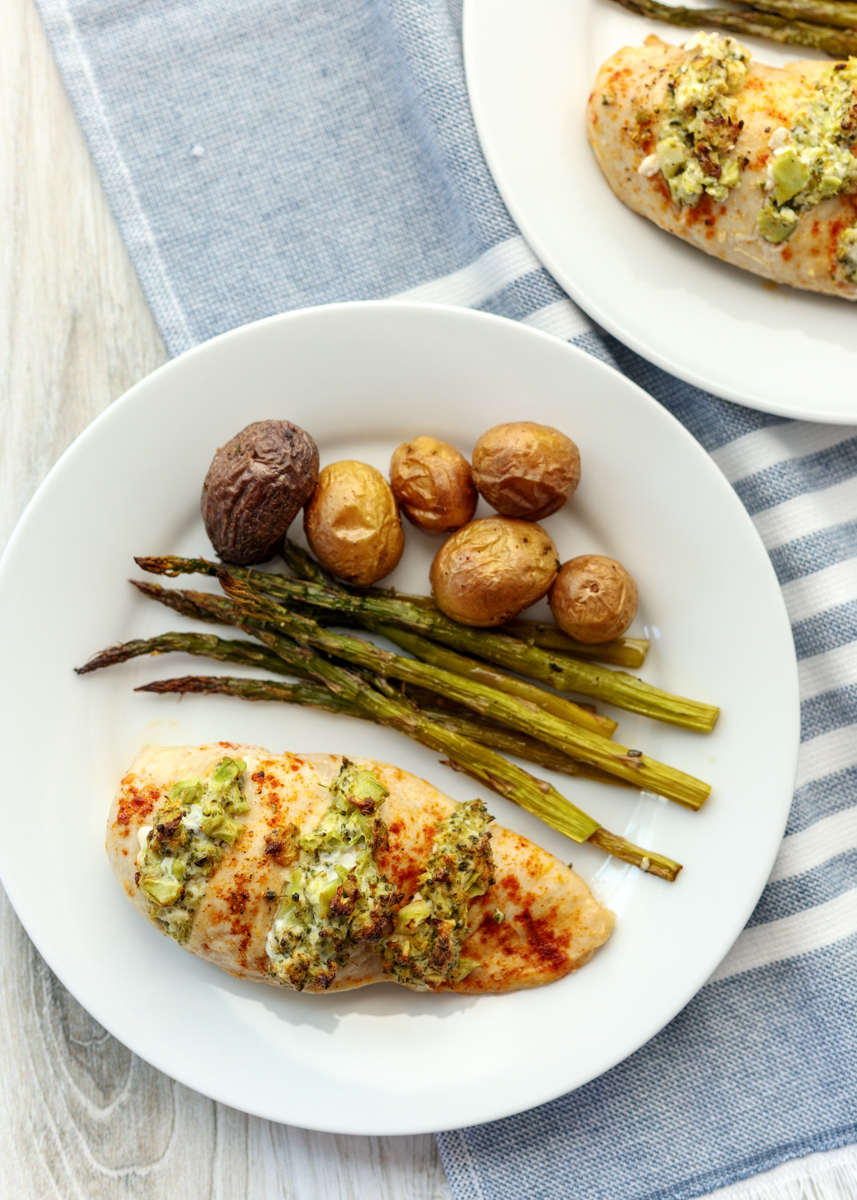
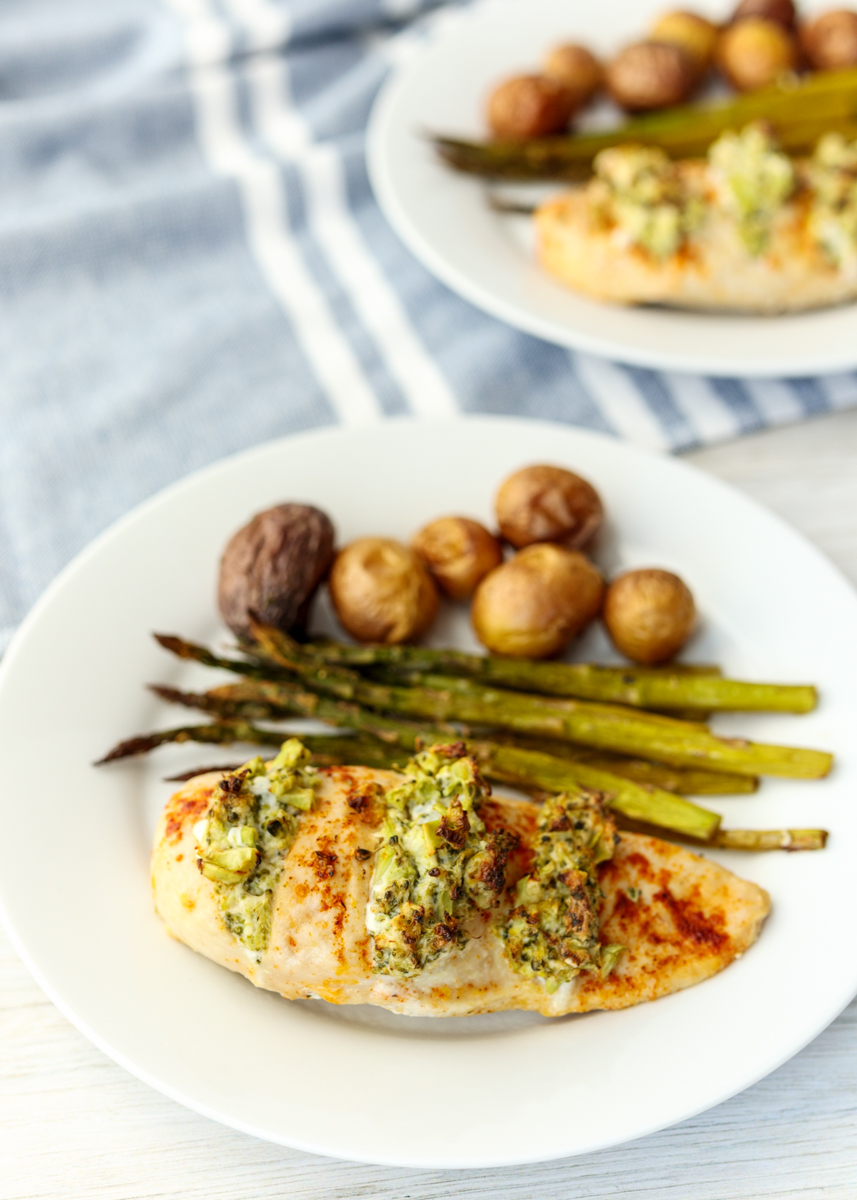
When I saw this Cheesy Broccoli Stuffed Chicken in my Food Network Magazine binder I figured it was worth a shot since it combined two of our dinner go-tos: chicken and broccoli. The cheesiness in this chicken comes from the garlic and herb cheese spread. Love that stuff! You can use Boursin; I usually use Alouette.

Cheesy Broccoli Stuffed Chicken  |  Lemon & Mocha

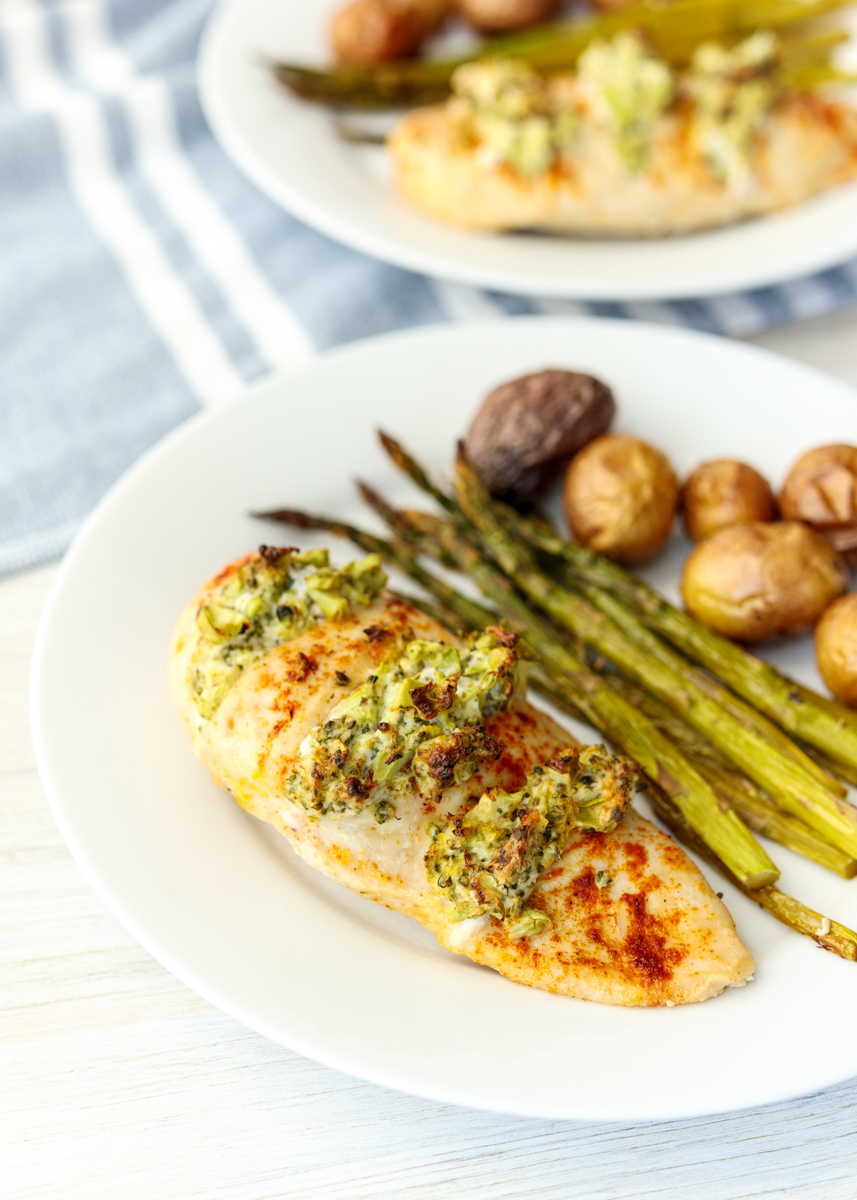
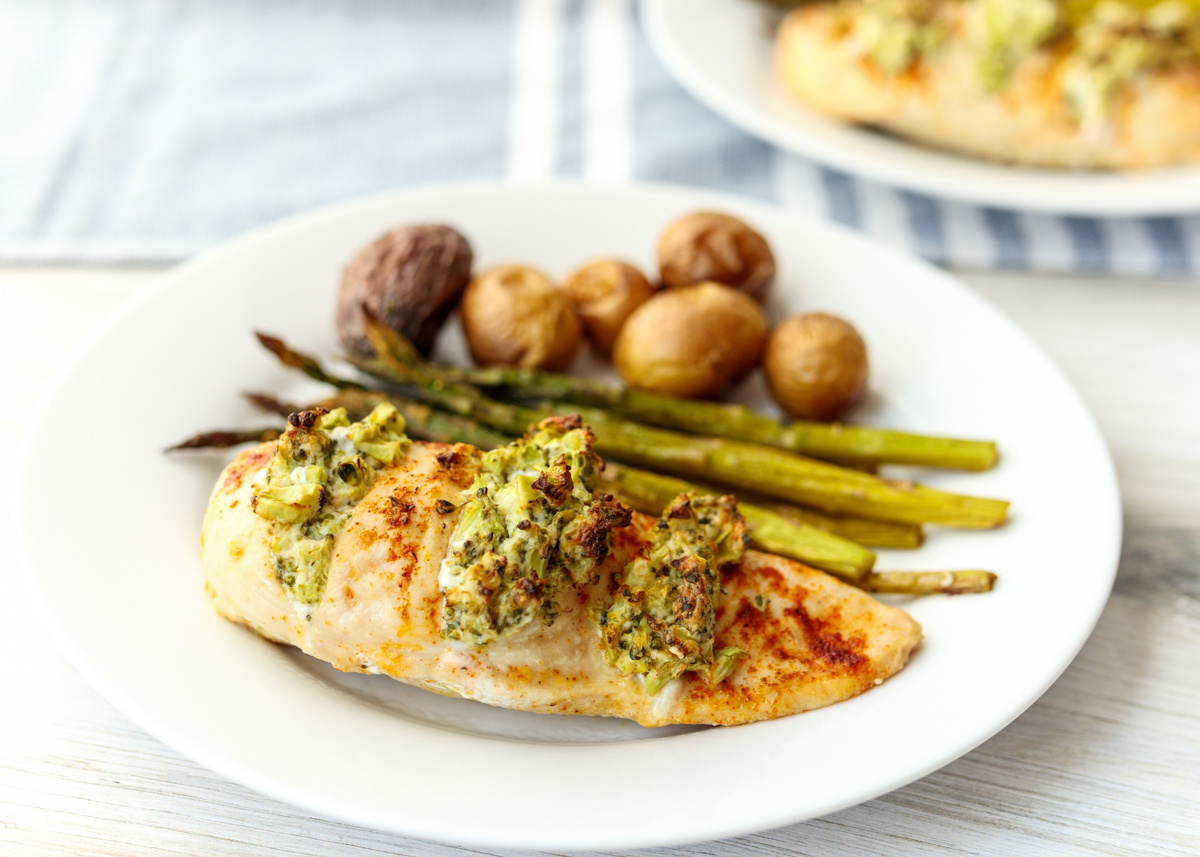
I’ve never stuffed a chicken by cutting slits in the top, but it worked really well. The chicken stayed nice and moist while the cheesy broccoli filling got a little crisped on the top parts.

Cheesy Broccoli Stuffed Chicken  |  Lemon & Mocha

Serve this Cheesy Broccoli Stuffed Chicken alongside some roasted veggies and potatoes or some salad and rice for a perfect dinner meal!

Cheesy Broccoli Stuffed Chicken  |  Lemon & Mocha

Cheesy Broccoli Stuffed Chicken
 
Yield: 4 servings
Ingredients
  • 1 cup finely chopped broccoli florets and stalks
  • ⅓ cup garlic and herb cheese spread (such as Boursin or Alouette)
  • ½ teaspoon lemon zest
  • 1 tablespoon olive oil, divided
  • 4 small skinless boneless chicken breasts (6-8 ounces each)
  • ½ teaspoon paprika
  • Salt and pepper
Directions
  1. Preheat the oven to 450 degrees F. Line a baking sheet with nonstick aluminum foil and set aside.
  2. In a small bowl, combine the broccoli, cheese spread, lemon zest and 1 teaspoon of the olive oil. Season with salt and pepper.
  3. Place the chicken breasts on the prepared baking sheet. Cut 3 deep slits into the top of each chicken breast, being sure not to cut all the way through. Drizzle the chicken with the remaining 2 teaspoons of olive oil then season with the paprika, salt and pepper. Use a spoon to stuff the broccoli mixture into the slits of the chicken. Cook the chicken in the oven until it registers 165 degrees F, about 13-15 minutes.

 Recipe from Food Network Magazine.

Some of the links above are affiliate links, which means I may receive a small commission for my referral. This does not affect the retail cost of the item. Thank you for supporting Lemon & Mocha!

Chicken Coconut Sticky Rice Bowls with Mango Puree

Chicken Coconut Sticky Rice Bowls with Mango Puree  |  Lemon & Mocha

Do you like cooking out of your comfort zone? To me, cooking out of my comfort zone is when I cook with an ingredient or technique I haven’t used before, or cooking something I normally only order at a restaurant. I usually resist it, but sometimes I take the chance and it’s not only easy, but crazy delicious.

Chicken Coconut Sticky Rice Bowls with Mango Puree  |  Lemon & Mocha

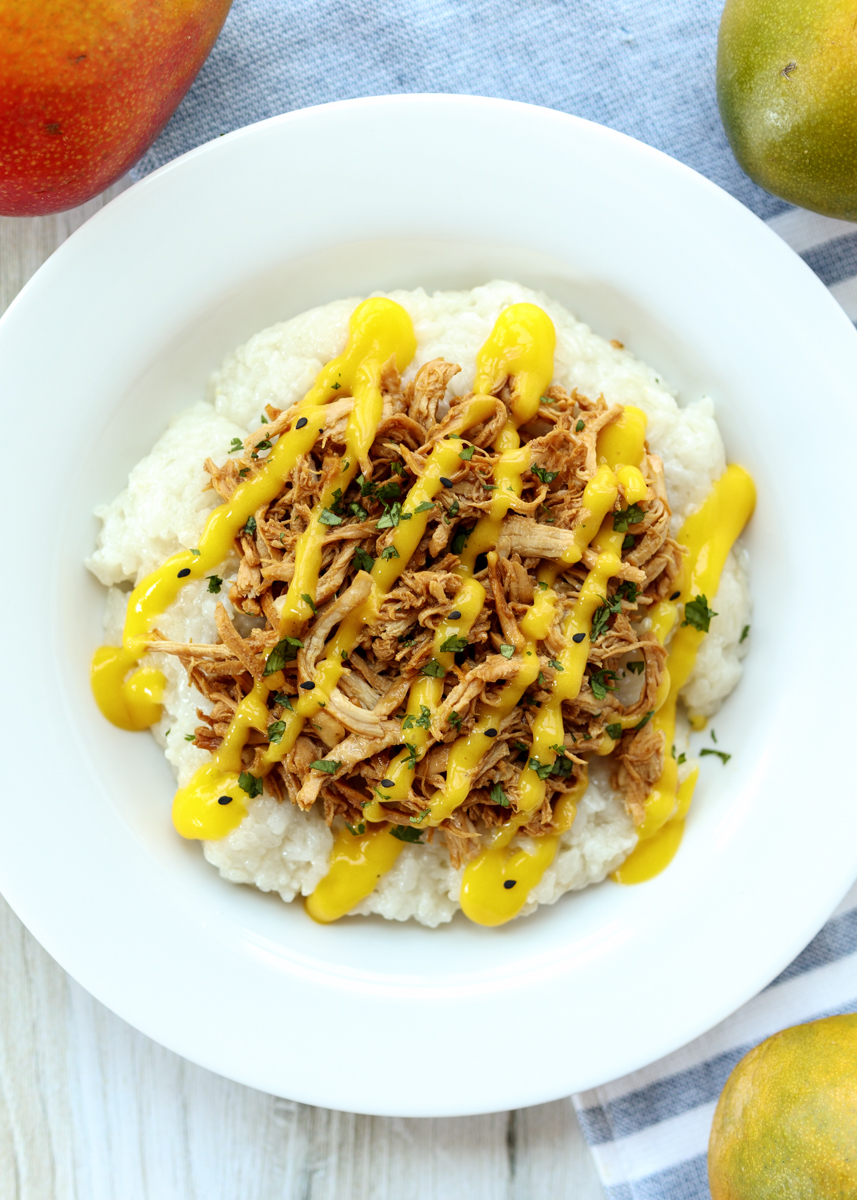
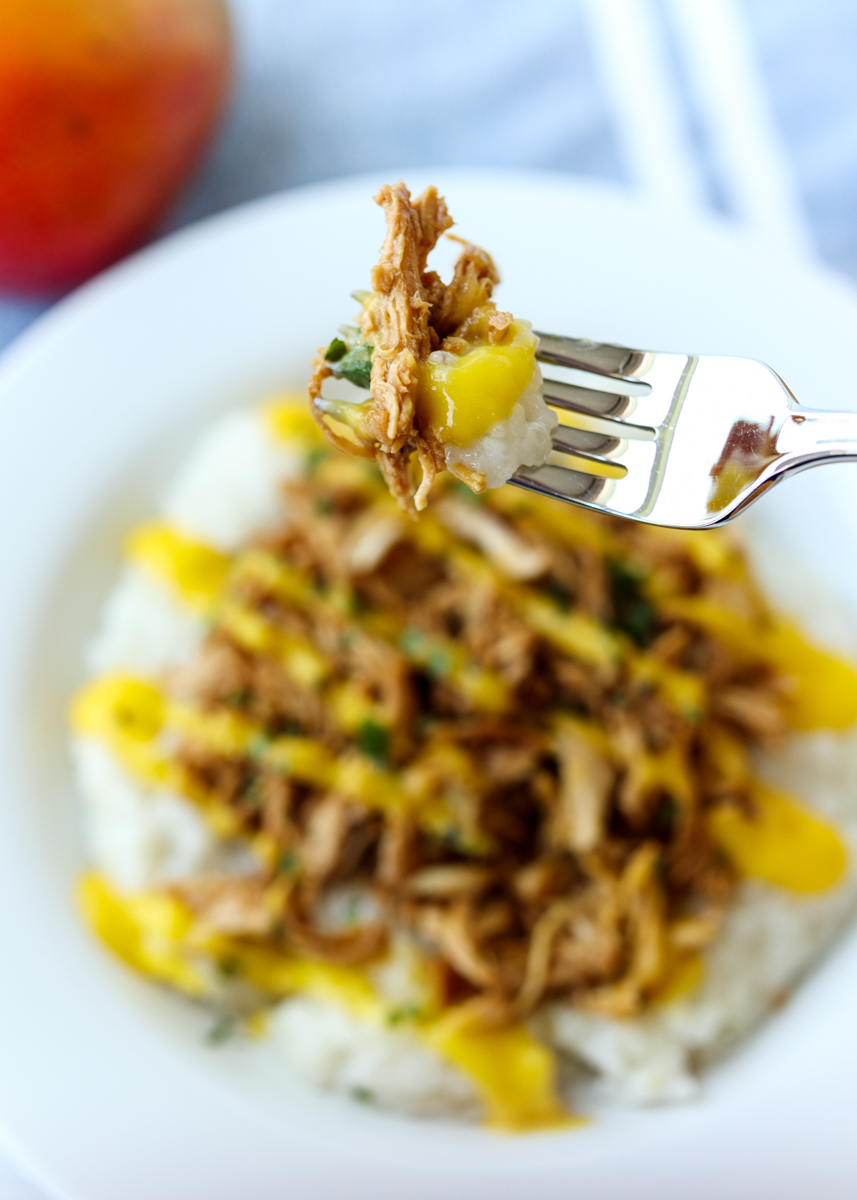
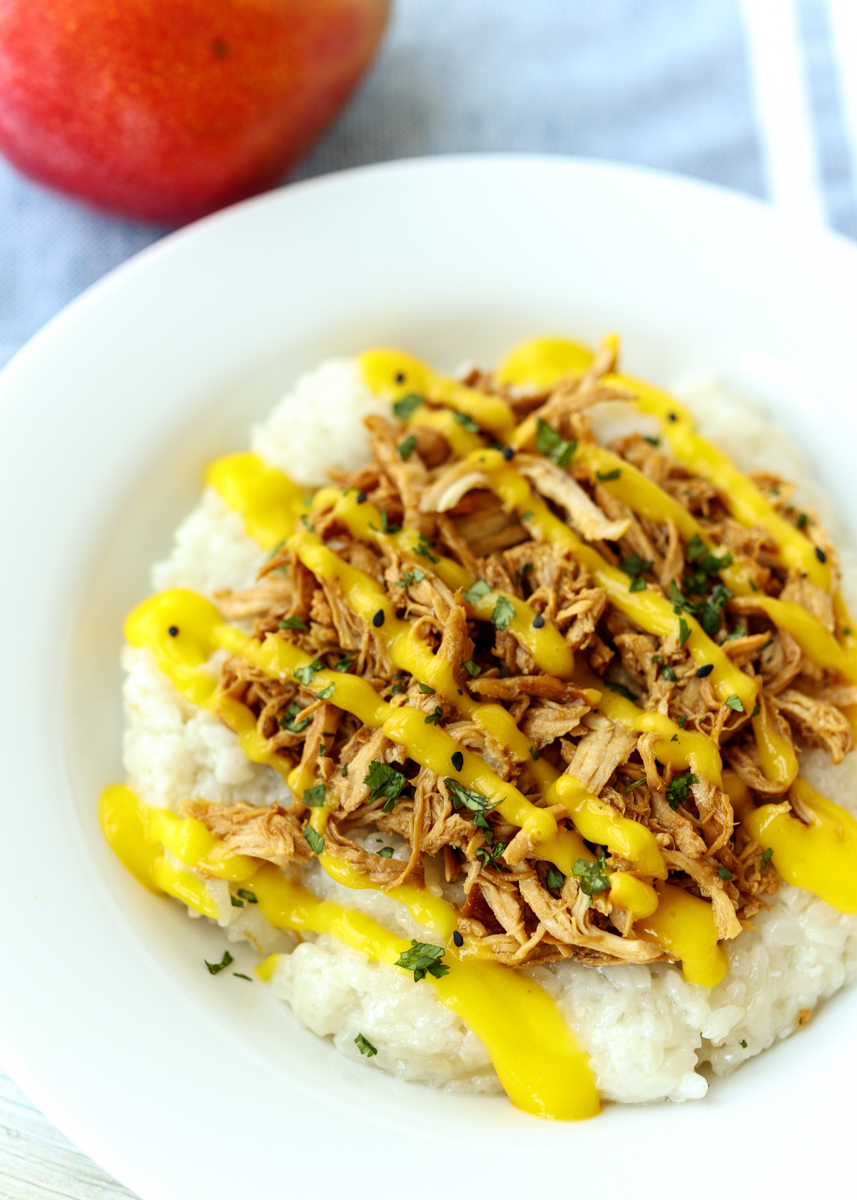
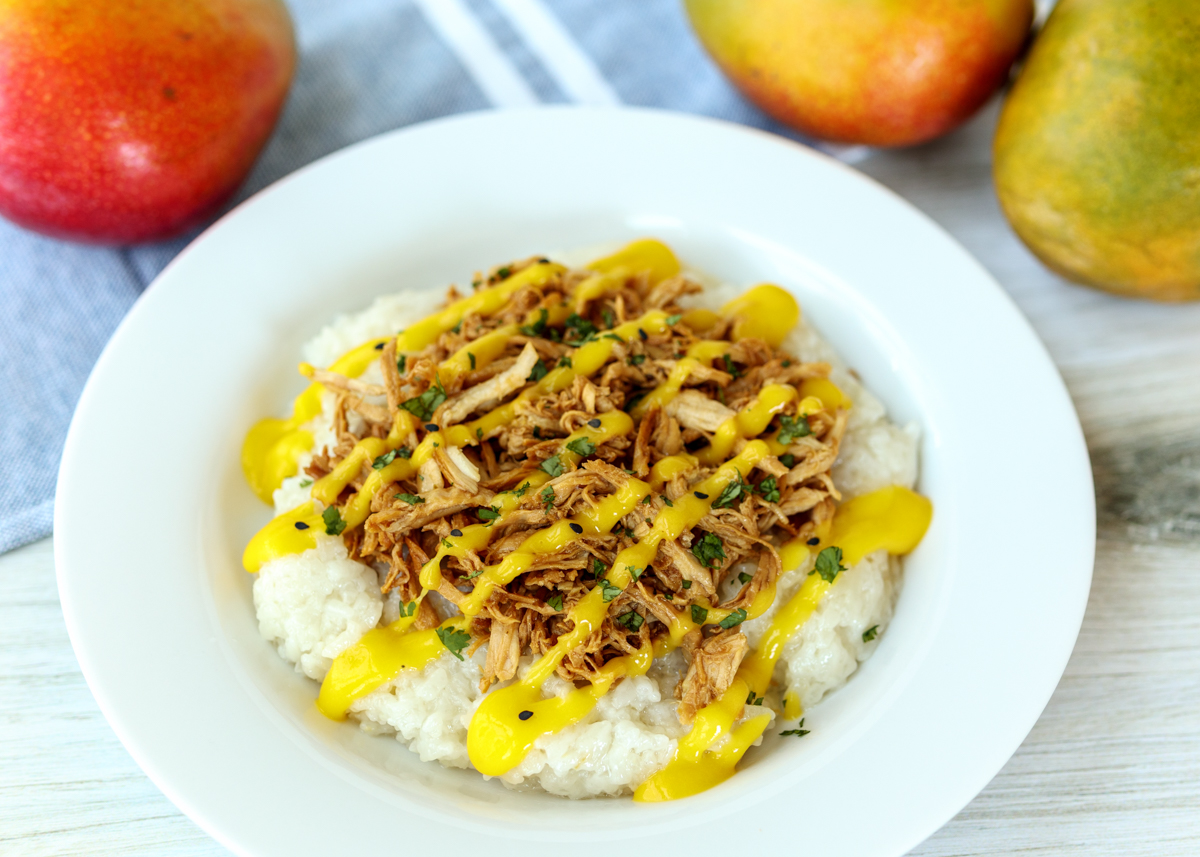
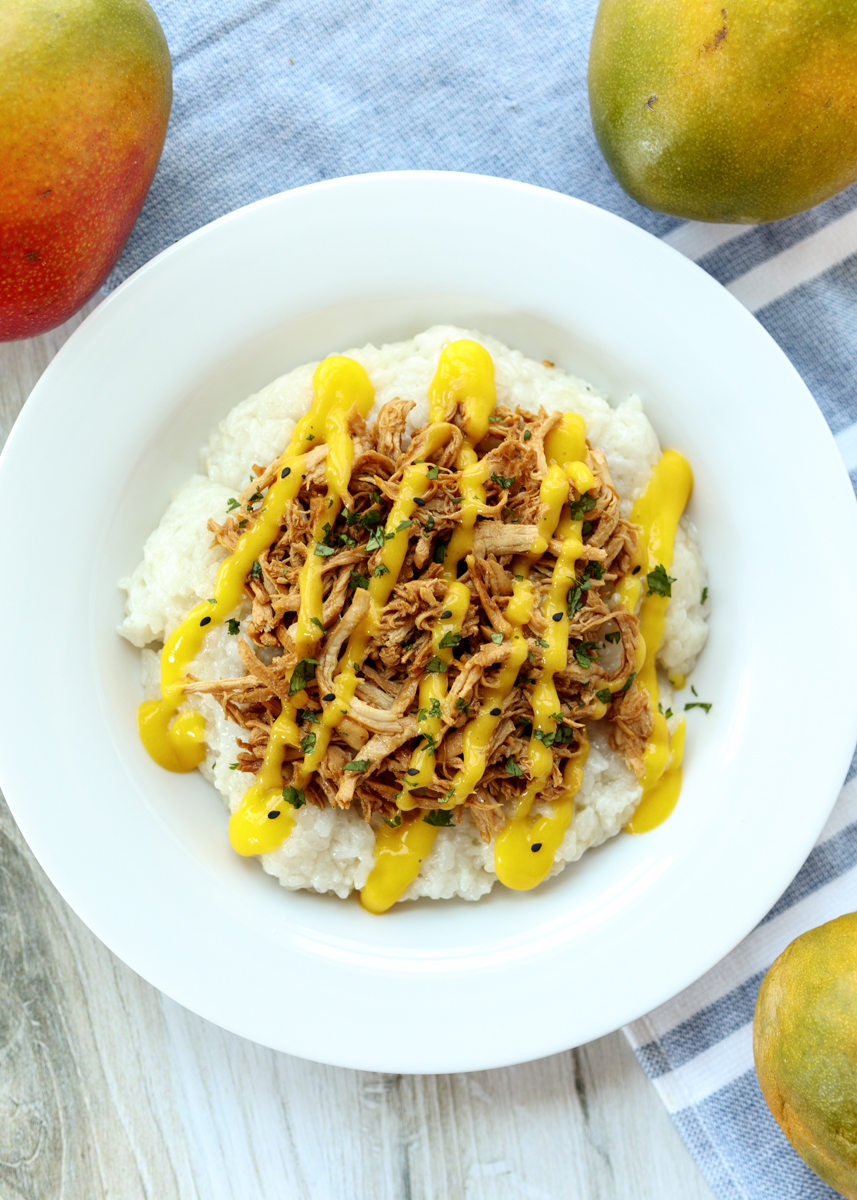
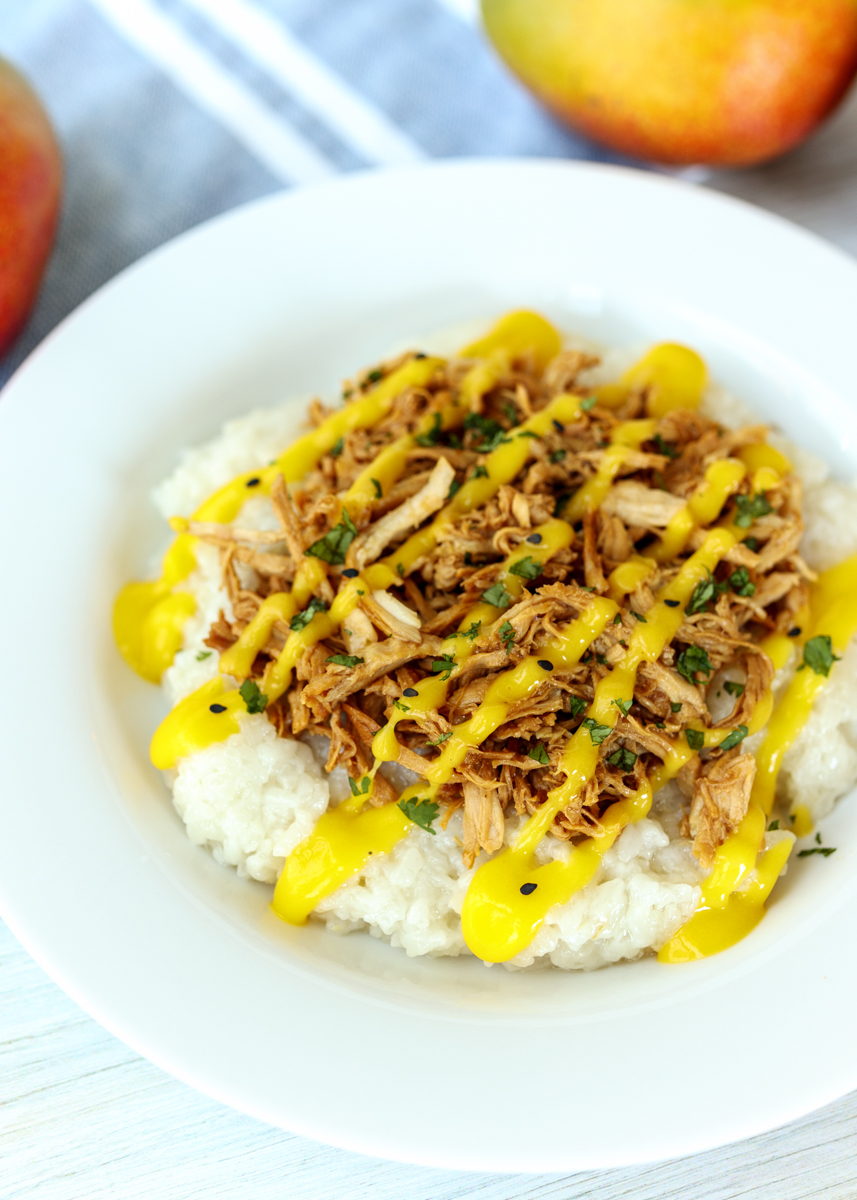
So what exactly is this meal? Creamy coconut sticky rice piled high with savory chicken and fresh mango puree. Each bite is like a comforting explosion of sweet and salty flavors balancing each other perfectly.

Chicken Coconut Sticky Rice Bowls with Mango Puree  |  Lemon & Mocha

I’ve had sticky rice plenty of time at restaurants, but I’ve never thought to make it at home. Sticky rice is different than say sticky sushi rice; sticky rice, which is also called sweet rice or glutinous rice, is very, very sticky and a little sweet. Oddly, even though it is called glutinous rice there is no gluten in it. We’re cooking it in coconut milk so it soaks up all that creaminess and richness.

Chicken Coconut Sticky Rice Bowls with Mango Puree  |  Lemon & Mocha

The chicken is cooked right in a skillet and the soy sauce adds a saltiness that pairs really well with the sticky rice. The final component is a simple mango puree. I say simple because it’s literally fresh (or thawed frozen) mangoes blended until smooth with a little salt and pepper.

Chicken Coconut Sticky Rice Bowls with Mango Puree  |  Lemon & Mocha

You’re going to want to be very generous with your mango puree serving and make sure you drizzle it over every nook and cranny of your Chicken Coconut Sticky Rice Bowl. Matt couldn’t believe the sauce was just mango and proceeded to use the leftovers on everything he could find in the fridge. I hope you enjoy it as much as we did!

Chicken Coconut Sticky Rice Bowls with Mango Puree  |  Lemon & Mocha

Chicken Coconut Sticky Rice Bowls with Mango Puree
 
Yield: 2-3 servings
Ingredients
  • 1 cup glutinous or sweet rice
  • 1¼ cups water
  • 1 large boneless skinless chicken breast
  • 1 tablespoon vegetable oil
  • 1 clove garlic, minced
  • 1-inch piece ginger, grated
  • 1 tablespoon hot sauce (I used Trader Joe’s Green Dragon Sauce)
  • 3 tablespoons low sodium soy sauce
  • 2 tablespoons sesame oil
  • 1 14-ounce can unsweetened coconut milk
  • 3 mangoes
  • Salt and pepper
  • Sesame seeds, for garnish
  • Chopped cilantro, for garnish
Directions
  1. Soak the rice in the water for 30-60 minutes. Then, add the rice, soaking liquid and the coconut milk to a small medium saucepan. Bring to a boil, then reduce to low, cover halfway to allow steam to escape and simmer for 20 minutes or until the liquid is absorbed.
  2. While the rice is cooking, make the chicken. Season the chicken. Heat the vegetable oil in a skillet over medium-high heat then sear the chicken on both sides. Reduce the heat to low and add the garlic, ginger, hot sauce, soy sauce and sesame oil. Cover the skillet and continue to cook on low heat until the chicken reaches 165 degrees F, about 20 minutes. Remove the chicken from the pan, leaving the sauce. Shred the chicken then return to the sauce and mix well.
  3. While the chicken is cooking, make the mango puree. Peel and pit the mangoes. Puree in a high-speed blender with a little salt and pepper until smooth. To plate the meal, scoop some sticky rice into each bowl then top with the chicken, sesame seeds, chopped cilantro and plenty of mango puree.

Recipe adapted from Stuffed: The Ultimate Comfort Food Cookbook.
Some of the links above are affiliate links, which means I may receive a small commission for my referral. This does not affect the retail cost of the item. Thank you for supporting Lemon & Mocha!