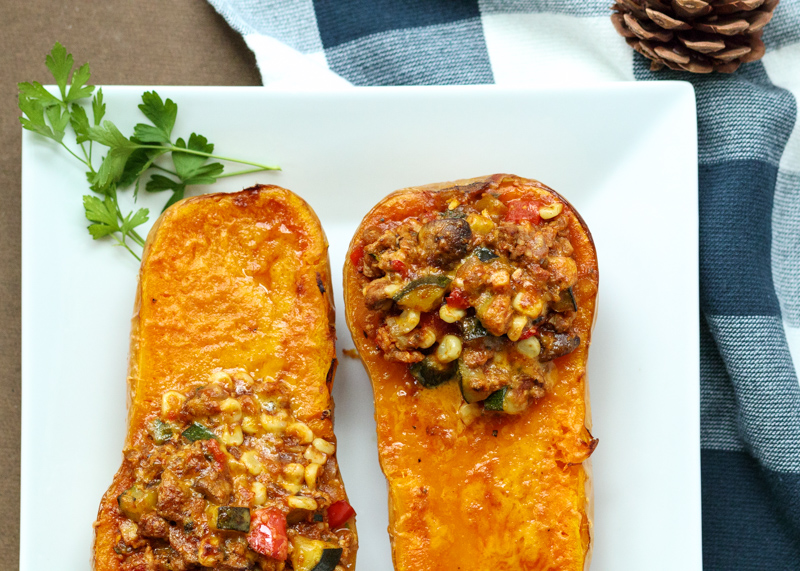
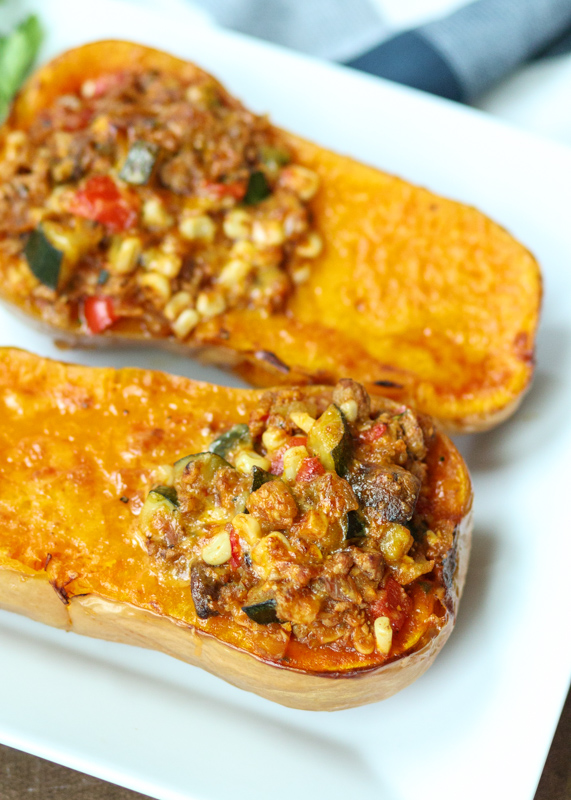
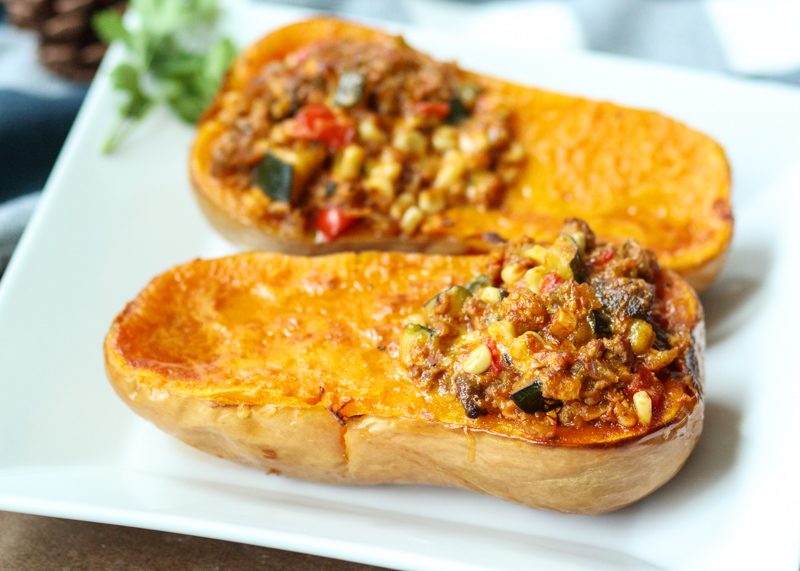
Autumn Harvest Chili Stuffed Butternut Squash
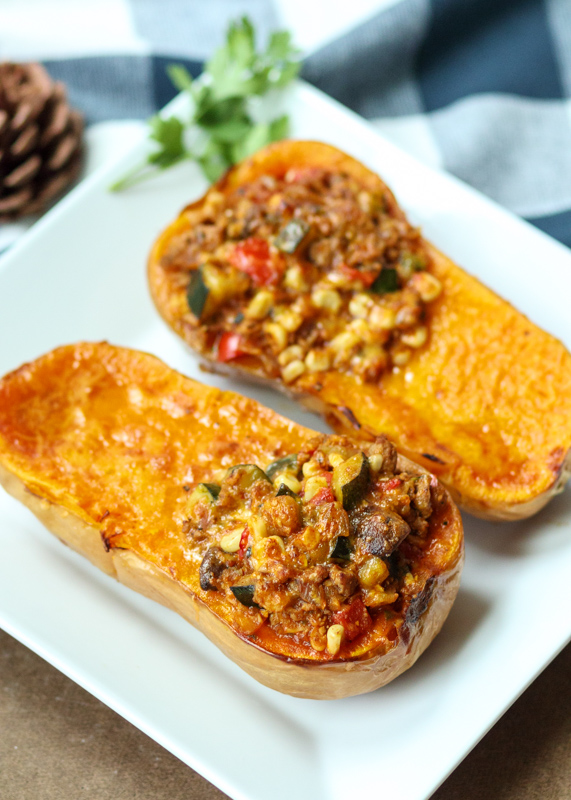
As I’m writing this post it is cold, rainy and seriously gloomy outside, making it the perfect time to write all about cozy comfort food. This is an easy veggie-packed turkey chili that gets scooped into creamy roasted butternut squash halves. I’m feeling warmer just looking at these photos! I’m kidding, I’m still chilly, but now I’m also hungry.
Of course because I’m me, aka food-obsessed, I still remember the first time I made this dish. I made it for Matt and I in a teeny kitchen; I have no idea how I sliced the butternut squashes in half since our knife was horrible and probably missing the tip. Side note: for best and safest results, make sure you use a good, really sharp, big knife for halving the squashes. It probably took a lot of muscle, cursing, almost cut fingers and help from Matt, but when you’re determined to eat some chili in butternut squash bowls you can make anything happen!
When we sat down to eat it on our tv trays – there was no kitchen table – we were both in love. Then I didn’t make it again until now because my never-ending waiting list of recipes got in the way. Thankfully when I was looking back through my Rachael Ray’s Look + Cook cookbook I stumbled across it and knew I needed to make it again immediately.
My version is a bit different from the original for quite a few reasons, but one in particular is because I’ve added ground turkey instead of keeping the recipe vegetarian. If you do want to eat the meal meatless, skip the ground turkey and instead add in a can of black beans per Rachael’s recipe.
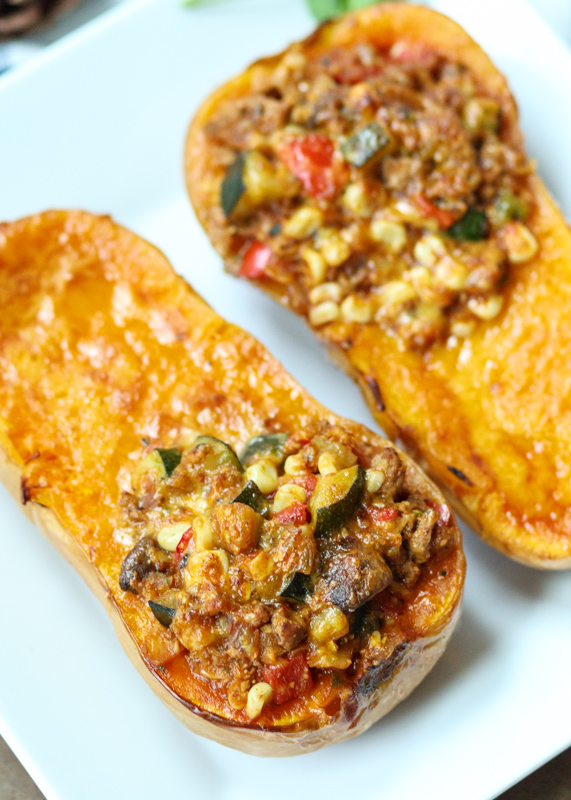
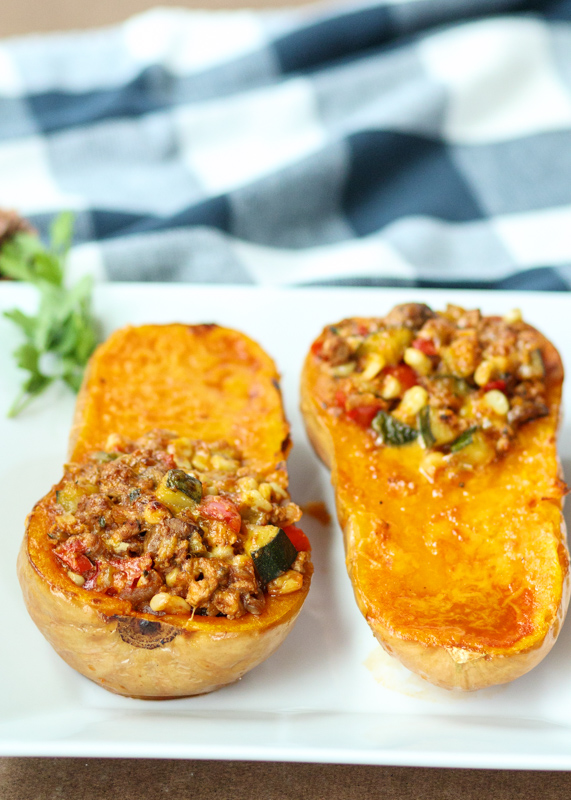
Since there’s a gooey layer of cheese over the top it’s a little difficult to see all the different vegetables packed in there. We have mushrooms, bell pepper, zucchini, corn and onions – and don’t forget the butternut squash! Although I actually just Googled butternut squash and it’s a fruit because of its seeds, but it “is used as a vegetable,” whatever that means. I’ll take that to mean we’re “using it as a vegetable” in this dish so you’re being super healthy and can splurge on dessert, okay? Enjoy!
- 3 small butternut squash, halved lengthwise and seeded
- 4 tablespoons extra virgin olive oil, divided
- 8 ounces ground turkey
- 8 ounces cremini mushrooms, quartered
- ½ medium onion, diced
- 2 cloves garlic, minced
- 1 red bell pepper, seeded and diced
- 2 small zucchini, cut into ½” dice
- 2 cups vegetable stock
- 1 tablespoon smoked paprika
- 1 teaspoon dried oregano
- Chili powder, see note
- 1 can diced hatch chiles
- 10 ounces frozen corn, or 3 ears of corn on the cob shucked
- 3 tablespoons tomato paste
- 1 tablespoon maple syrup or honey
- 1 cup shredded yellow cheddar cheese
- Preheat the oven to 425 degrees F.
- Arrange the butternut squash, flesh side facing up, on a large baking sheet. Drizzle the squash halves with 2 tablespoons of the olive oil then season with salt and pepper. Flip the squash over so they’re flesh side down and roast for about 30 minutes. After 30 minutes, carefully turn the squash over and bake for another 15 minutes to brown the edges. If your squash are larger they will need more time to cook to become tender.
- While the squash is cooking, heat a tablespoon of the olive oil in a large high-sided skillet or Dutch oven over medium-high heat. Add the ground turkey, season with salt and pepper and cook until browned, breaking up in the pan as needed. Remove the cooked turkey from the skillet and set aside.
- Heat the remaining tablespoon of olive oil. Add the mushrooms, onion and garlic. Season with salt and pepper and cook for about 5 minutes. Then add the bell pepper and zucchini. Season with salt and pepper and cook until the vegetables are tender, about 8 minutes. Turn the heat to medium and add the vegetable stock, smoked paprika, dried oregano, chili powder, can of hatch chiles, corn, tomato paste and maple syrup or honey. Using an immersion blender or a food processor, puree a cup or two of the chili mixture. This helps thicken it. Add the pureed chili back in (if you used a food processor) and add the ground turkey back in. Let cook for 5 more minutes then reduce heat to low until the butternut squash is done.
- When the butternut squash halves are done roasting and the chili is ready, scoop the chili into the butternut squash. Sprinkle the shredded cheddar over the mounded chili. Broil the filled squashes for 3 minutes to melt the cheese then serve.
Recipe adapted from Rachel Ray’s Look + Cook.
Some of the links above are affiliate links, which means I may receive a small commission for my referral. This does not affect the retail cost of the item. Thank you for supporting Lemon & Mocha!