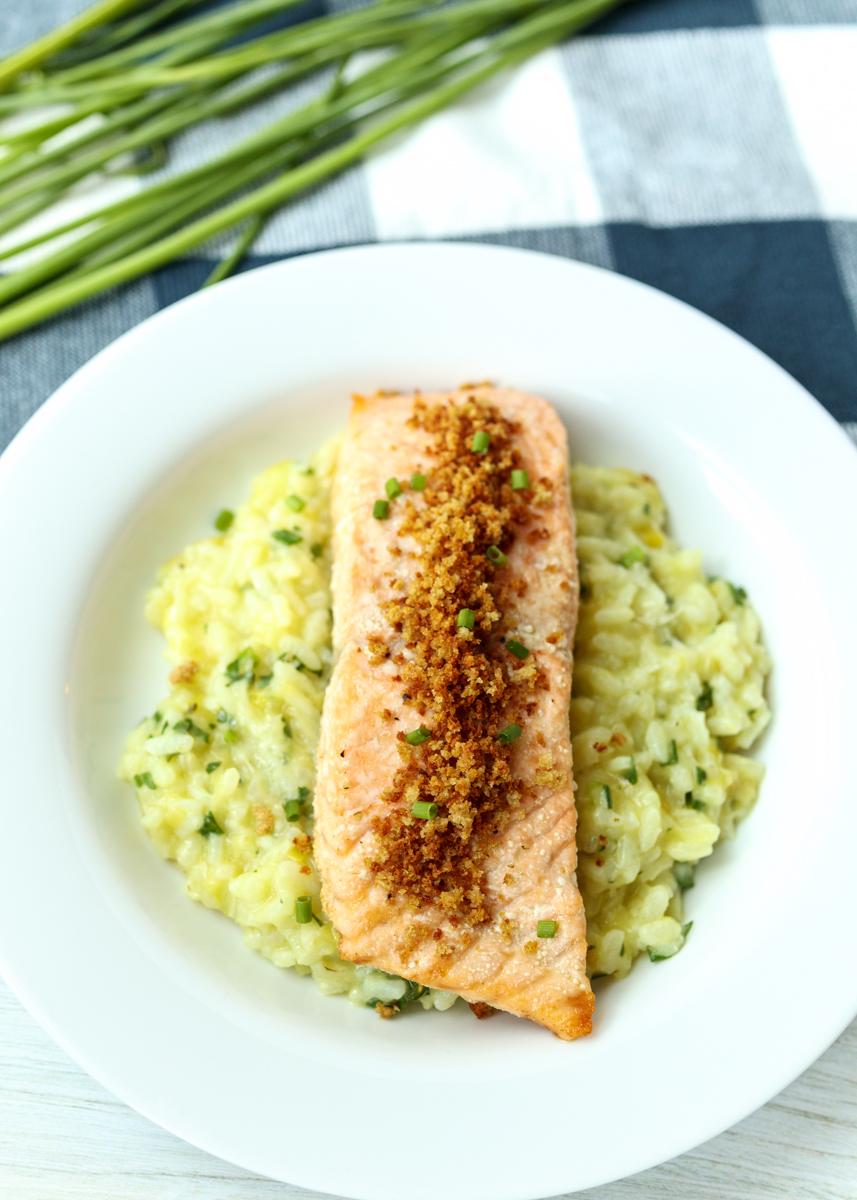
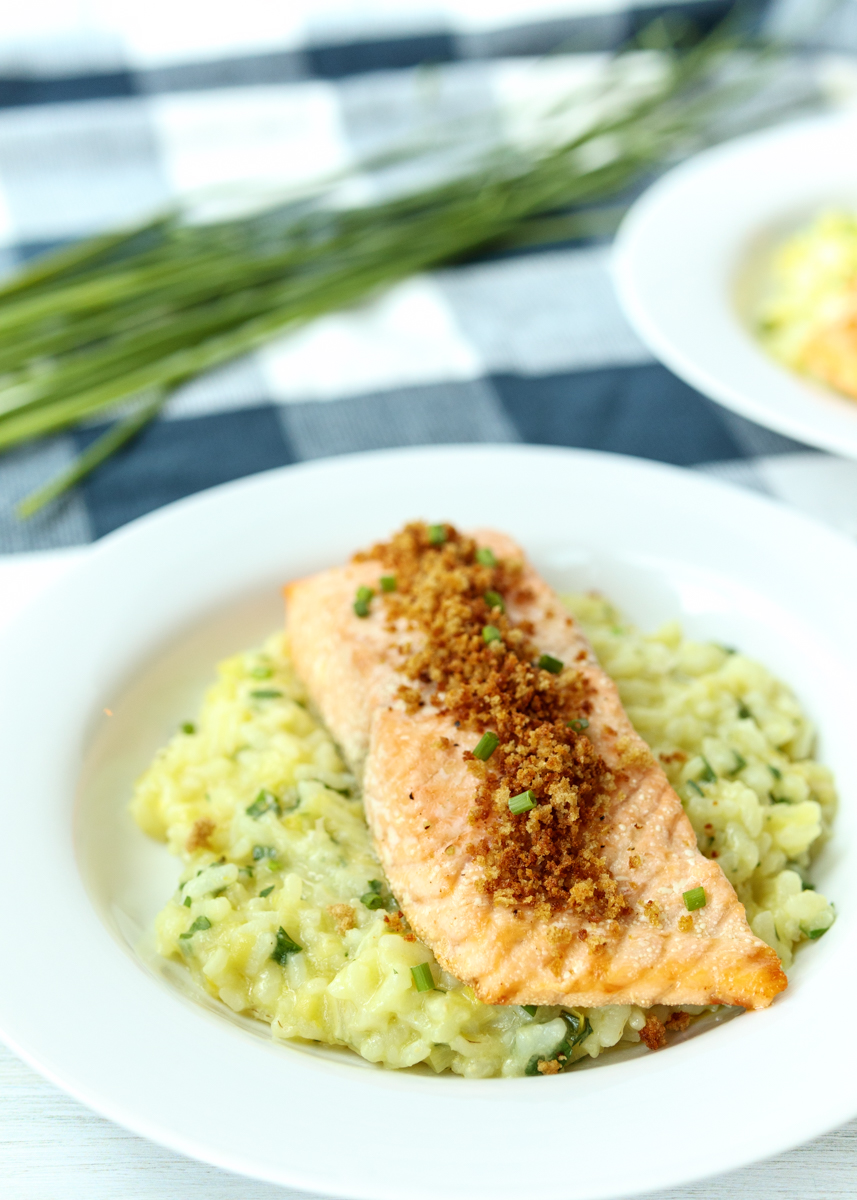
Lemon Herb Risotto with Salmon and Crispy Panko
Tomorrow is my birthday! Woo hoo! I love my birthday, but I’ve been so busy planning for our little guy’s arrival that I haven’t given it much thought this year. I did, however, decide to make a special birthday meal. And by that I mean I made it in August since I’ve been trying to get the blog ahead in anticipation of taking a few months off, but it had the spirit of my birthday just the same.
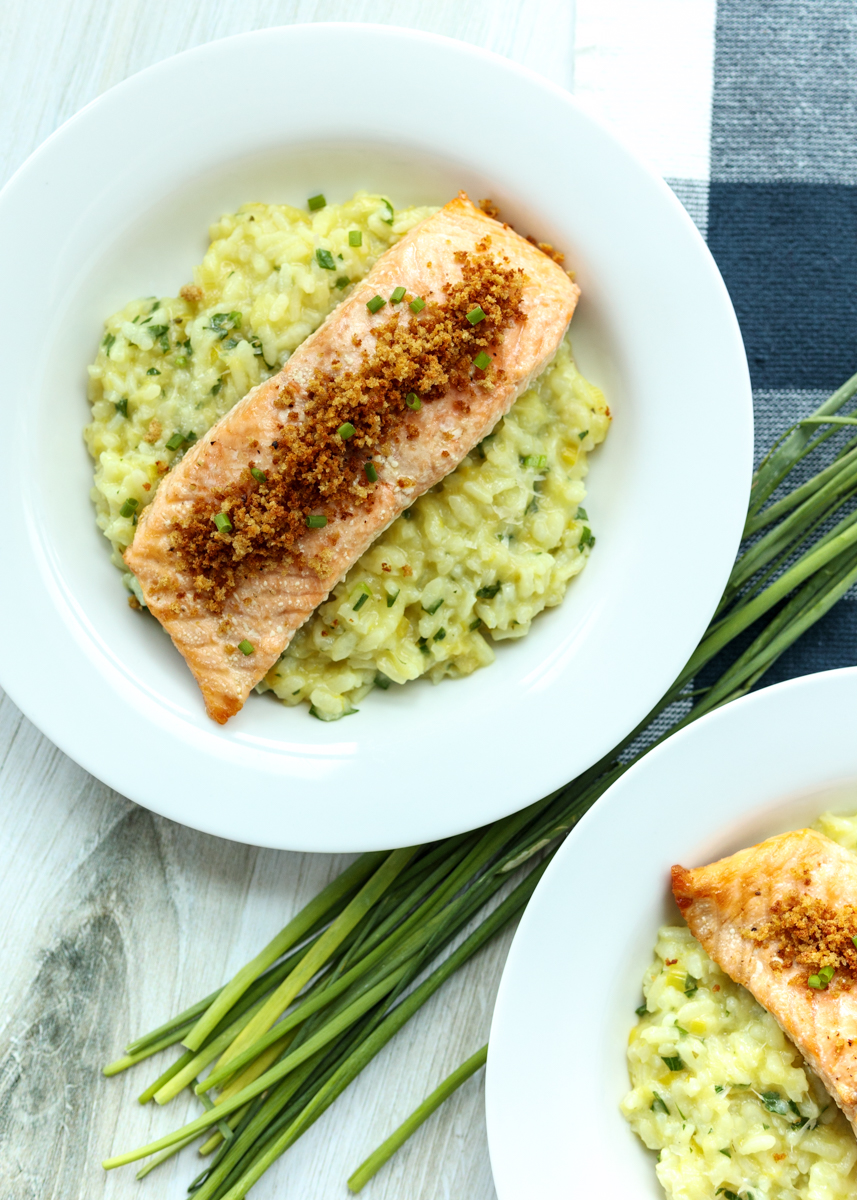
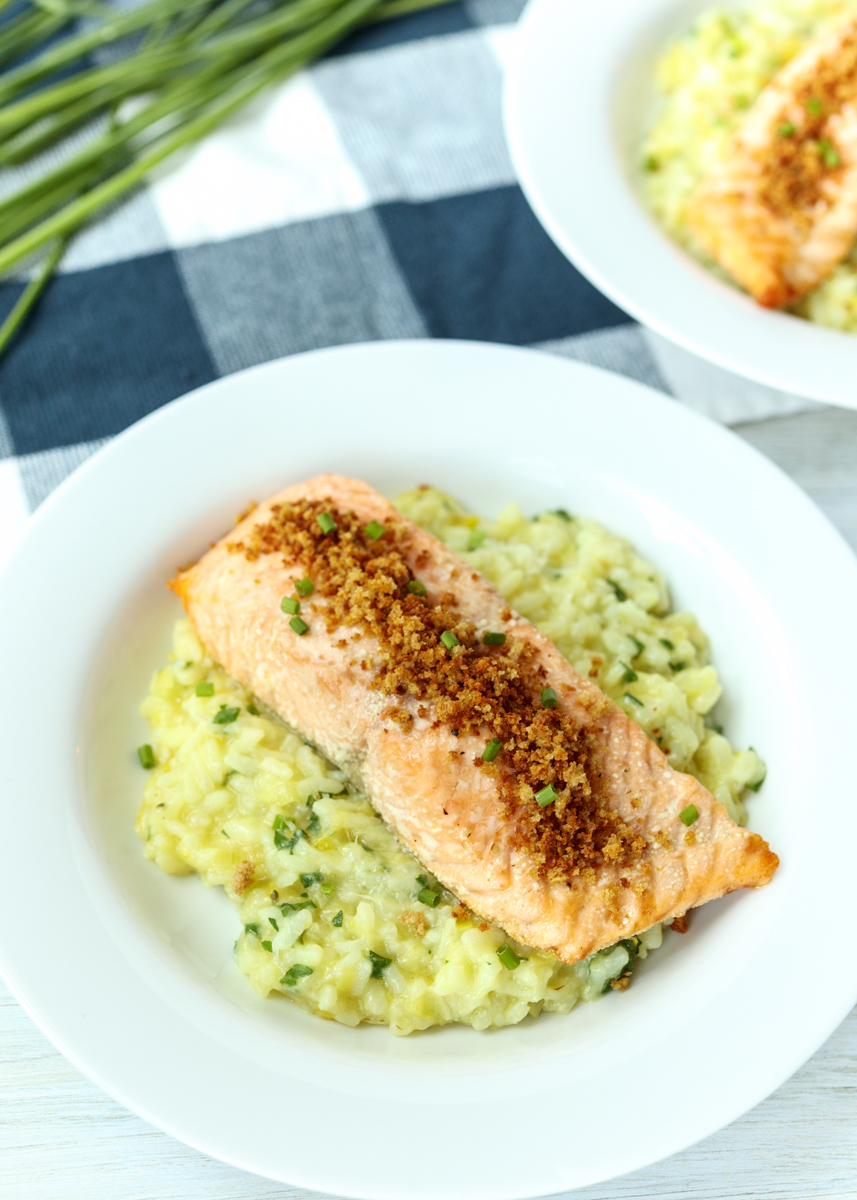
I thought I would combine two of my favorite dishes: salmon and risotto. I’ve had risotto with plenty of proteins on top, but never salmon. Now after having them together I don’t know why every restaurant doesn’t have a salmon risotto dish on their menu because it was so crazy delicious.
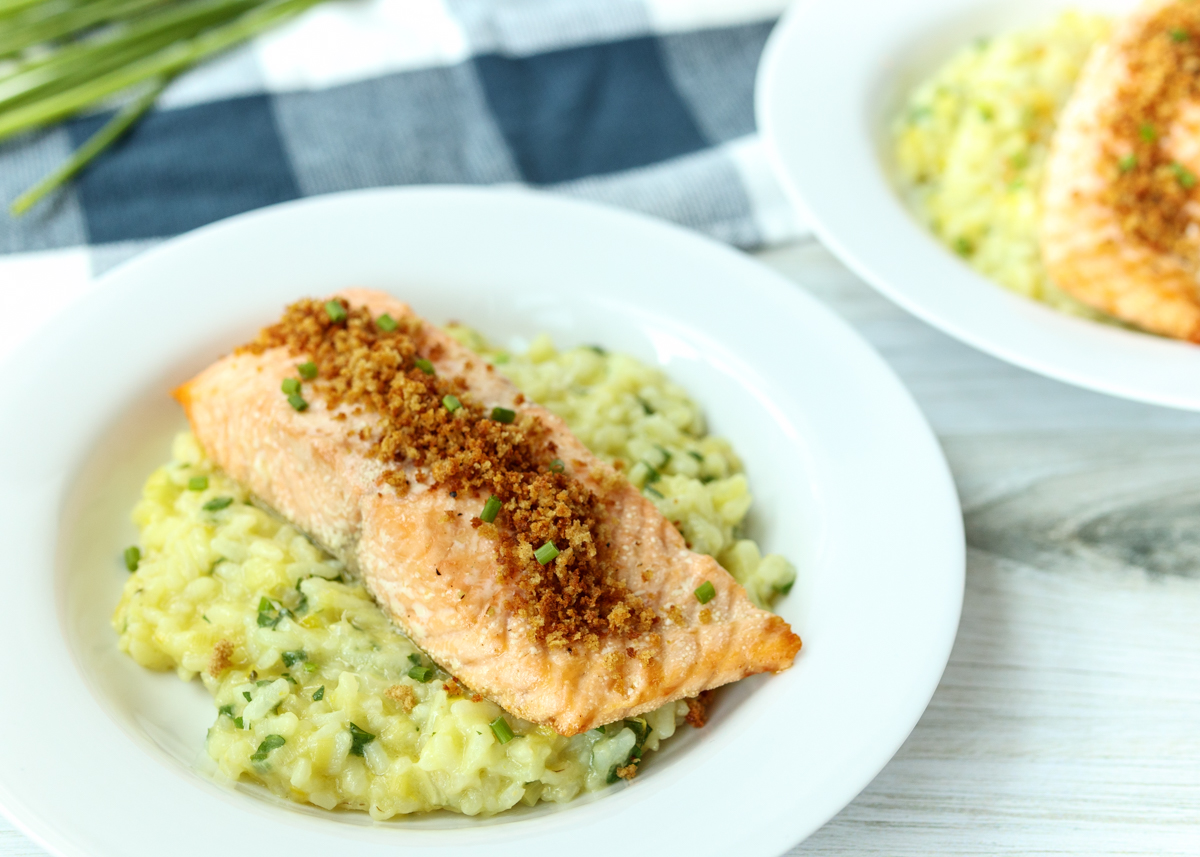
The lemon herb risotto is rich and creamy, while still tasting light because of the lemon and fresh parsley and chives. The risotto is a little cheesy, without being too cheese forward, which is perfect when paired with the tender salmon.
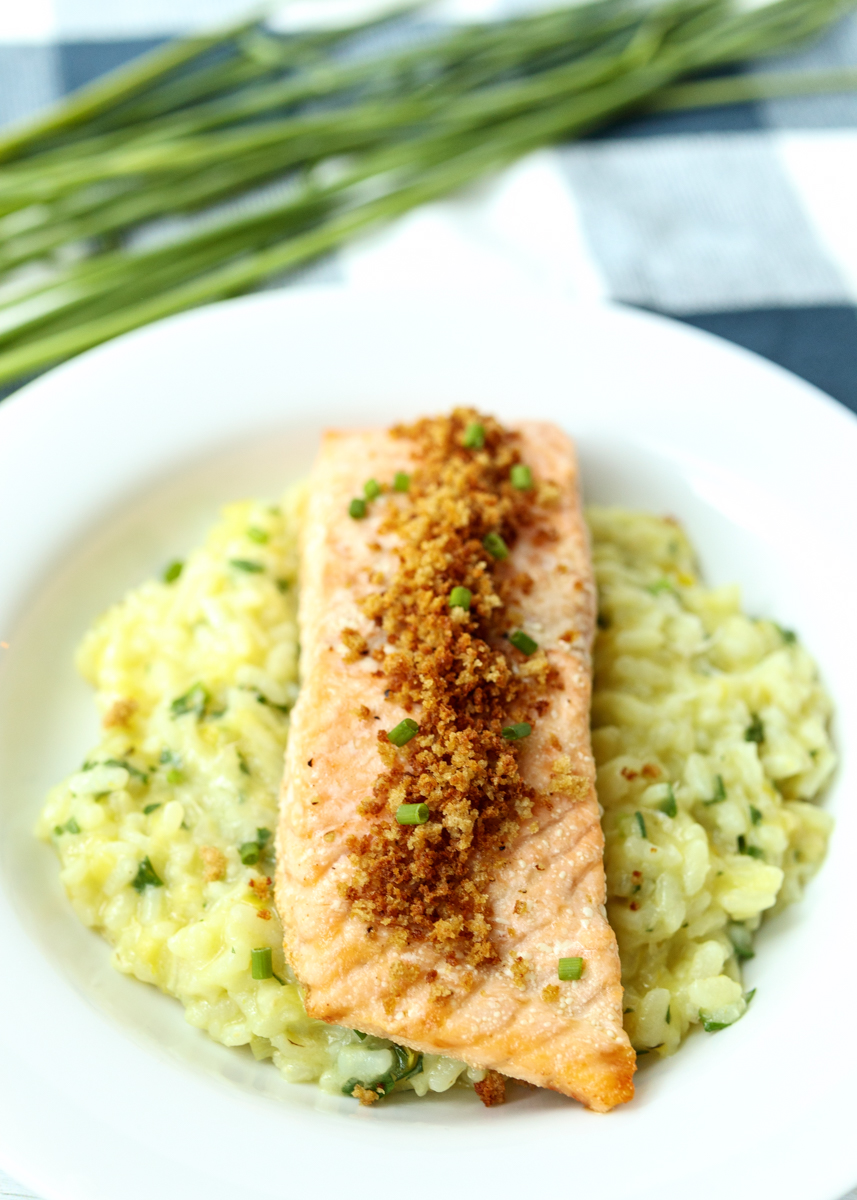
I baked the salmon very simply with some olive oil, salt and pepper and added some crispy panko breadcrumbs over top for extra texture. I could eat this combination every day of the week! It hit all the right flavor and texture notes and I gobbled up every last bite. Plus, it got two thumbs up from Matt, who I consider my in-house salmon skeptic. If he honestly enjoys it then I know it must be good!
If you’ve never made risotto before then now is the time! It’s the perfect cozy fall dish and is definitely not as intimidating as it seems. Enjoy, everyone!
- 3 cups low sodium chicken broth
- 3 tablespoons unsalted butter, divided
- 1 tablespoon olive oil
- 1 small leek, halved lengthwise, thinly sliced and rinsed
- ¾ cup arborio rice
- ⅓ cup dry white wine
- ⅓ cup fresh grated Parmesan
- Zest of 1 lemon
- Juice of ½ lemon
- ¼ cup chopped parsley
- 2 tablespoons chopped chives
- 2 4-ounce salmon filets (preferably skin off, but if not just remove after baking)
- 3 tablespoons olive oil
- Salt and pepper
- 2 tablespoons panko bread crumbs
- ¼ teaspoon olive oil
- Heat the chicken broth in a saucepan then keep warm over low heat.
- In a medium saucepan, heat 1 tablespoon of the butter and the tablespoon of olive oil over medium heat. Add the leek then season with salt. Cook for 5 minutes, stirring occasionally.
- Add the rice, season with salt. Cook for 1 minute, while stirring, until the rice is coated. Add the wine and cook while stirring until absorbed, about 1 minute.
- Add ½ cup of the warm chicken broth. Cook until absorbed, stirring frequently. Continue this process in ½ cup increments of the chicken broth until you’ve used it all up. This takes about 18 minutes. Remove the risotto from the heat and add the remaining 2 tablespoons of butter, Parmesan, lemon zest, lemon juice, parsley and chives. Season with salt to taste.
- Preheat oven to 350 degrees F. Line a baking sheet with nonstick aluminum foil or spray with cooking spray. Place the salmon filets on the baking sheet then drizzle with the olive oil. Season with salt and pepper. Bake for 18-20 minutes or until cooked and it easily flakes when you touch it with a fork. Serve over the risotto with the panko sprinkled on top.
- Add the panko to a small sauté pan over medium heat. Drizzle with the olive oil. Sauté, stirring frequently, until the panko is lightly browned, about 5 minutes.
Risotto recipe from March 2017 issue of Food Network Magazine.
Some of the links above are affiliate links, which means I may receive a small commission for my referral. This does not affect the retail cost of the item. Thank you for supporting Lemon & Mocha!