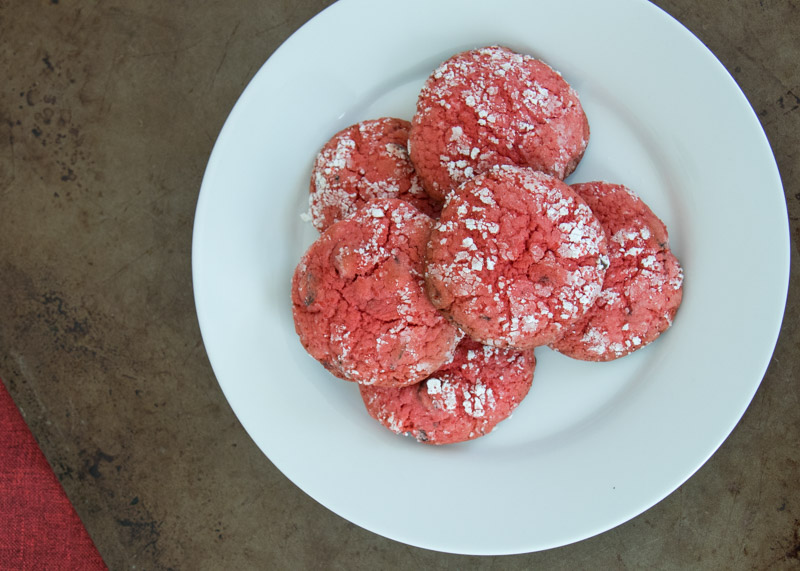
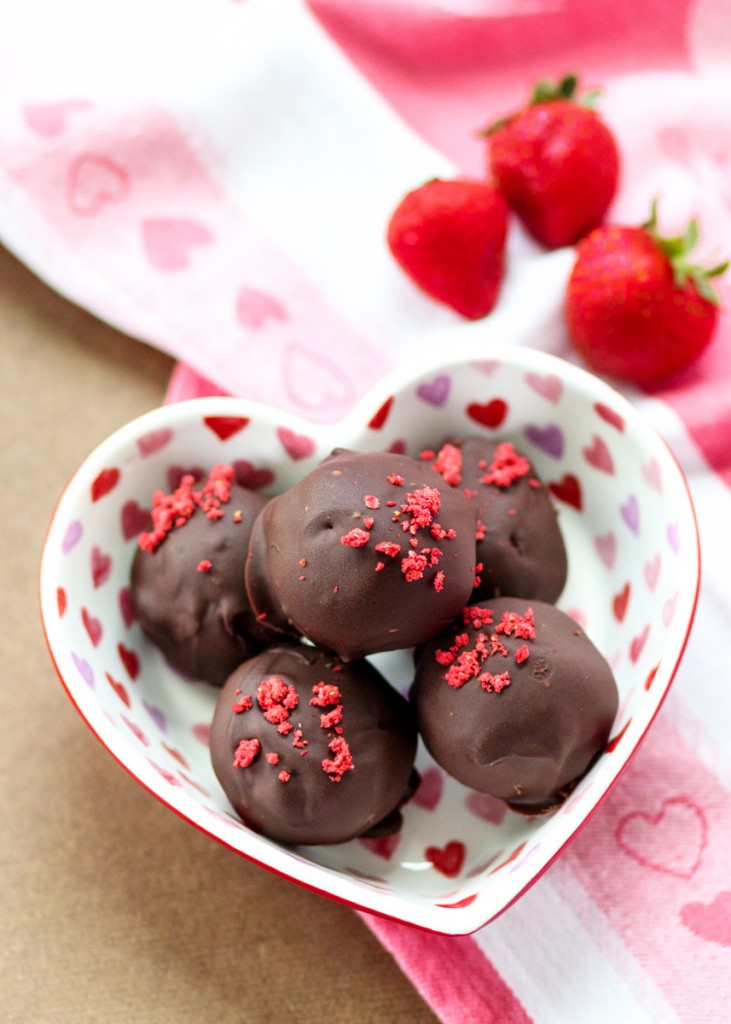
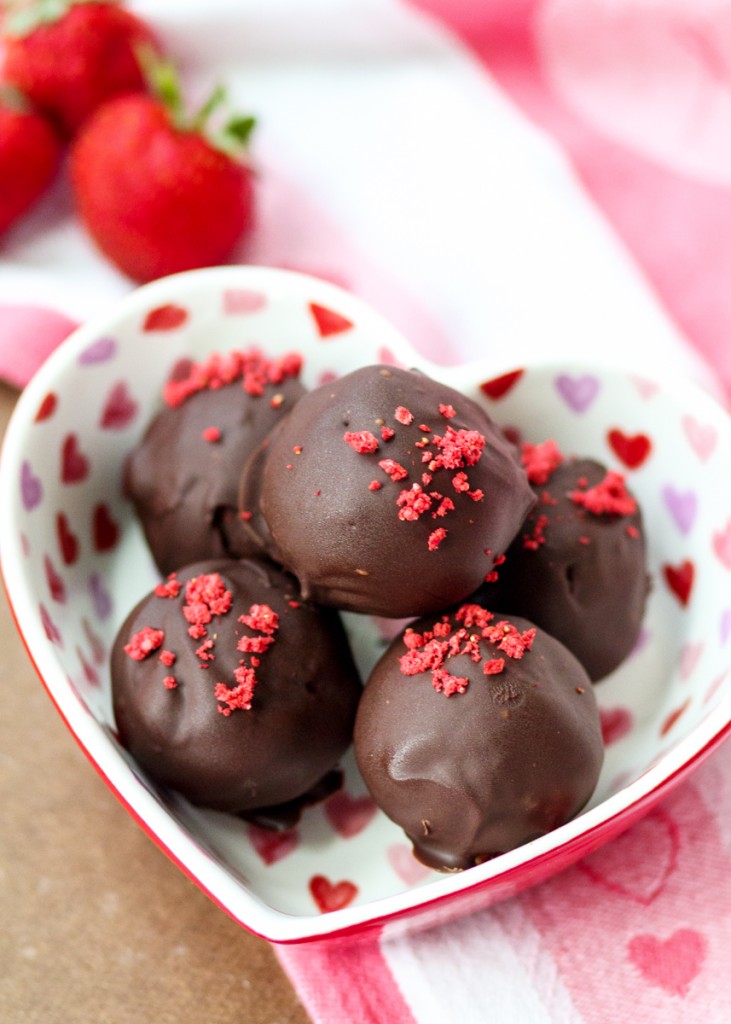
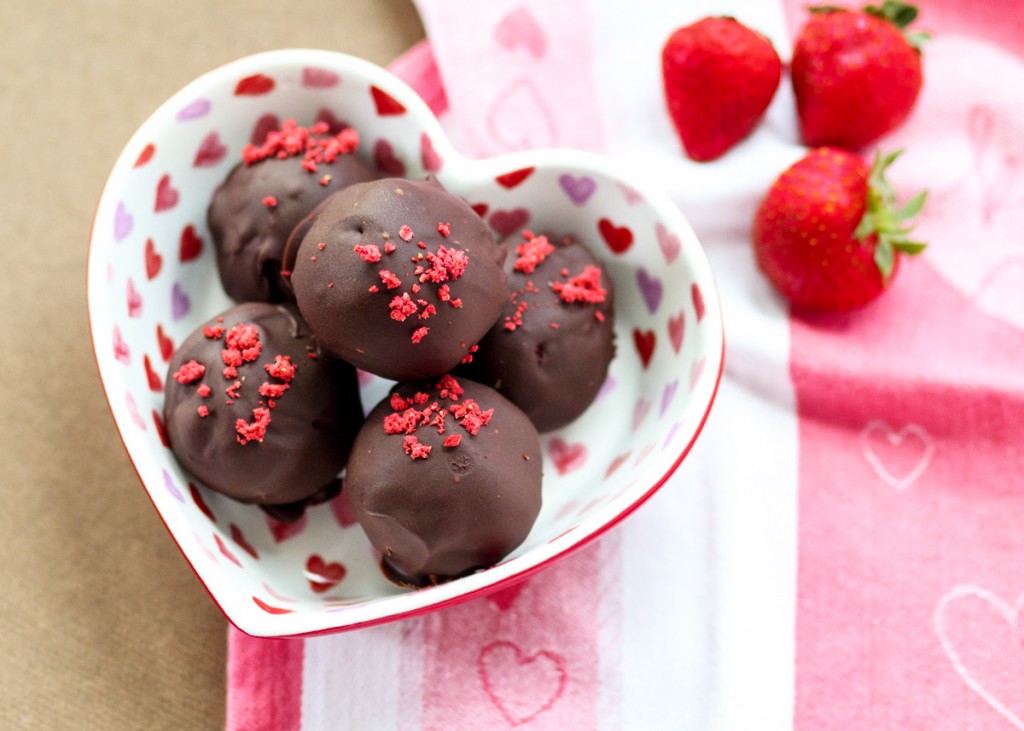
Strawberry Chocolate Ganache Cake Balls

I’m going to have a hard time writing about these Strawberry Chocolate Ganache Cake Balls because every time I think about them my mind goes blank except for thoughts of wanting to eat them. By the time I’m done writing this post I’ll probably find myself in the kitchen making a batch of these because I made and photographed them so long ago – like last September long ago! Which means I don’t have any right now while I’m writing about them and editing the photos, which is probably the most torturous writing endeavor ever.
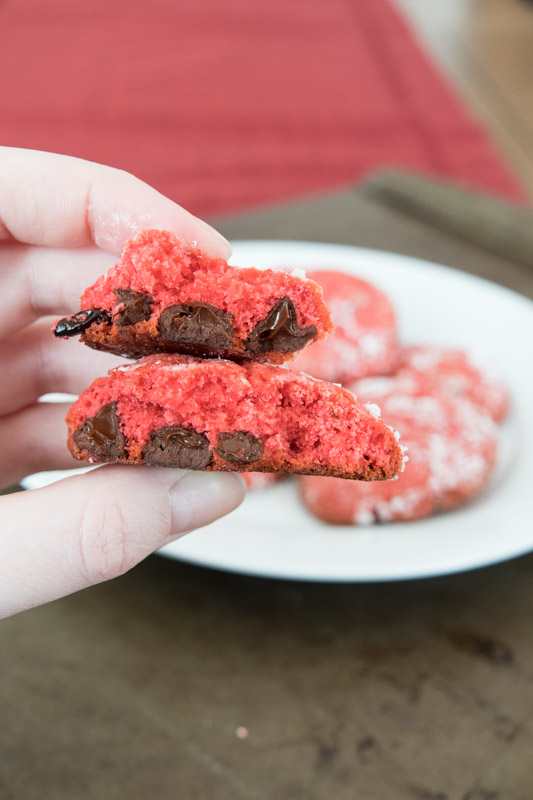
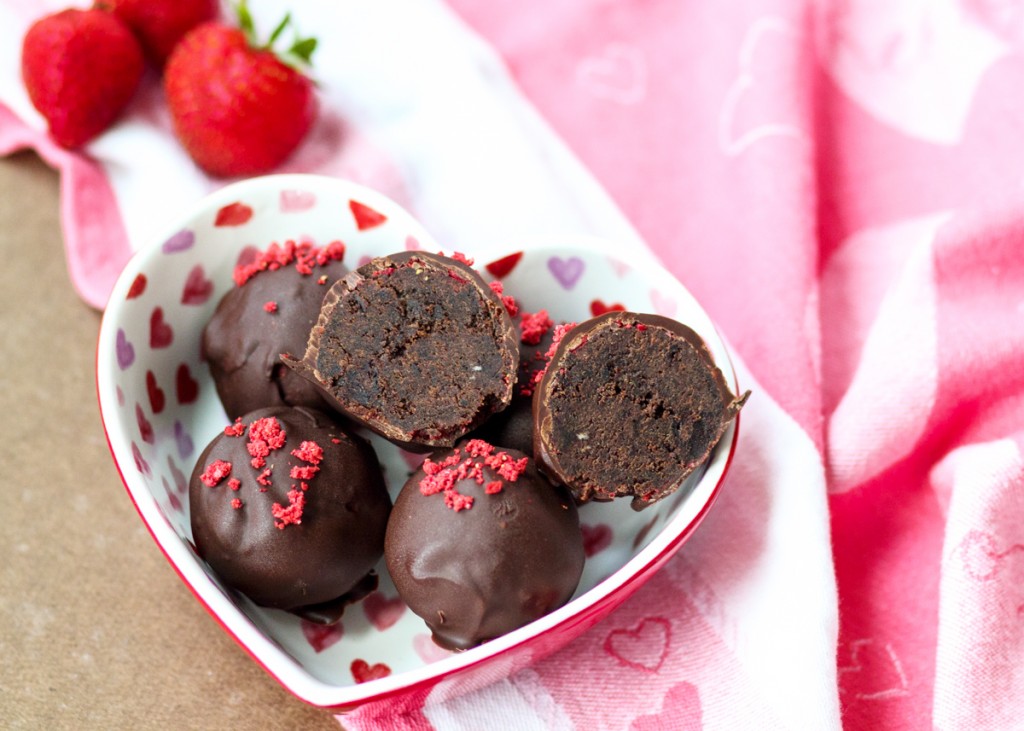
Typically, cake balls consist of cake and buttercream mushed together and then dipped in chocolate. Instead of the traditional buttercream, these cake balls are made with my Perfect Chocolate Cake recipe and my Chocolate Ganache. Chocolate ganache is silky, decadent and a pure chocolate-lover’s dream. Alternatively, if you wanted to speed the recipe up you could use a store-bought chocolate cake mix instead.
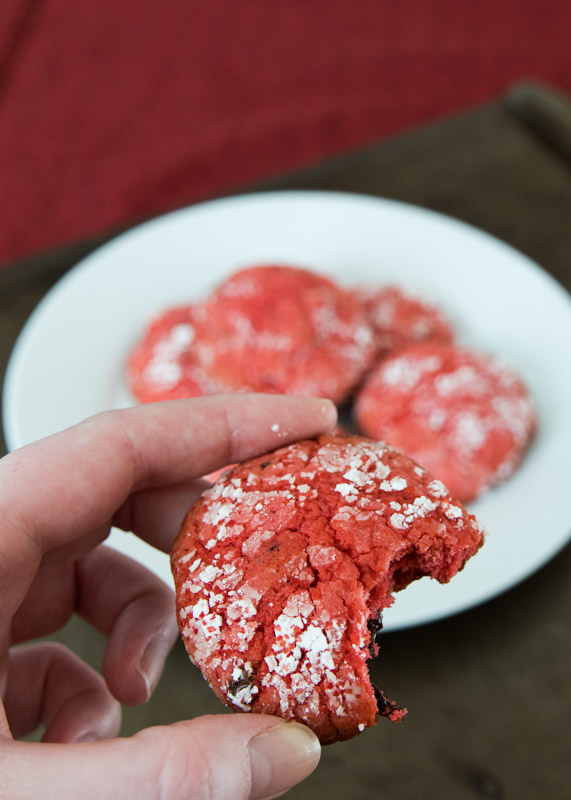
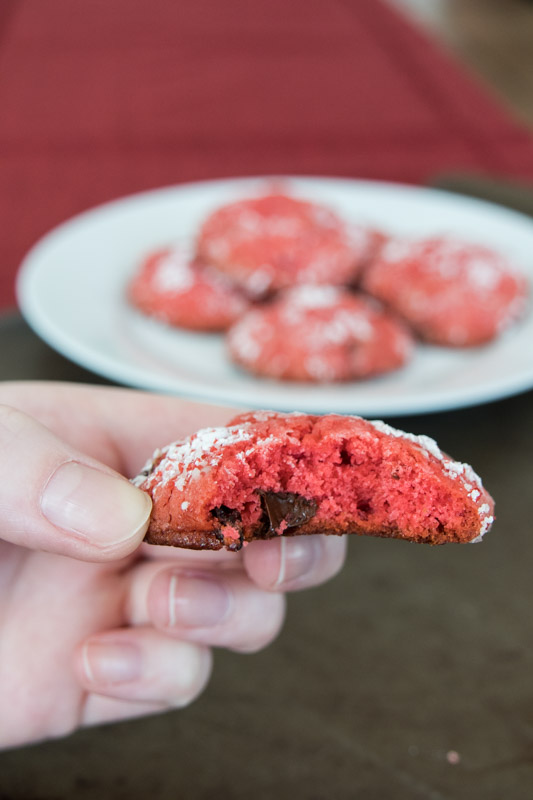
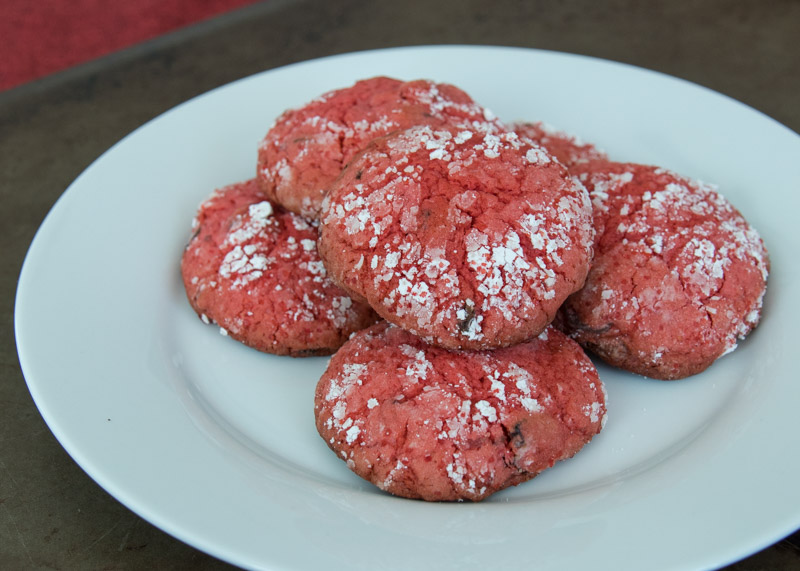
Just the cake and the ganache together is enough to make me swoon, but I’ve rolled the cake balls in powdered freeze-dried strawberries to add some tartness and fruitiness. What are powdered freeze-dried strawberries? Just store-bought freeze-dried strawberries that you can get at Trader Joe’s and or Target that I’ve crushed up in my mini food processor to make a powder. I got this idea from one of my favorite candy retailers – Chukar Cherries out of Seattle, Washington. Matt and I first tried Chukar Cherries products during our Seattle vacation in 2013 and we’ve been hooked ever since. They have these raspberry truffles that are dried cranberries covered in white chocolate and then rolled in raspberry powder. They are sweet, tangy and crazy addictive.
I’ve even seen raspberry powder and strawberry powder in a local spice shop here, but it would definitely be less expensive to buy the pack of freeze-dried strawberries and crush them yourself. After rolling the cake balls in the powdered freeze-dried strawberries they are dipped in melted semisweet chocolate to form a rich chocolate shell on the outside.
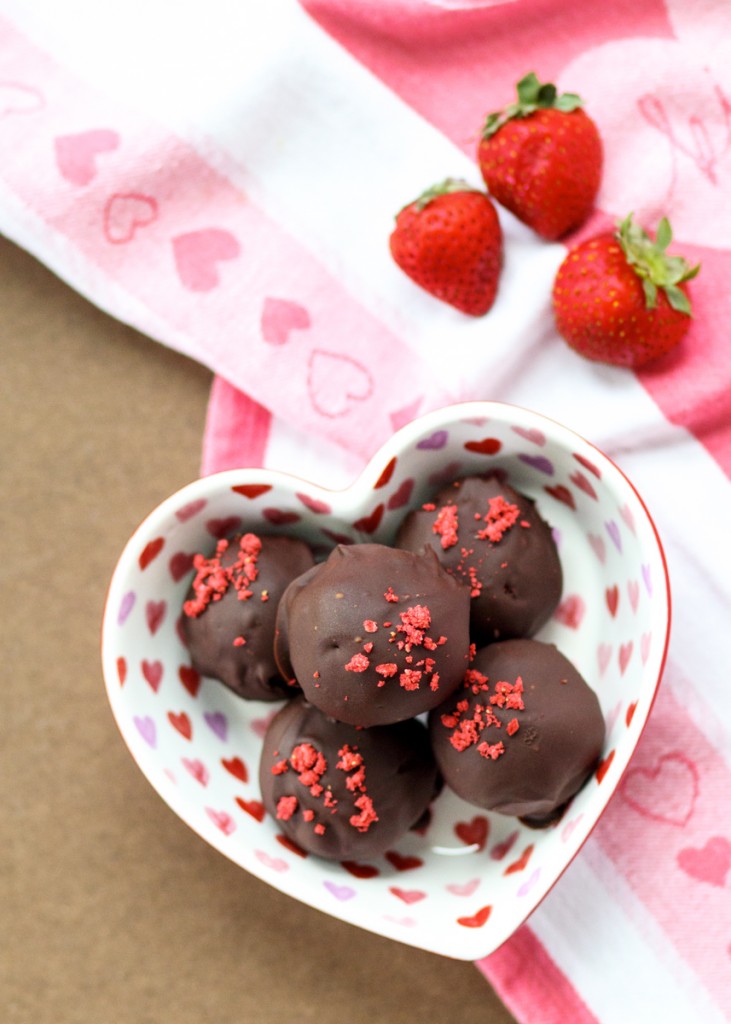
I initially made these cake balls because I had all these leftover ingredients, but they are worth a special trip to the kitchen just to make these Strawberry Chocolate Ganache Cake Balls. Obviously they are a perfect treat for Valentine’s Day, but seeing as how I first made them during a warm day in September they really are the perfect chocolate dessert any day of the year!
- 2 cups granulated sugar
- 1¾ cups all-purpose flour
- ¾ cup cocoa powder
- 1½ teaspoons baking powder
- 1 teaspoon baking soda
- 1 teaspoon salt
- 2 large eggs
- 1 cup buttermilk, see note
- ¼ cup butter, melted
- ¼ cup vegetable oil
- 1 tablespoon vanilla extract
- 1 cup hot coffee, see note
- ¾ cup heavy cream
- 1 12-ounce bag of semisweet or bittersweet chocolate chips (see note)
- 3 tablespoons unsalted butter, softened
- 1 bag freeze-dried strawberries, about 1 ounce
- About 4 cups semisweet chocolate chips (see note) or chocolate coating wafers
- 1 tablespoon vegetable oil or coconut oil
- If you want to use a box mix, bake it according to the box directions in a 9x13 pan then skip ahead to the last step in this section.
- Preheat the oven to 350 degrees F. Grease and flour a 9x13 pan. Set aside.
- In a large mixing bowl or in the bowl of a stand mixer, sift together the sugar, flour, cocoa powder, baking powder, baking soda and salt.
- In a medium mixing bowl, whisk together the eggs, buttermilk, melted butter, vegetable oil and vanilla extract. Pour the liquid ingredients into the dry ingredients and mix together until smooth.
- Pour the hot coffee into the batter and stir until combined. The batter will be extremely liquidy. Pour the batter into the prepared pan. Bake for 35-40 minutes, or until a toothpick inserted in the center comes back mostly clean.
- Let cool in the pan for a couple minutes then remove to a wire cooling rack to cool completely before making the cake balls.
- Heat the cream over medium heat until steaming, stirring constantly.
- Once steaming, remove the cream from the heat. Add the chocolate and stir then let sit for 5 minutes.
- Add the butter to the chocolate mixture then stir until smooth. You may need to return to low heat to stir and melt all the final bits of chocolate and butter. Let cool.
- Line 2 baking sheet that fit in your fridge or freezer with wax paper. Set aside. Turn the freeze-dried strawberries into a powder using a food processor or by carefully crushing into a powder in the bag with a rolling pin. Place in a small bowl and set aside.
- In a large mixing bowl, completely crumble the cake then combine with 1½ cups of the cooled chocolate ganache. Stir together until the chocolate ganache is completely incorporated and the cake balls are roll-able, but not too wet, adding more chocolate ganache as needed. Roll the mixture into balls, then roll each ball in the powdered freeze-dried strawberries. Place on the prepared baking sheets then either freeze for a little bit or refrigerate for a few hours. You want them to be cold and solid, but not frozen.
- When you’re almost ready to take the cake balls out of the fridge or freezer, melt the chocolate chips and vegetable oil or the chocolate coating wafers. I melted mine in two batches instead of melting it all at once. Microwave in a tall deep bowl (like a microwave-safe liquid measuring cup) for 30 seconds, stir, then continue in 15 second intervals until the chocolate is completely melted. Make sure not too over heat it or the chocolate will seize up. Alternatively, you could melt the chocolate using a double boiler. Use a spoon or fork to dip each chilled cake ball into the chocolate, letting the excess drip off before placing back on the wax paper lined baking sheet. Top each cake ball with a sprinkling of the powdered freeze-dried strawberries and some Valentine’s Day sprinkles before the chocolate hardens. Store in the fridge - if you don’t eat them all right away!
If you don’t want to use coffee you can use hot water, but the flavor of the chocolate won’t be as pronounced. You can use decaffeinated coffee if you prefer.
For the chocolate ganache (and if using chocolate chips instead of chocolate coating wafers for the outer layer), I recommend using Ghiradelli, Guittard or Scharffen Berger.
Any leftover ganache will keep in an airtight container in the fridge for up to 4 weeks.
Some of the links above are affiliate links, which means I may receive a small commission for my referral if you purchase something. This does not affect the retail cost of the item. Thank you for supporting Lemon & Mocha!