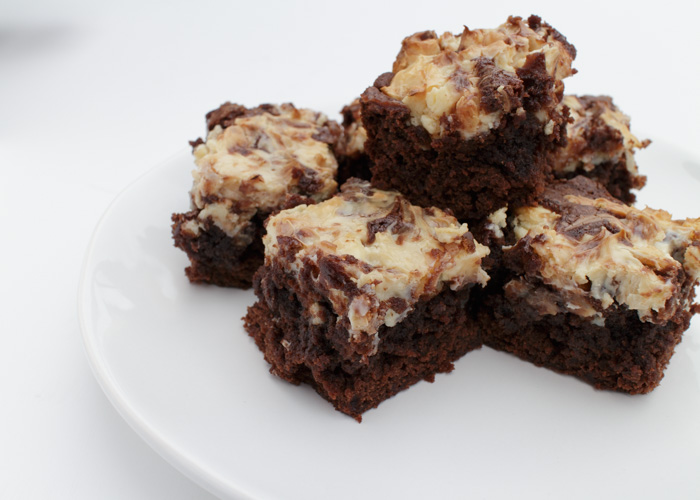
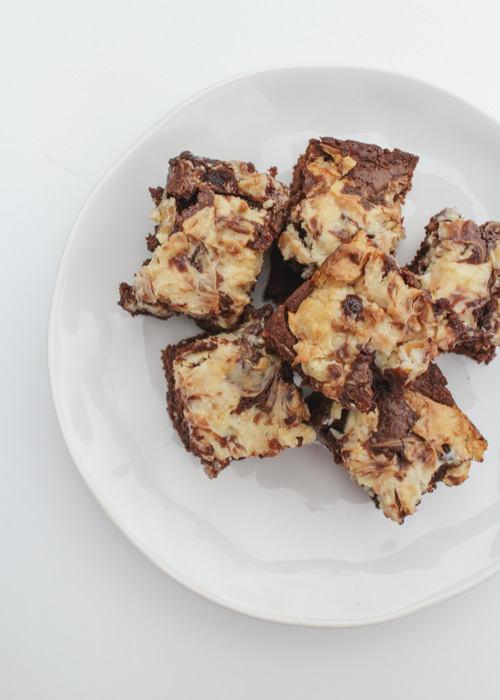
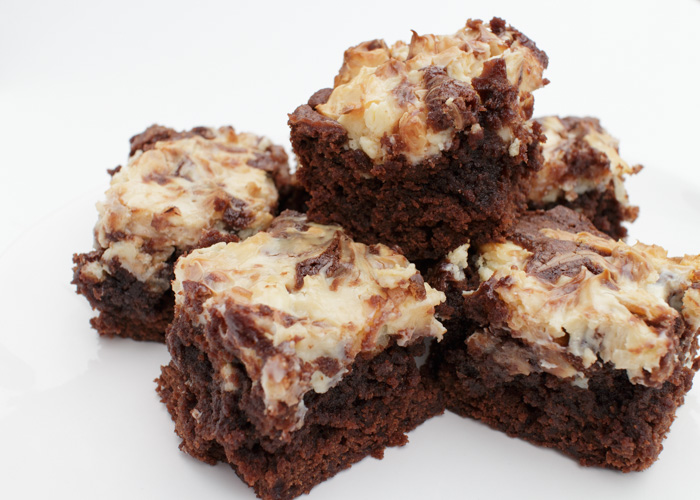
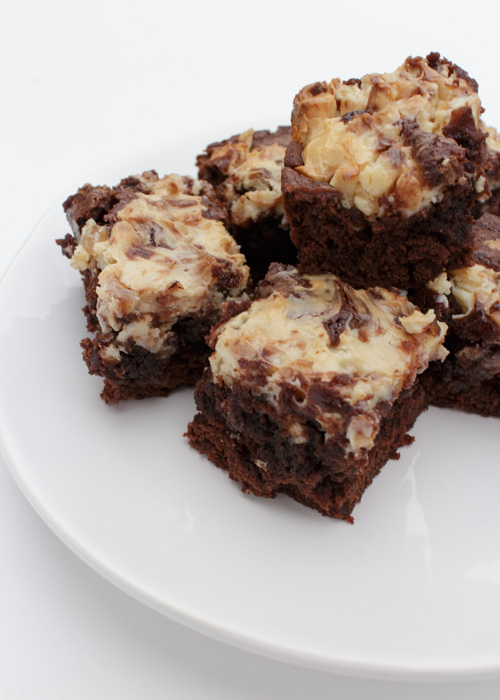
Coconut Cream Cheese Brownies
Did you know Tuesday was National Dessert Day? I didn’t until I saw hundreds of dessert pictures on Instagram. As I scrolled through picture after picture of gooey, velvety indulgence I thought to myself, “why is my phone not edible?” I mean, “I should share a dessert recipe with my Lemon & Mocha readers!” Yup, that’s what I said.
I knew it would have to be decadent and of course there is nothing more glorious in the world than chocolate. But chocolate with a creamy cheesecake layer? Heavenly. The first time I made cream cheese swirl brownies I could not believe how easy it was. That right there is truly dangerous knowledge.
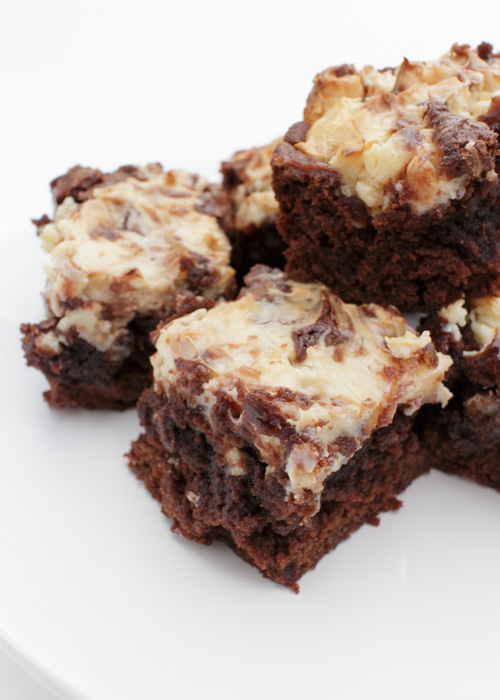
These coconut cream cheese brownies are super simple, but incredibly delicious. The coconut provides a nice unexpected flavor and is enhanced by the use of almond extract. You can use your favorite brownie batter recipe for these coconut cream cheese brownies. I, however, have a confession to share: I am obsessed with the Ghiradelli Triple Chocolate brownie mix.
I am sure many people out there share this same obsession as it makes un-real brownies in the most amazing way possible. I am always about making recipes and ingredients completely from scratch, but I haven’t even attempted making brownies from scratch because I love this box mix so much.
I said it world, I love a box mix! If you have an unbelievable scratch brownie recipe though please send it my way as I would love to test it out. Anyways, back to these coconut cream cheese brownies. Make them. That is all.
- 1 package brownie mix with ingredients according to package, or your favorite brownie batter recipe
- 8 ounces cream cheese, softened
- ⅓ cup granulated sugar
- 1 large egg
- ½ teaspoon almond extract
- 1 cup shredded toasted coconut
- Preheat oven to 350 degrees F. Grease a 9” by 9” baking pan and set aside.
- Prepare the brownie mix according to the package instructions. Pour into the prepared baking pan.
- Using the paddle attachment of a stand mixer or a hand mixer on medium speed beat the cream cheese until fluffy.
- Add the sugar then mix until combined. Add the egg, almond extract & coconut then mix until combined.
- Dollop the cream cheese mixture over the brownie batter then gently spread evenly as much as possible over the brownie mixture. To create a marbled effect, carefully swirl through the batter with a knife.
- Bake for 35-40 minutes or until a toothpick comes out clean. Let cool completely then cut into squares before serving. Refrigerate until ready to serve, then let come to room temperature if desired.
Recipe slightly adapted from Duncan Hines.