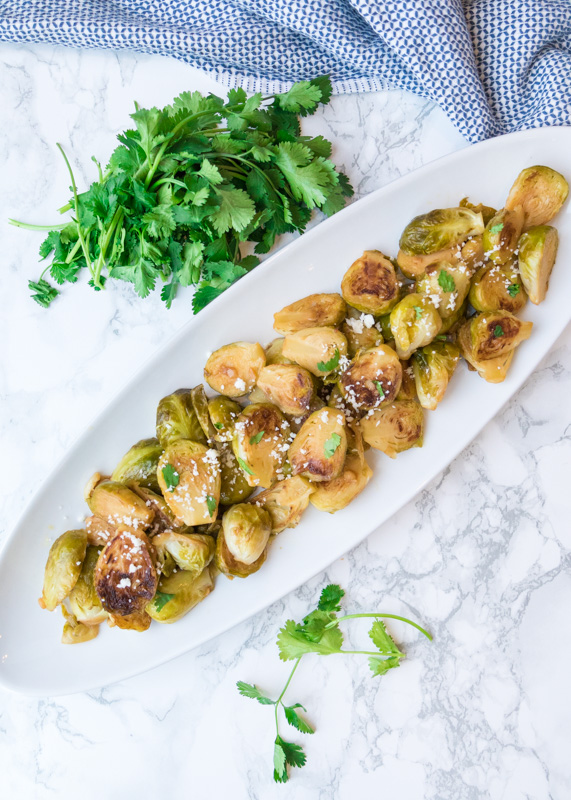
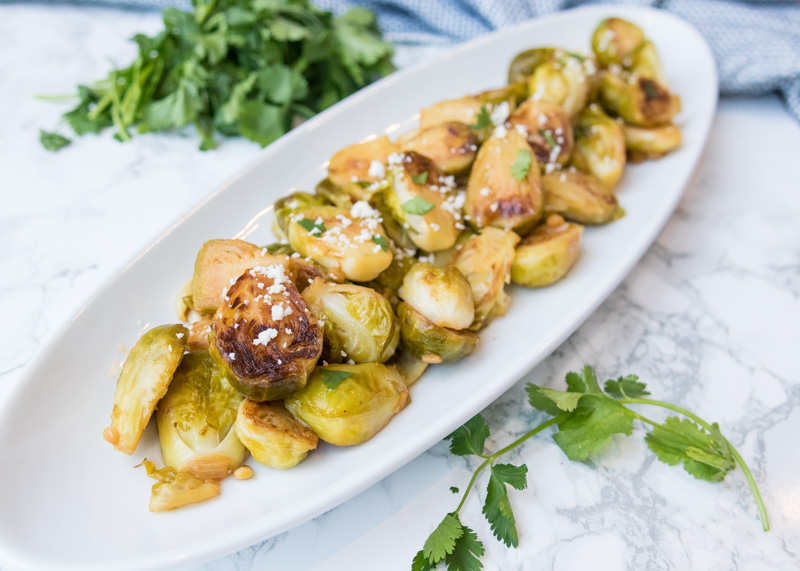
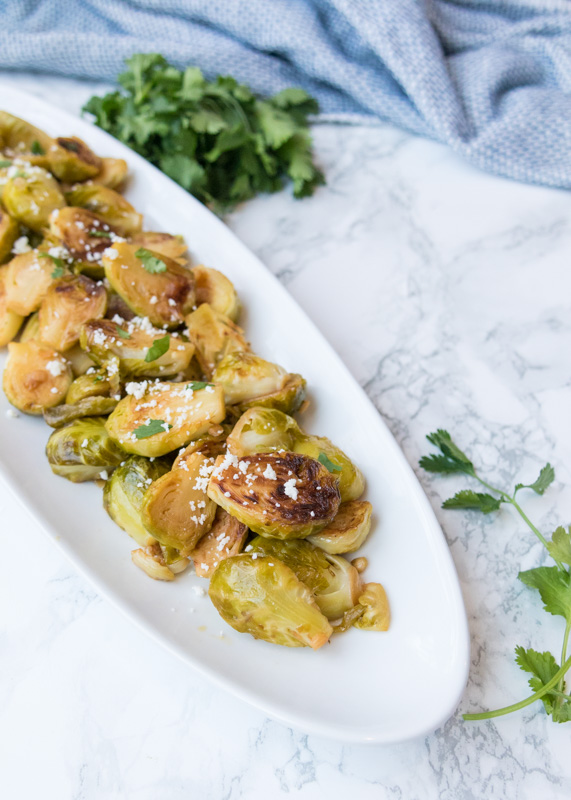
Orange Glazed Brussels Sprouts
Unless I’m busy gorging on pasta, dinner at home doesn’t seem complete to me unless there are some veggies. This is probably because my dad always seems to need at least three types of vegetables on his plate and he’s been like that for as long as I can remember. Roasted vegetables are usually the default in our house, but these orange and apple cider vinegar sautéed brussels sprouts from Pati’s Mexican Table were speaking to me. Well, actually her recipe calls for green beans, but we are big fans of brussels over here so I’ll use any excuse to sub them in.
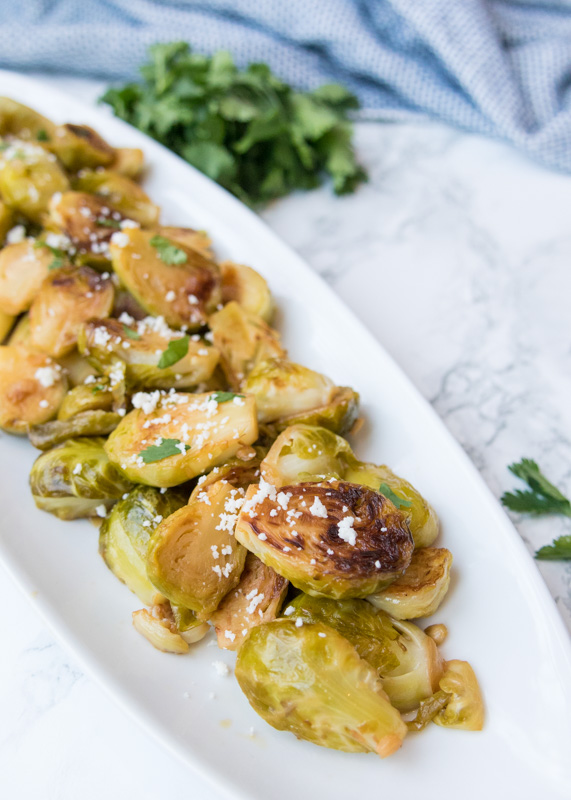
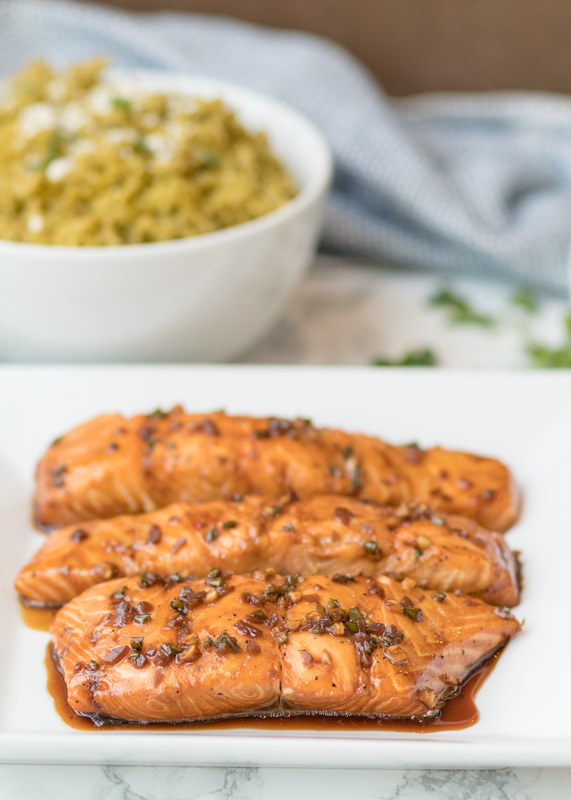
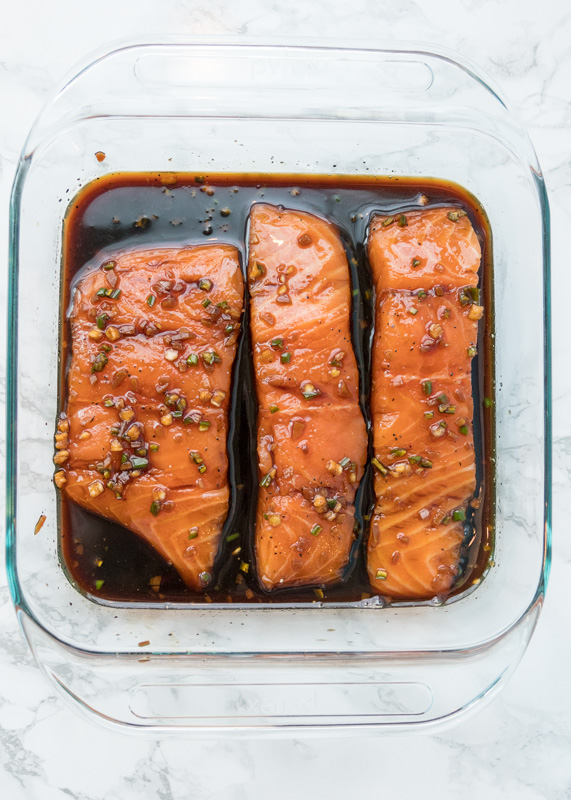
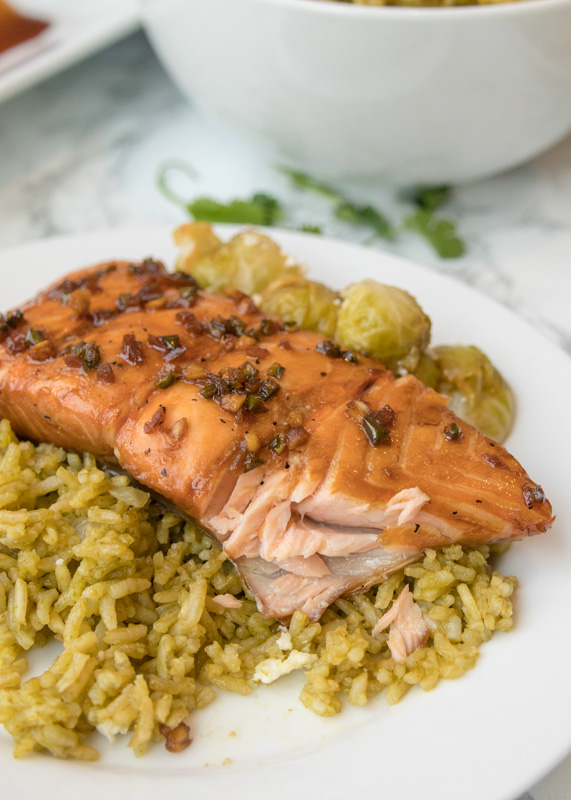
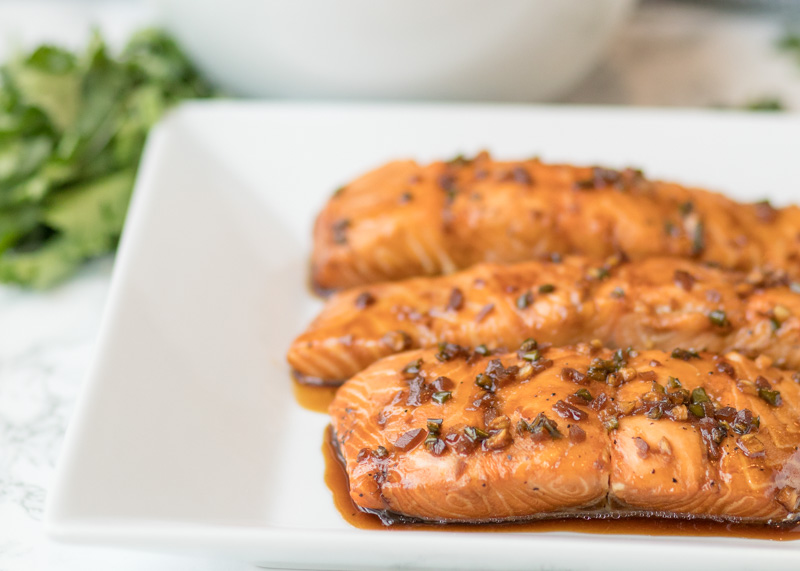
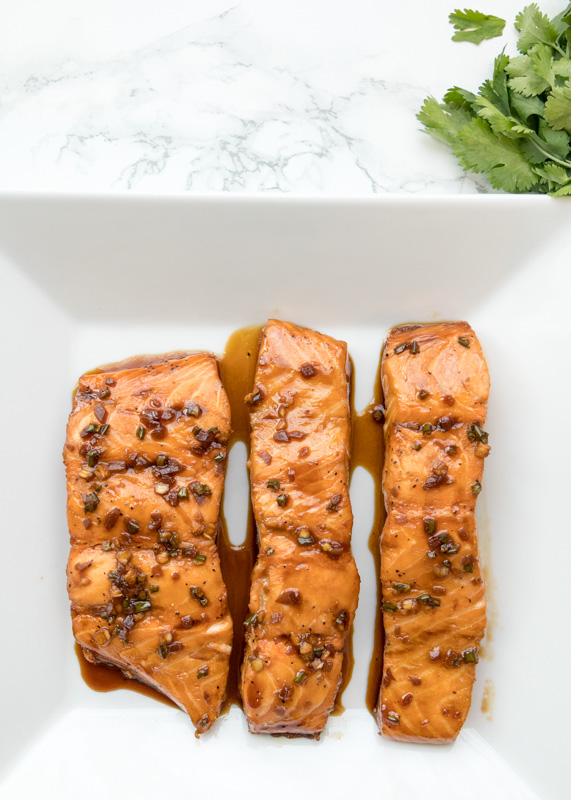
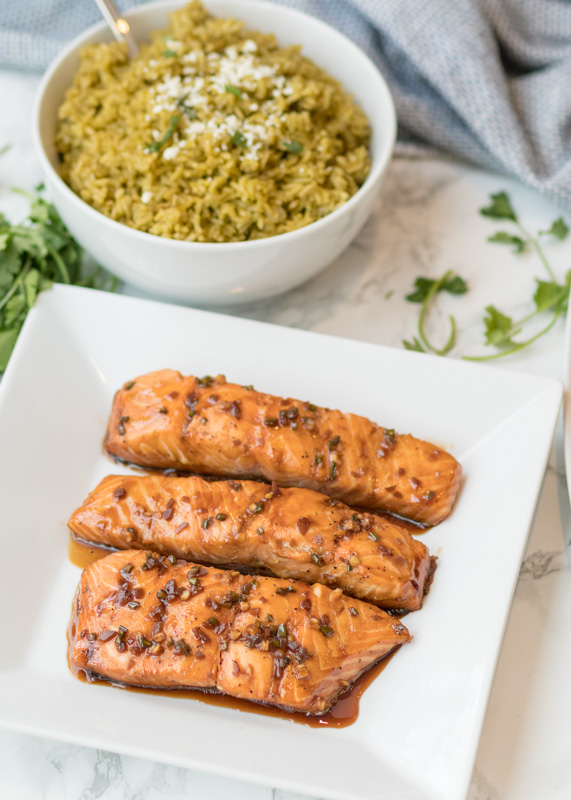
It’s hard to make brussels sprouts look attractive, especially after removing the outer dark green leaves, so you will just have to trust me that these brussels are super tasty. They are light and citrusy, with just the right amount of acidity from the apple cider vinegar. They were also the perfect finishing touch to our dinner of Sweet and Salty Salmon and Arroz Verde.
Whether I’m roasting or sautéing them, I typically halve brussels sprouts so they cook quicker and have more layers to soak up the seasonings or sauce. I was watching Anne Burrell on the Food Network a few months ago and she gave me another reason to always halve them – it releases some of the gases in the vegetable that can cause it to taste bitter. So always halve your sprouts!
- 1 tablespoon olive oil
- 1 pound brussels sprouts, stems and dark outer leaves removed, cut in half
- ¼ cup chopped white onion
- 2 cloves garlic, minced
- ½ cup orange juice
- 1 tablespoon apple cider vinegar
- Salt and pepper, to taste
- In a large skillet over medium heat, heat the olive oil. Add the halved brussels sprouts, chopped white onion and minced garlic. Cook, stirring often, until the brussels sprouts are almost tender, about 15 minutes. I usually test to see if I can pierce a sprout with a fork with a little resistance.
- Add the orange juice and apple cider vinegar. Cook until the sauce has slightly thickened, about 6 minutes. Remove from the heat and serve.
Recipe adapted from Pati’s Mexican Table.
Some of the links above are affiliate links, which means I may receive a small commission for my referral. This does not affect the retail cost of the item. Thank you for supporting Lemon & Mocha!