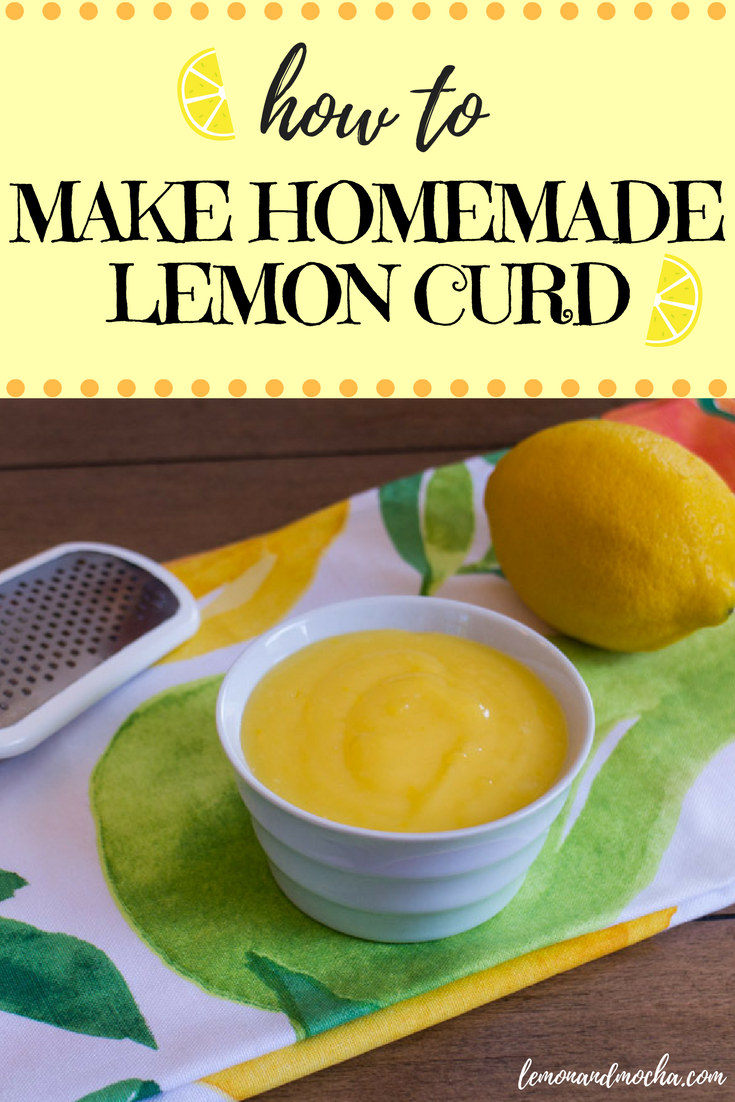
How to Make Homemade Lemon Curd
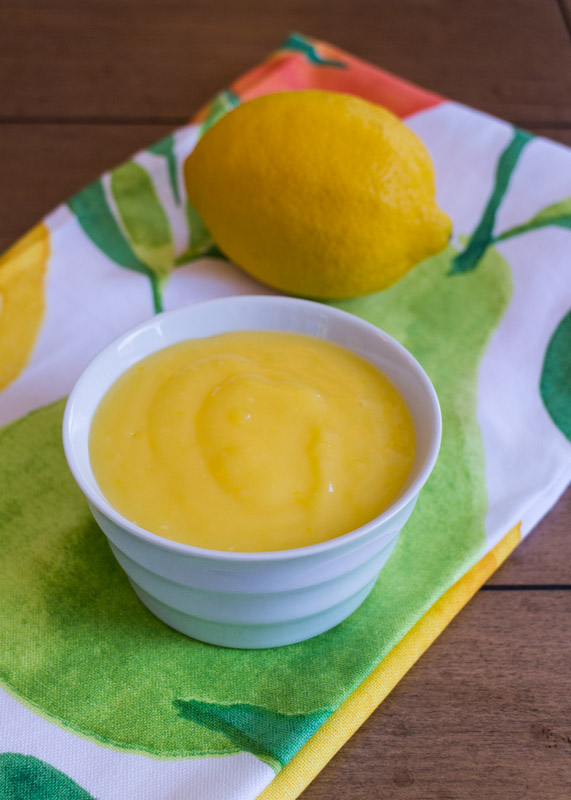
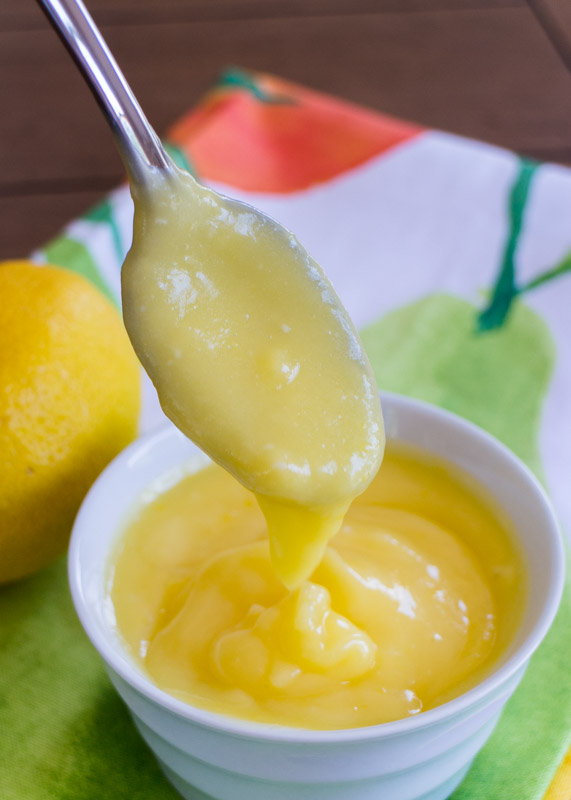
If you have never had homemade lemon curd you are in for a treat. Homemade lemon curd is luscious, tart, and sweet with a texture similar to pudding. In other words, nothing like the jelly-consistency store-bought lemon curd I have purchased. Not that I have anything against store-bought lemon curd; I grab it if I’m super time-crunched for a recipe or if I’m simply mixing a bit of it into a dish. But every time I make homemade lemon curd I stand there swooning while spooning it into my mouth thinking, why don’t I make this more often? Oh yeah, because then I will stand at my kitchen counter and eat it with a spoon while making inappropriate noises. Got it.
Making the lemon curd is super simple. As long as you keep your heat on medium-low and continuously whisk it you literally cannot mess it up. You can do this! It takes a bit for the lemon curd to start to get thick. It will stay liquidy for quite a while and you will be ready to give up. But don’t! Because then all of a sudden it will become thick and you will be moments away from the most decadent lemon spoonful of heaven you’ve ever had.
Other than eating it with a spoon, lemon curd is great for topping all sorts of baked goods to make them bright and springy. Lemon curd especially pairs well with berries. Some of my favorite ways to serve lemon curd is on this easy puffy pastry tart with berries, on top of this lemon cheesecake, or as part of a DIY waffle bar. I have a couple new outrageous ways to use lemon curd that I will be sharing later this week so stay tuned!
- ½ cup lemon juice
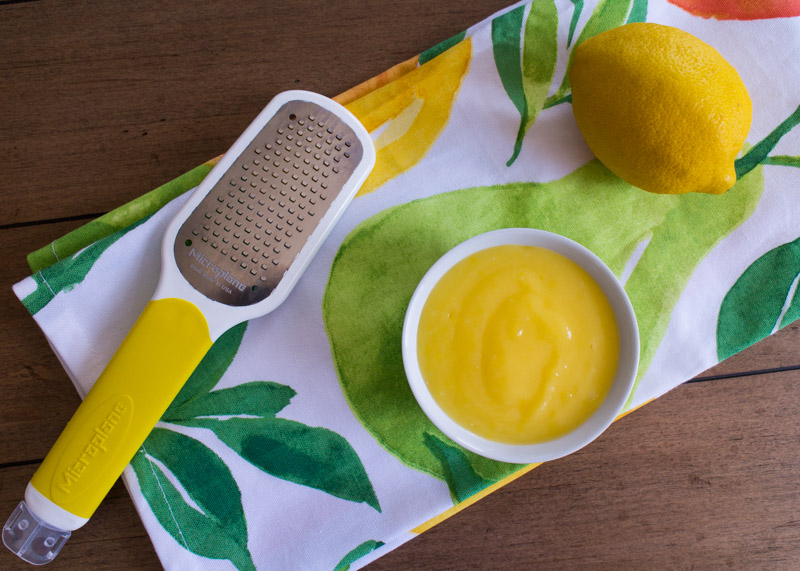
- 1 tablespoon lemon zest
- ½ cup sugar
- 3 large eggs
- 4 tablespoons unsalted butter, diced into small pieces
- In a medium saucepan, whisk together the lemon juice, lemon zest, sugar and eggs. Place the saucepan over medium-low heat and stir in the pieces of butter. Whisk the curd frequently until the curd is thick enough that it keeps the mark of the whisk when you touch it to the curd in the saucepan. It takes a bit of time for it to thicken, but just keep whisking!
- Transfer the lemon curd to a small bowl to cool. If there are small lumps of egg you can push the curd through a fine mesh sieve, but I typically skip this step because it will also strain out the lemon zest, which adds a lot of flavor. Cover the surface of the lemon curd with a piece of plastic wrap so that it’s completely touching the curd. Place in the fridge to cool.
Recipe from Sketches and Scribbles.