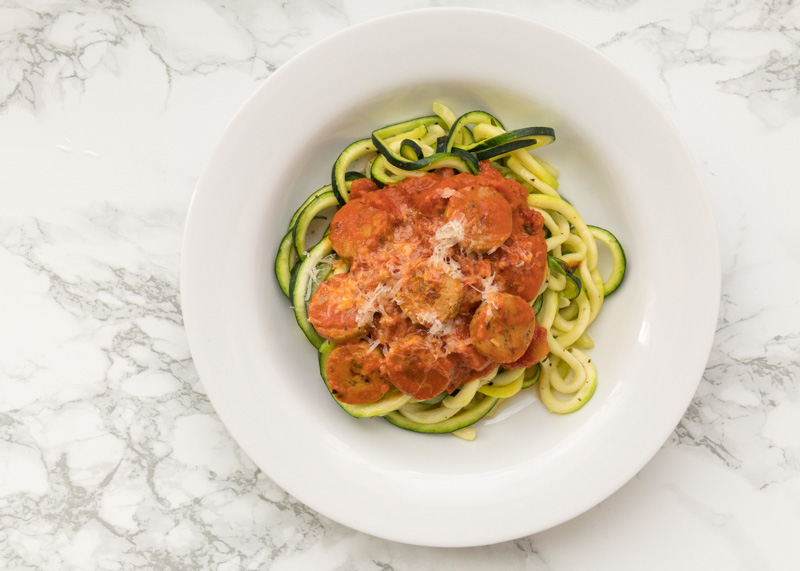
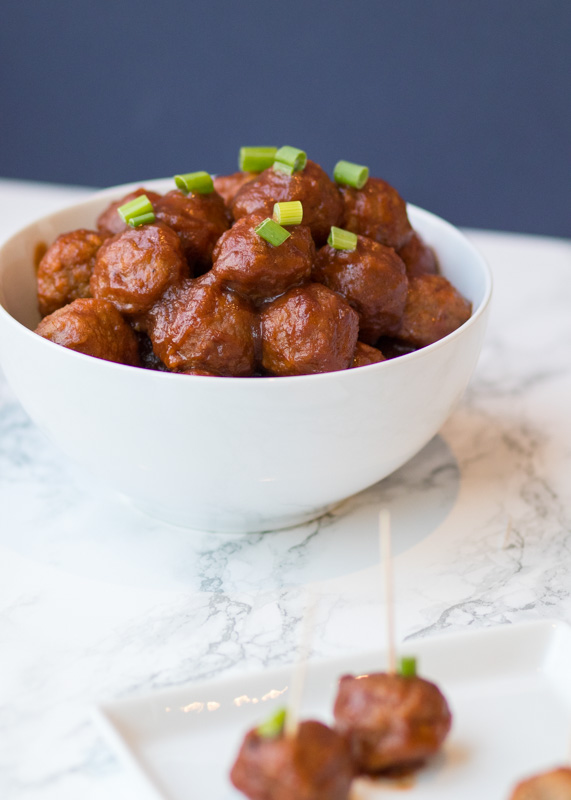
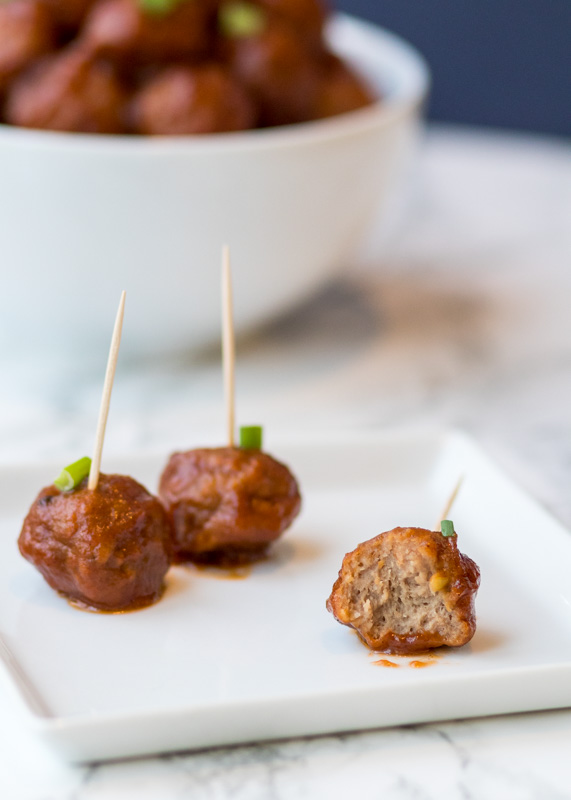
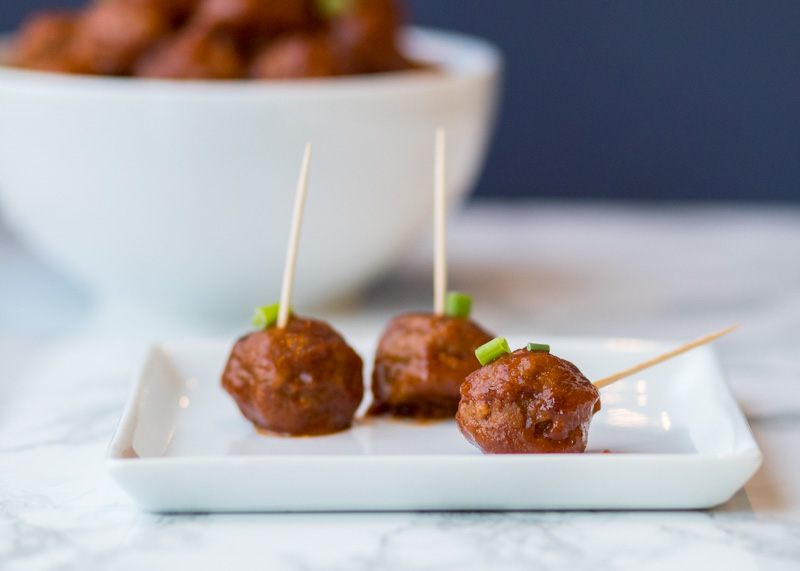
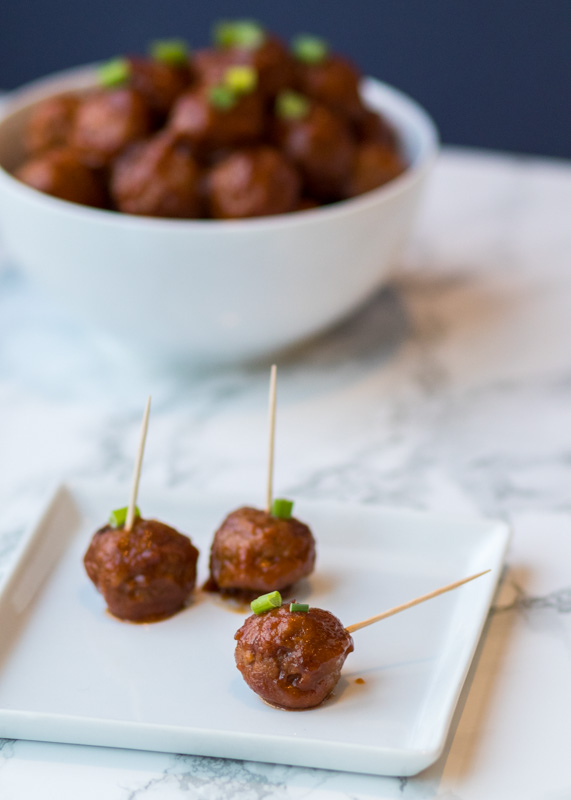
Best Slow Cooker Cocktail Meatballs
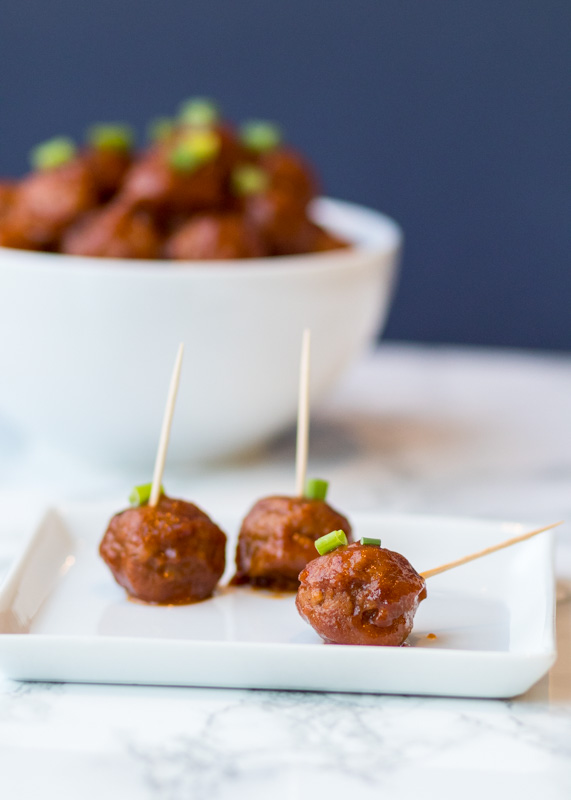
Guys! And gals! These meatballs? Swooning! I am beyond excited to share this recipe with you today. If you’ve never been to Damn Delicious, go check her blog out. She has some amazing recipes, but these meatballs right here? These are the real deal. These are the best slow cooker cocktail meatballs you will ever have. They are sweet, savory and salty. They are downright addictive.
I have made them for dinner parties, brought them to backyard cookouts and whipped them up for work potlucks. There was one work potluck where they were almost gone by the time it started because we were all sneaking bites during the day. Oh, and it was a lunch potluck so these were being consumed as breakfast meatballs!
I also make them for Matt and I whenever a craving strikes one of us. They freeze well, which is perfect for when I make them for just the two of us. If you don’t have a slow cooker you could certainly make them on the stove top, but I love using the slow cooker because you can dump everything in and then not have to think about it other than a stir here or there.
The very first time I made these we were having a bunch of friends over. I of course was making about 10 million different dishes because I’m a crazy person and saved these for the last minute. Somehow I hadn’t read the instructions and missed the whole “slow cooker” part even though it was in the title. With everyone arriving in 45 minutes I looked down at the recipe, saw the 3-4 hour part and cursed a whole bunch. However, I was determined to serve these meatballs so I defrosted my frozen meatballs in the microwave, whisked all my sauce ingredients together and microwaved them, and threw everything in the slow cooker. By the time everyone got here and was settled with drinks, the meatballs were hot enough to eat and got rave reviews. Crisis averted!
So it is possible to make them quickly if you don’t have time, but a slow cooker is definitely the way to go to save yourself from having a microwave frenzy while still in your sweatpants with guests on their way. I would say I hope you enjoy them as much as I do, but I already know you will!
- 40 ounces frozen, fully cooked, mini meatballs
- 1 cup cranberry sauce, about ½ can jellied cranberry
- ½ cup ketchup
- 2 tablespoons packed brown sugar
- 2 tablespoons Dijon mustard
- 1 tablespoon maple syrup
- 1 tablespoon apple cider vinegar
- 1 teaspoon Worcestershire sauce
- ¼ teaspoon ground cinnamon
- Salt and pepper, to taste
- Place the mini meatballs in a slow cooker. Add the remaining ingredients and stir with a rubber spatula to combine. If using jellied cranberry, break it up a little with your spatula.
- Cover and cook the meatballs on low for 3-4 hours, stirring several times during cooking. Once the meatballs are cooked through and coated in sauce, serve immediately with toothpicks.
Recipe from Damn Delicious.