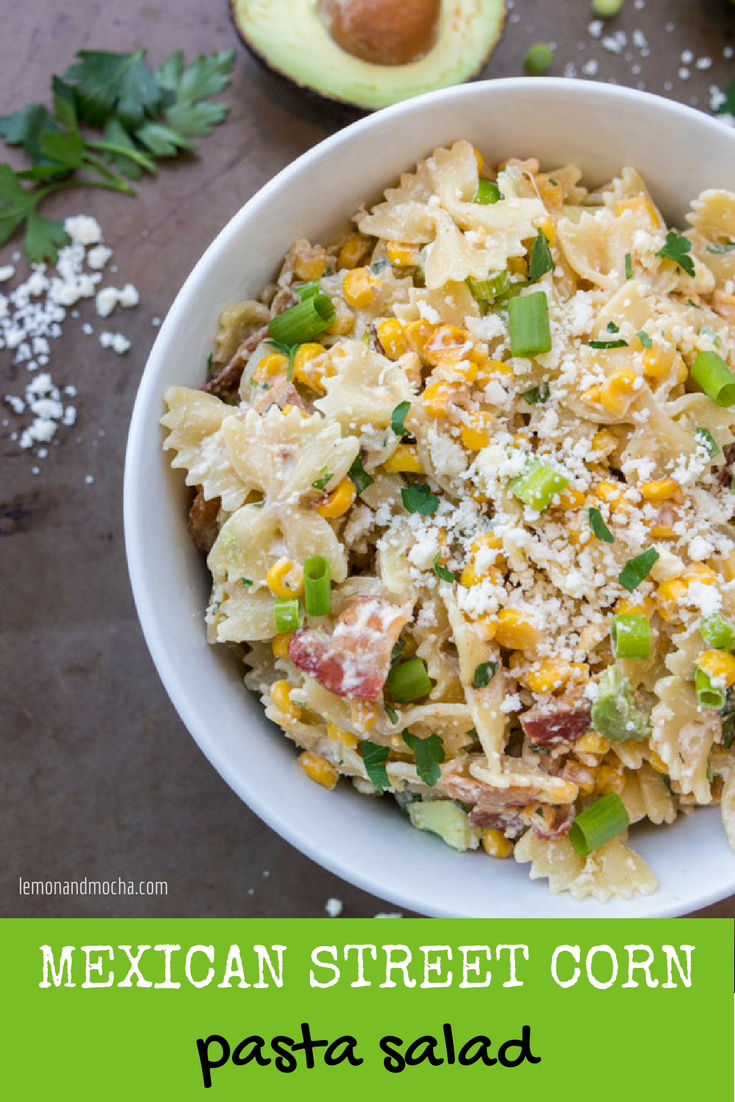
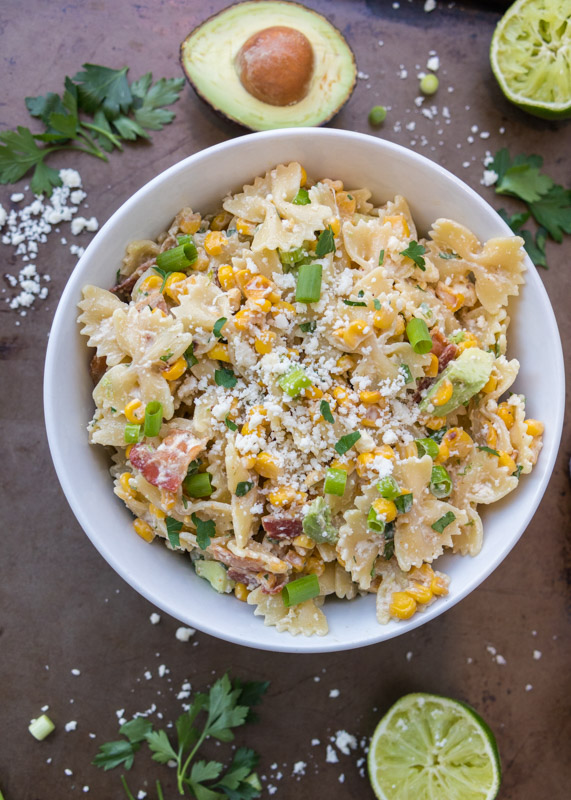
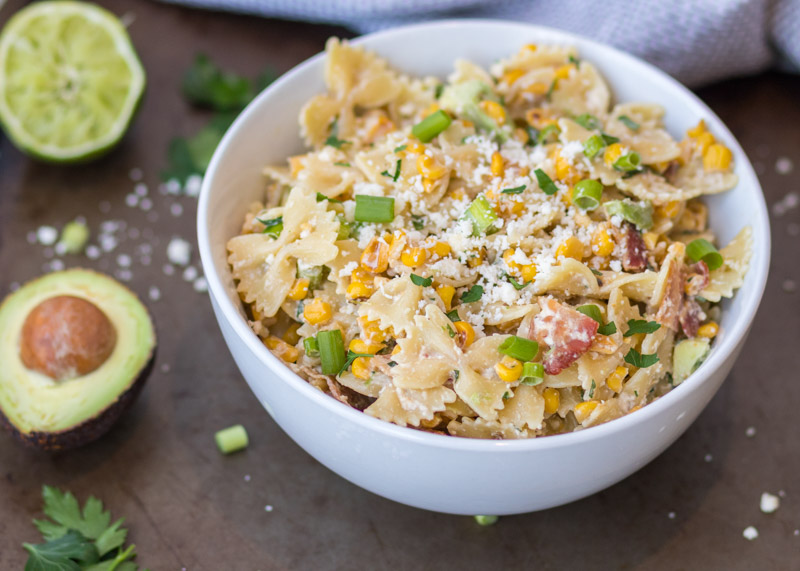
Mexican Street Corn Pasta Salad
Matt, my cousin, Sarah, and I have a slight obsession with elote, also known as Mexican street corn. If your life has been elote-less thus far, what you need to know is that it is grilled corn slathered in lime juice, mayonnaise or crema, then sprinkled with salt, cotija cheese and chile powder. Basically, perfection on a cob.
It’s hard to say where our obsession stems from. It could be because we’re cheese freaks, because we love Mexican food, or maybe because we have some inexplicable connection to corn fields. However, I think the real reason we love it so much is because it reminds us of summer beach days.
Every year my family meets at the beach in Delaware for our family beach week. A few years ago, we started incorporating happy hour towards the end of the beach day. Yes, we enjoy having a drink while the sun’s still warm before having to shower and get ready for dinner. But let’s be honest – it’s really about the corn. We tried it at happy hour at the Mexican restaurant near the beach and we got hooked. I’m talking left the beach early because we couldn’t take the corn craving anymore hooked. Ever since then, we’ve been on an elote frenzy, ordering it whenever we see it popping up on restaurant menus. So when I saw this Mexican Street Corn Pasta Salad I knew I needed to have it as soon as possible.
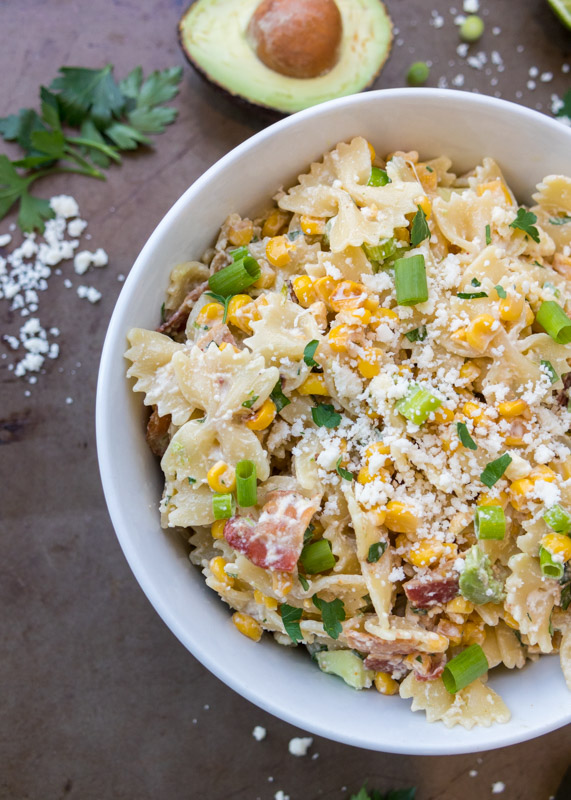
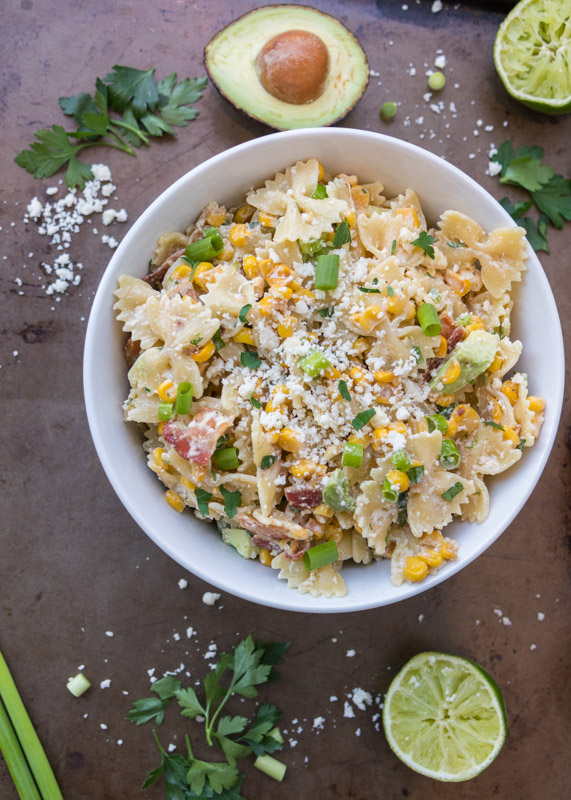
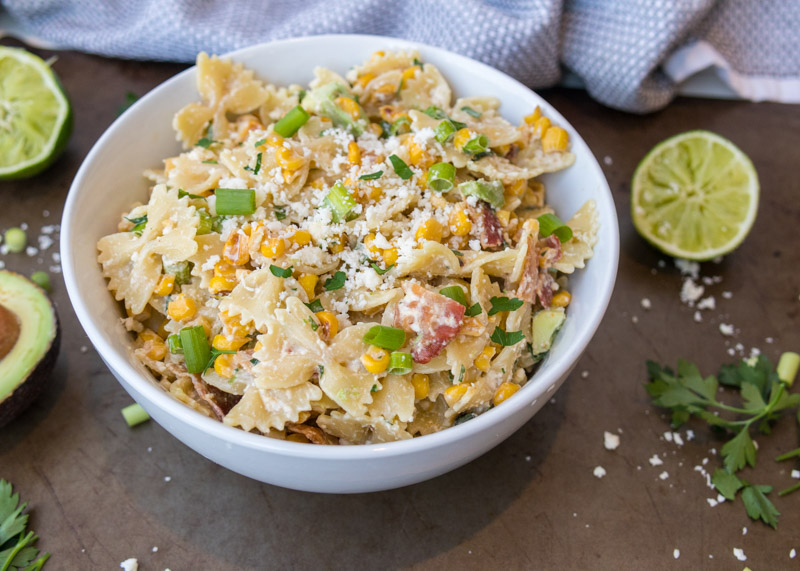
I first made it to bring to a barbecue and the weeks following I made it two more times because Matt and I couldn’t get enough. It is that good. I love elote and literally the only thing that could make it better is pasta, because hello – pasta! This pasta corn salad is packed with mind-boggling flavor and loaded with all the best goodies. There’s avocado, cheese and bacon in there. Yes, bacon! The pasta salad is smoky without being spicy, although you can certainly make it more spicy. My preference is usually just the least-spicy baby version possible.
Every time I’ve made this it’s come out perfectly delicious. Even though I think it’s perfect as is, one of the reasons I love making pasta salads (other than my noodle obsession) is that it’s so easy to adjust the flavors to your personal preferences. Like it richer? Add more mayonnaise. Like it with more zippiness? Add more lime juice and zest. I like to make it as written, taste, and then add more of whatever I feel it needs, if anything. If you are going to make it ahead I would wait and stir in the bacon, cheese and avocado last minute. Also the pasta will soak up some of the dressing if you leave it overnight before serving so maybe make some extra dressing to pour in last minute as well.
- 1 lb farfalle pasta
- 2 15-ounce cans of fire-roasted corn, roughly 3 cups corn (see note)
- 3 scallions
- ½ cup parsley leaves (or cilantro if you prefer)
- ½ jalapeño (see note)
- 6-8 strips bacon, cooked
- ⅔ cup Cotija cheese
- 1 avocado
- ¾ cup regular mayonnaise
- 4 tablespoons lime juice
- Zest from 1 lime
- 1½ teaspoons hot sauce (see note)
- ½ teaspoon smoked paprika
- ⅛ teaspoon ground cumin
- ⅛ teaspoon chili powder (more if desired)
- Salt and pepper to taste
- Cook the farfalle pasta according to the package directions, being sure not to overcook. Strain and then immediately rinse with cold water. Let strain until completely drain, lightly patting with paper towel if needed.
- Drain the cans of corn and add them to a large mixing bowl. Add the cooked pasta. Remove the ends of the scallions then slice and add to the bowl. Chop the parsley or cilantro and add to the bowl. Carefully remove the seeds and pith from the jalapeño being sure to wear gloves or wash your hands immediately after. Finely chop and add to the mixing bowl. Crumble the cooked bacon and the cheese into the mixing bowl. Pour the dressing on top then stir to combine. Season with salt and pepper as needed. Dice the avocado and fold in to combine.
- Combine all the ingredients in a small bowl and whisk to combine. Season with salt and pepper as needed.
- Note about spiciness: I do not like spicy food. If you make the recipe as written and remove the seeds and pith from the jalapeño, use a mild hot sauce (I use Trader Joe’s Green Dragon sauce), and use a minimal amount of the chili powder, it will not be spicy. If you are concerned, reduce the amount of hot sauce and omit the chili powder. If you want it spicier, I would leave the seeds of the jalapeño and increase the amount of chili powder.
Recipe adapted from Chelsea’s Messy Apron.