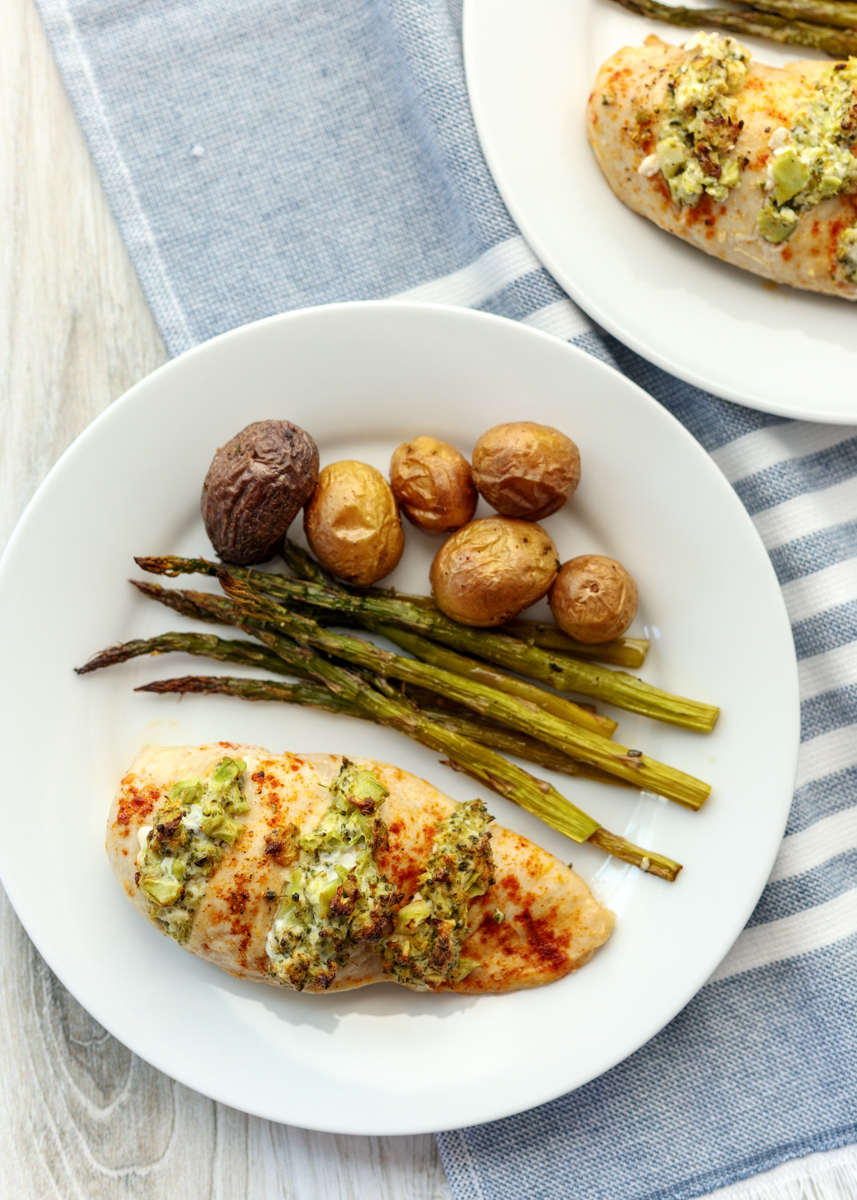
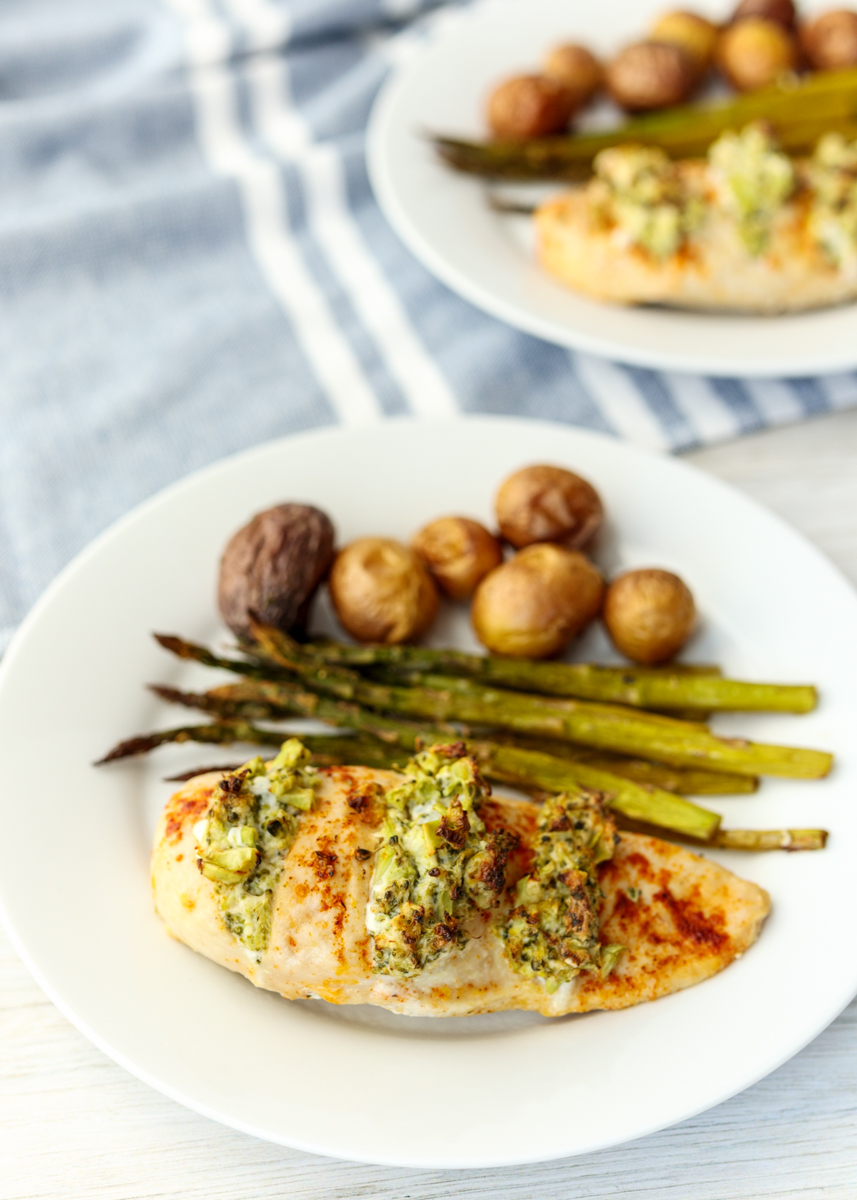
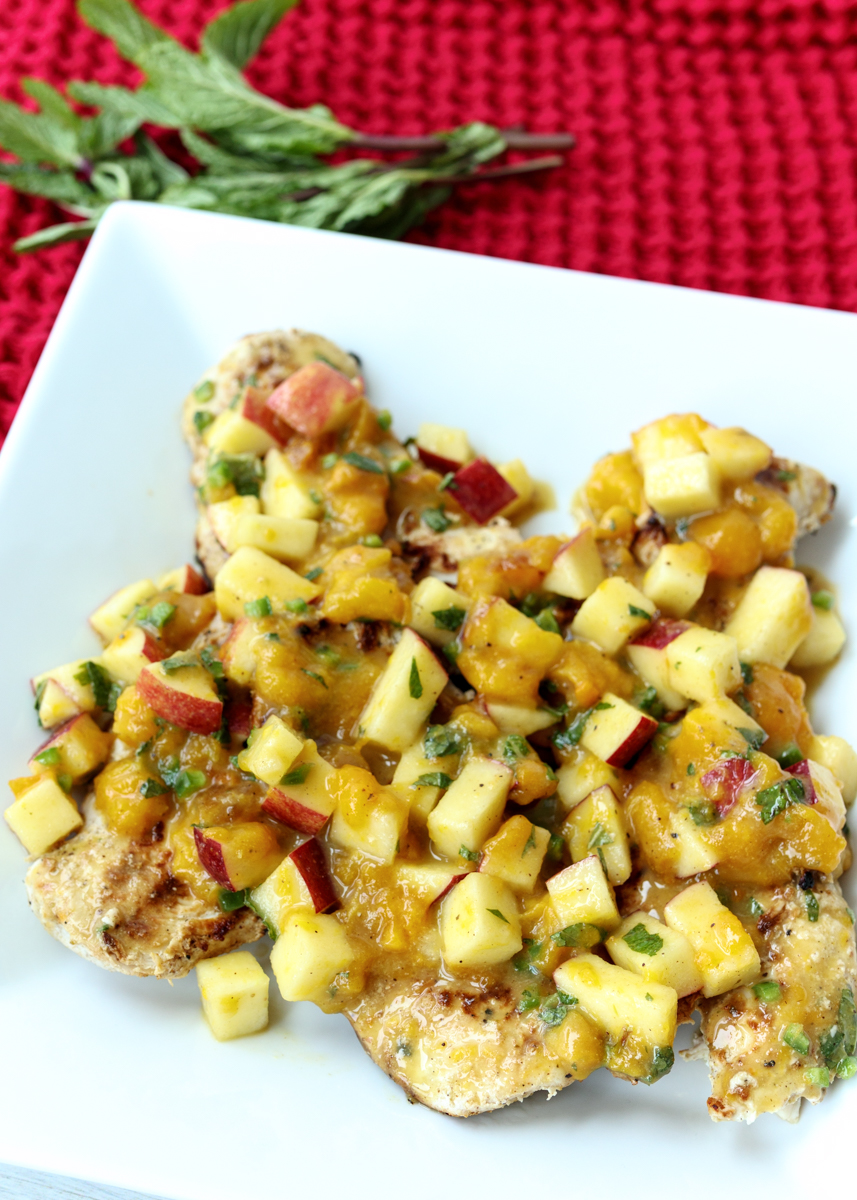
Grilled Chicken with Apple and Mango Chutney
We’re continuing our apple week here on Lemon & Mocha! Fall and apple picking go hand in hand and there’s so many sweet and savory dishes you can make with apples. Today we’re going down the savory route with a healthy dinner dish.
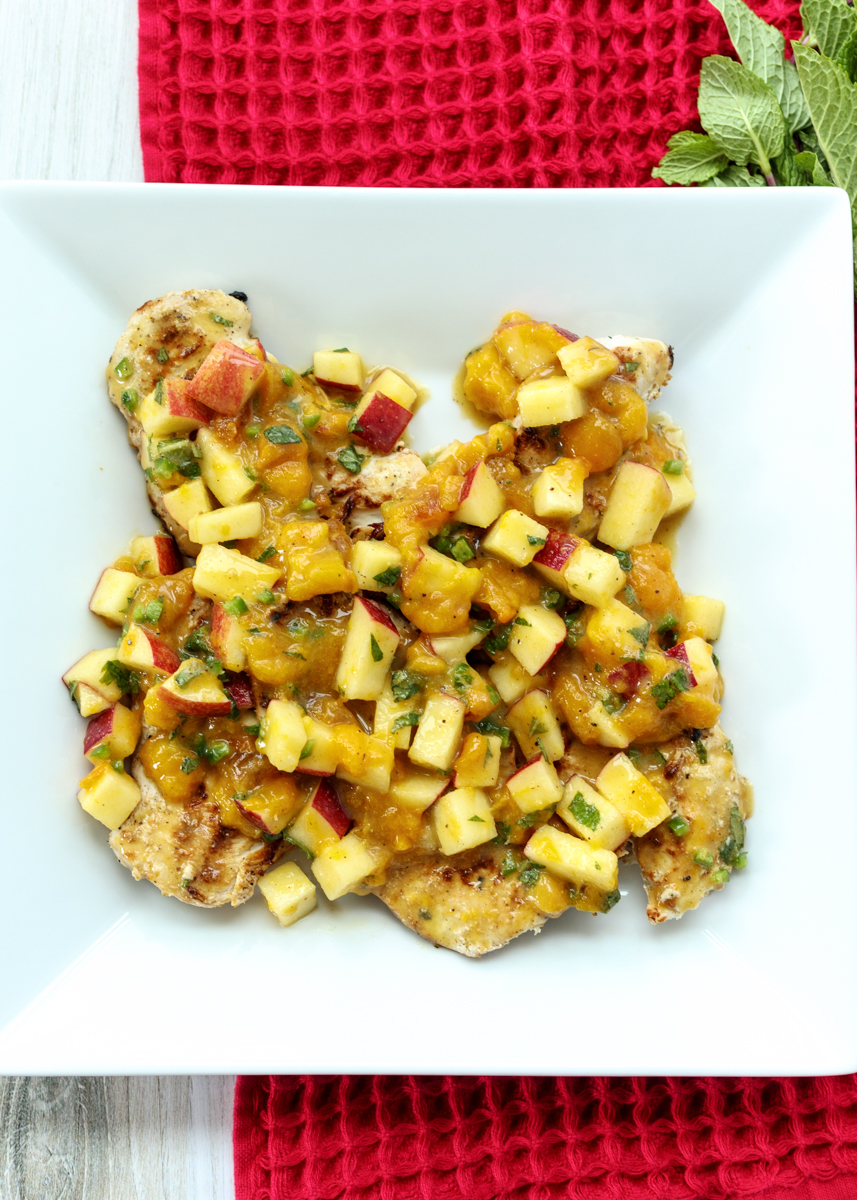
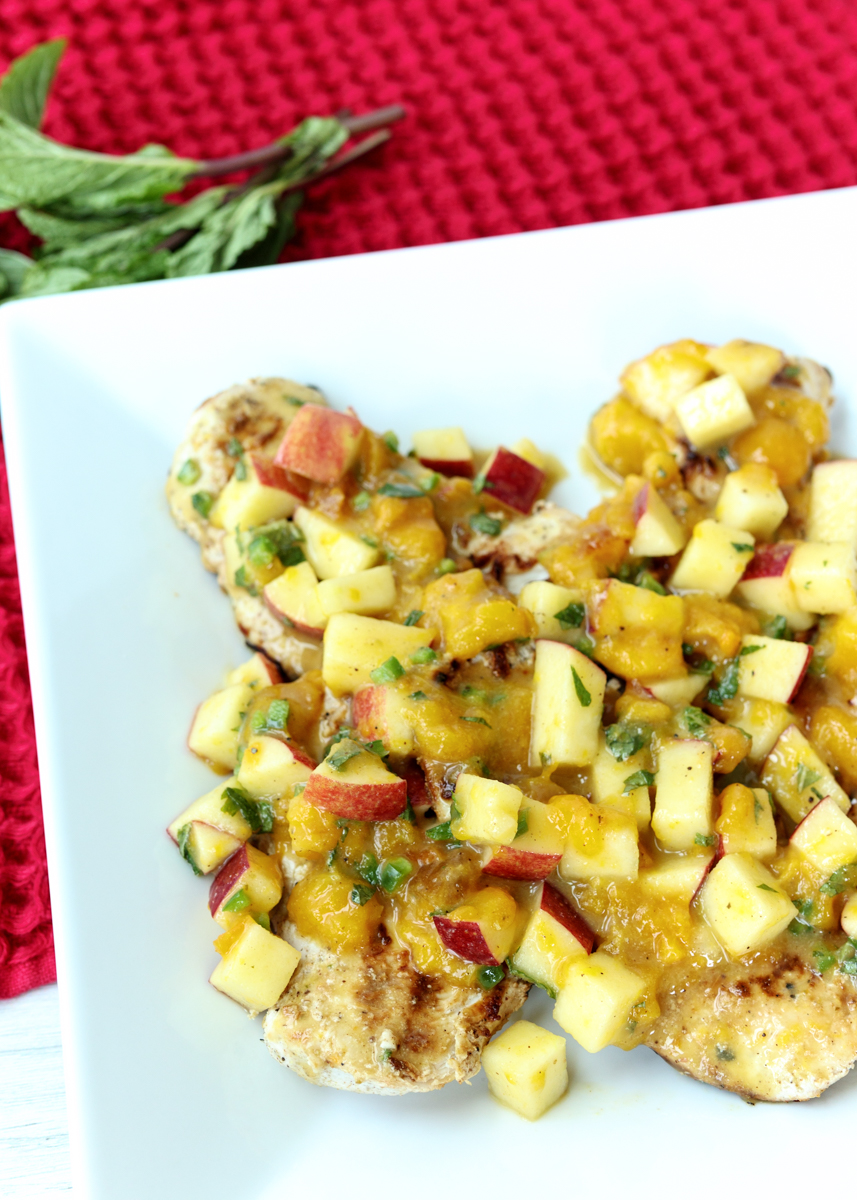
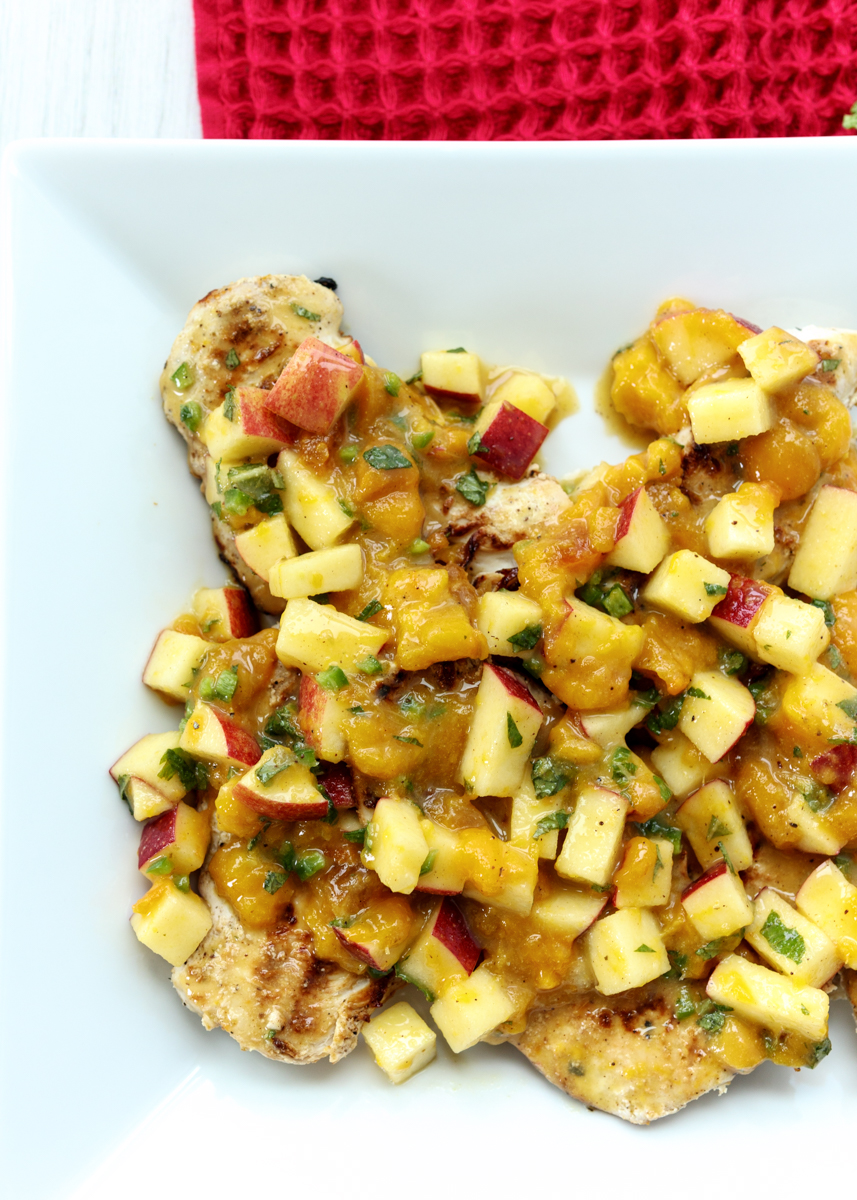
This Grilled Chicken with Apple and Mango Chutney is definitely a bit out of the box for me. It uses a spice, garam masala, I had previously never used, which is a spice commonly used in Indian cooking. It’s a warm spice blend that can incorporate different spices depending on the region or brand and it was the perfect ingredient to liven up this grilled chicken dish.
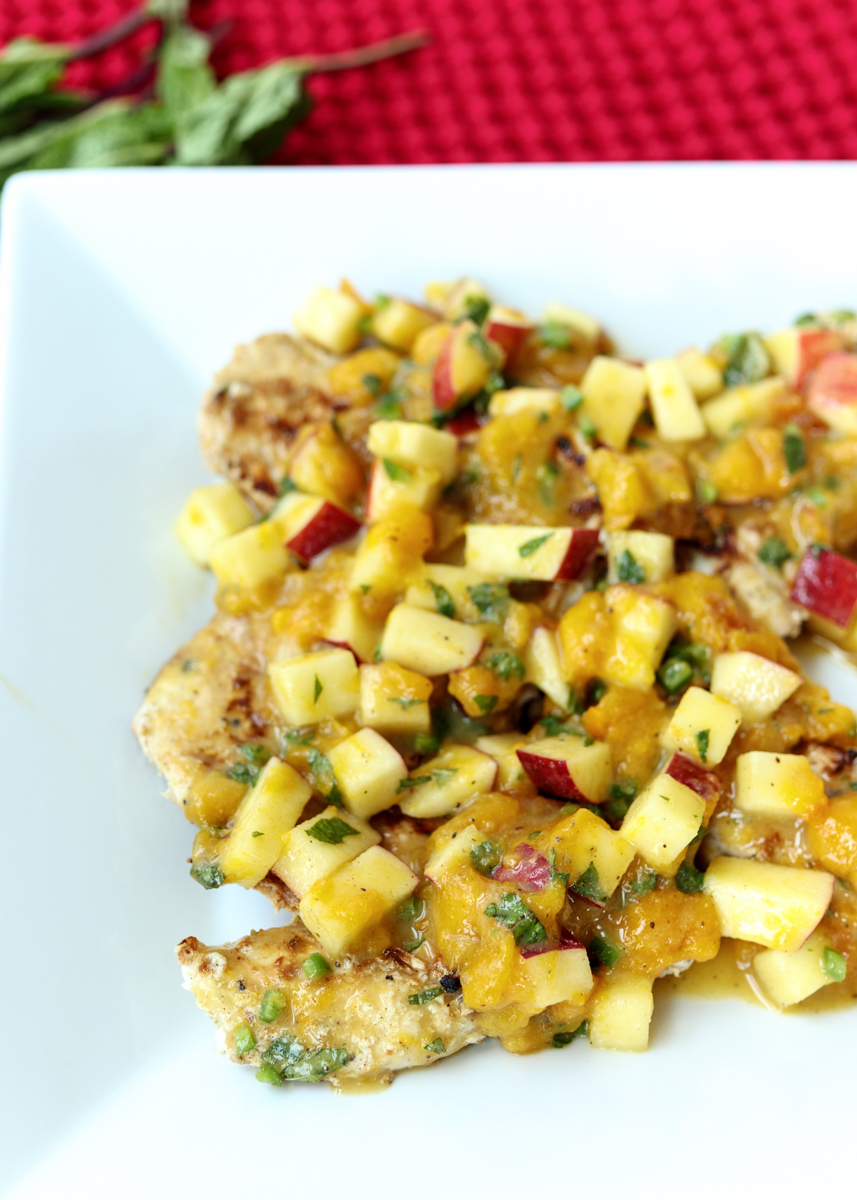
The chicken is marinated in Greek yogurt, which I love for grilled chicken since it helps the meat stay juicy and flavorful. The apple and mango chutney has both complementary flavors and textures going for it with the tartness and crispness of the apples and the sweetness and softness of the ripe mango.
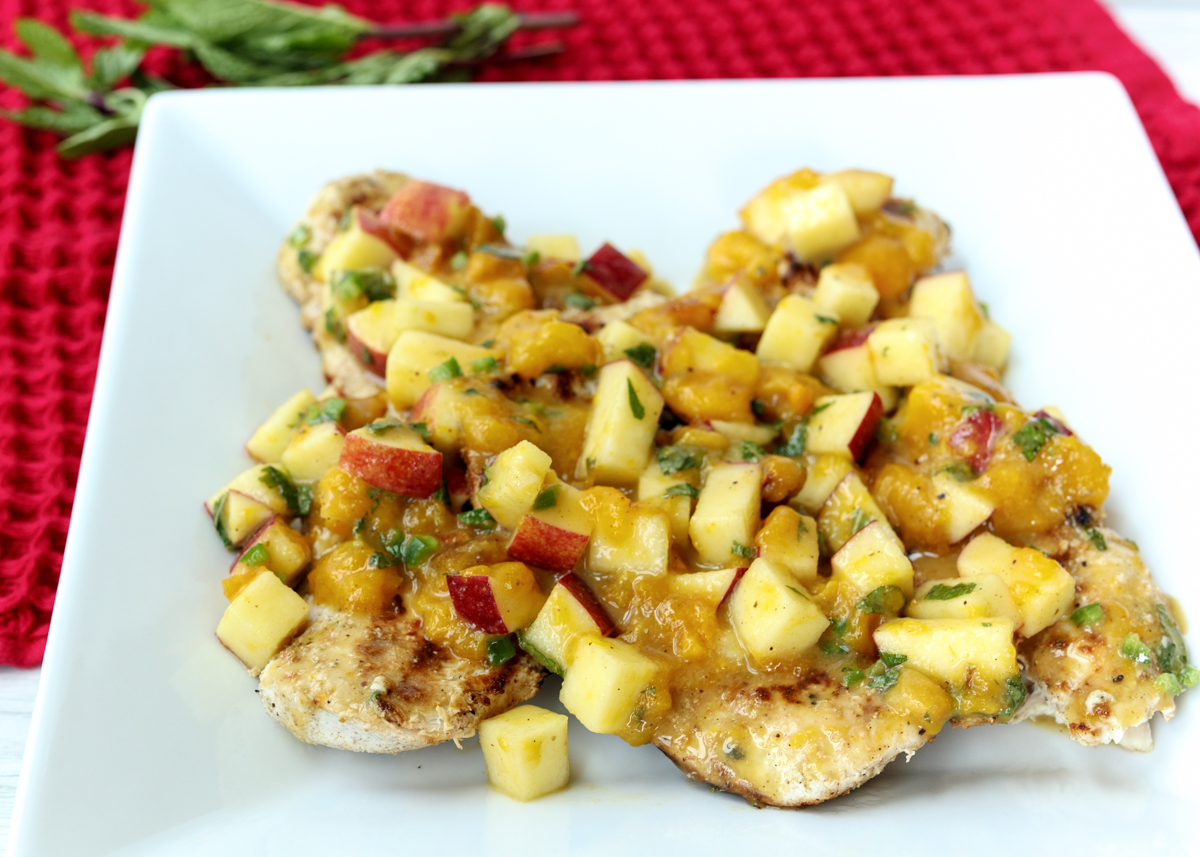
Why it’s a chutney and not a salsa, I really have no clue, but whatever it’s called it complements the yogurt marinated grilled chicken perfectly.
Matt and I both really enjoyed this dish (more chicken – sorry Matt!), but I don’t think it will bump ahead of the Sesame Pecan Chicken Strips or the Chicken Cordon Bleu anytime soon. Mostly because the flavor profile is just so far out of our normal realm of eating. But if you like Indian flavors or are looking for a different way to spice up your chicken dinner then definitely make this healthy recipe!
- 1 cup plain non-fat or low-fat Greek yogurt
- 2 tablespoons frozen apple juice concentrate, thawed
- 1 tablespoon apple cider vinegar
- 2 teaspoons garam masala
- 1 teaspoon salt
- 1 teaspoon ground black pepper
- 8 2-ounce boneless skinless chicken cutlets (about ¼-inch thick)
- 3 tablespoons apple cider vinegar
- 2 tablespoons apricot preserves
- 1 small jalapeño, seeds and pith removed, finely chopped
- 2 tablespoons Dijon mustard
- 1 teaspoon hot sauce
- ½ teaspoon salt
- ⅛ teaspoon ground black pepper
- ⅛ teaspoon ground cloves
- 1 apple, such as Gala, cut into ⅓-inch dice (about 1¼ cups)
- 1 small mango, peeled and cut into 1-3-inch dice (about 1 cup)
- ¼ cup chopped fresh mint leaves
- Cooking spray
- In a shallow plastic storage container or baking dish, whisk together the yogurt, apple juice concentrate, apple cider vinegar, garam masala, salt and pepper. Add the chicken cutlets then toss to coat. Cover and return to the fridge to let marinate for at least 2 hours or up to 1 day.
- Preheat a grill or place a grill pan over medium-high heat. If using a grill, use a paper towel to lightly coat the grill grates with vegetable oil before turning on. If using a grill pan, lightly spray with cooking spray before turning on the stove. Place the chicken cutlets on the grill and grill until they reach an internal temperature of 165 degrees F, about 4-5 minutes per side. Remove from the grill and let rest before serving with the chutney over top.
- Combine the apple cider vinegar, apricot preserves, jalapeño, Dijon, hot sauce, salt, pepper, cloves and ginger in a medium bowl until combined. Toss in the apple, mango and chopped mint. Let sit for 30 minutes before serving or cover and return to the fridge for up to 2 days.
Recipe from Giada’s Feel Good Food.
Some of the links above are affiliate links, which means I may receive a small commission for my referral. This does not affect the retail cost of the item. Thank you for supporting Lemon & Mocha!