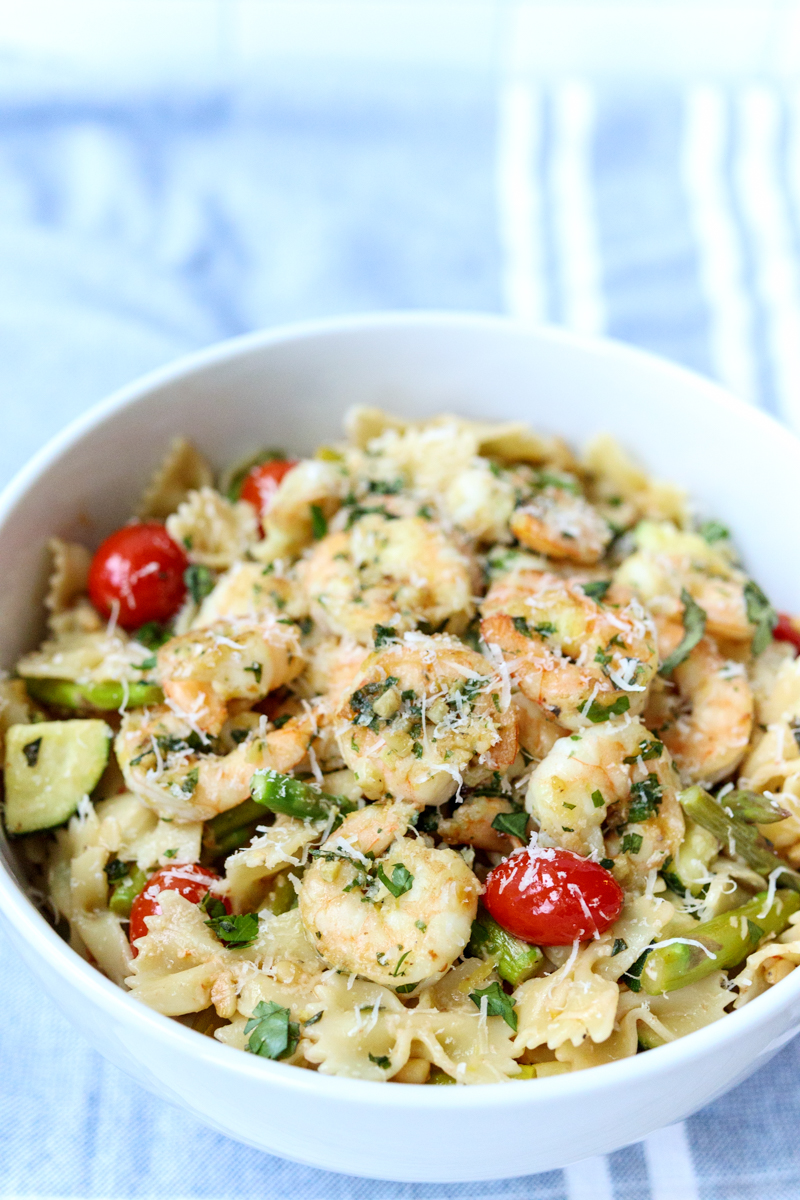
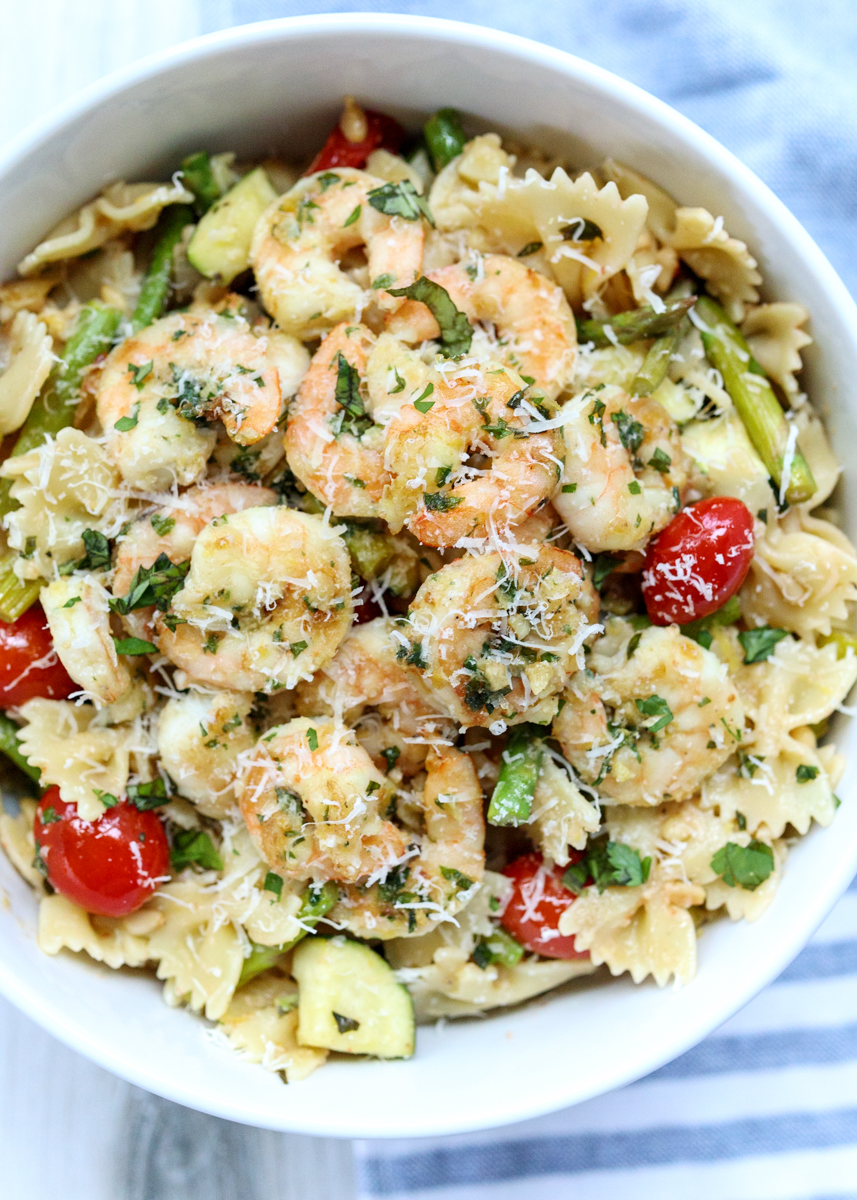
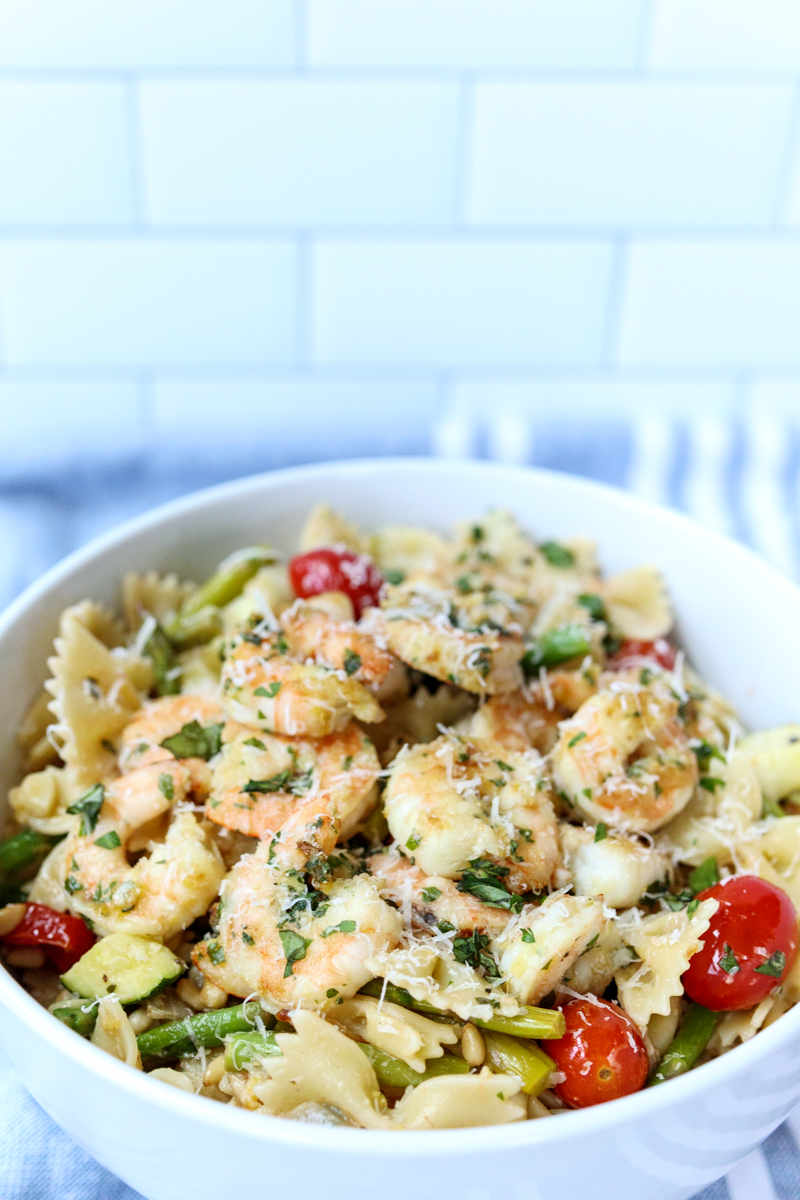
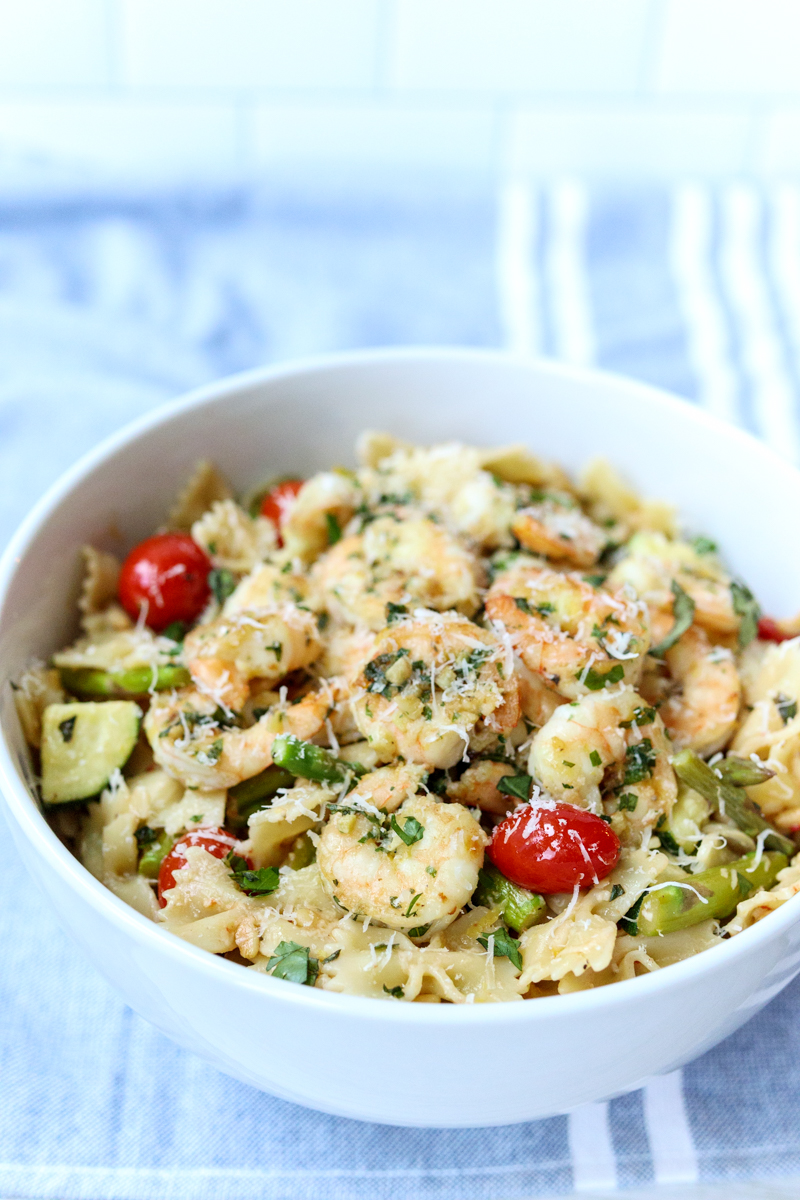
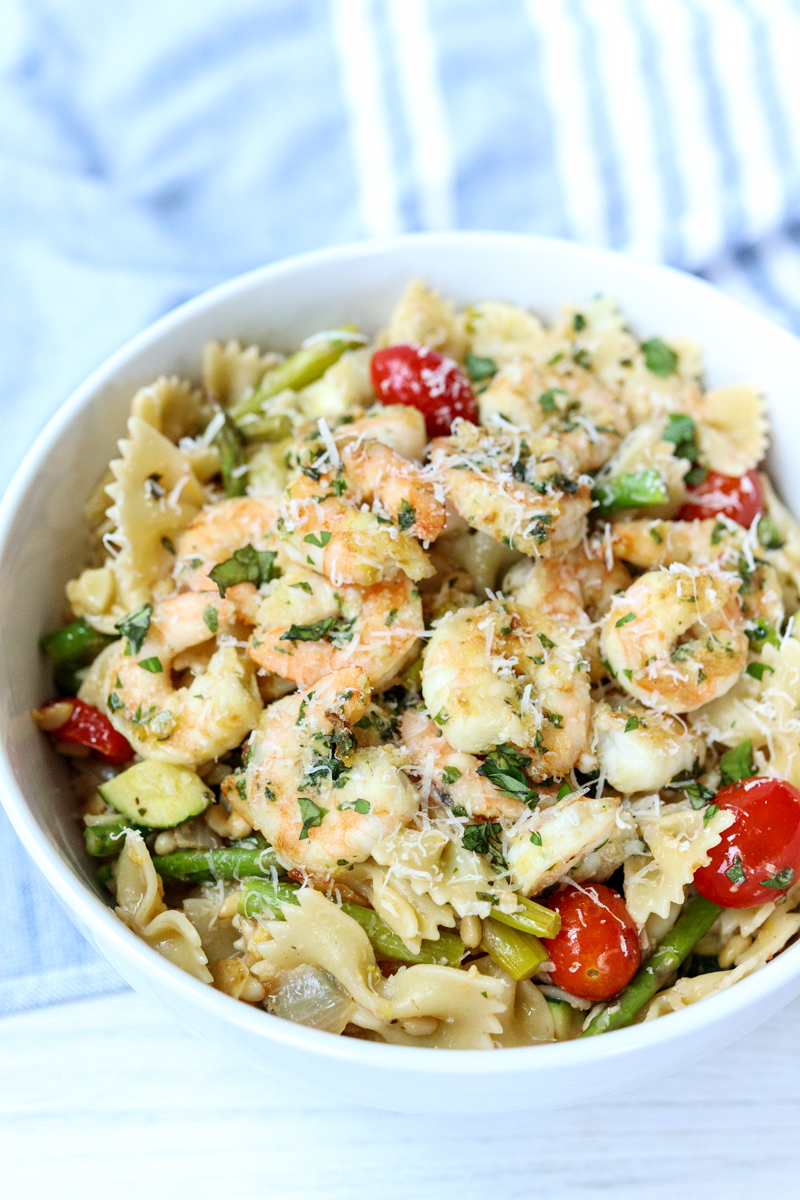
Pasta with Shrimp and Roasted Veggies in a Garlic Lemon Sauce
Sometimes it takes a little while for me to remake a recipe. And sometimes that little while is ten years, but that’s okay, as long as it means I eventually got back to it. This Pasta with Shrimp and Roasted Veggies in a Garlic Lemon Sauce recipe comes deep from the archives of recipes I printed, made and tucked away in one of my binders.
Way back when, I only read a handful of food blogs and one of them was For the Love of Cooking. This recipe is extremely important because it introduced Matt and I to the amazingness that is roasted garlic. How little we knew of life before that moment!
We made this pasta dish in Matt’s off-campus apartment the summer after junior year of college and with our limited space and kitchen equipment it was quite the ordeal. The recipe is fairly simple, there’s just a lot of ingredients and most of them require some chopping, shredding or zesting.
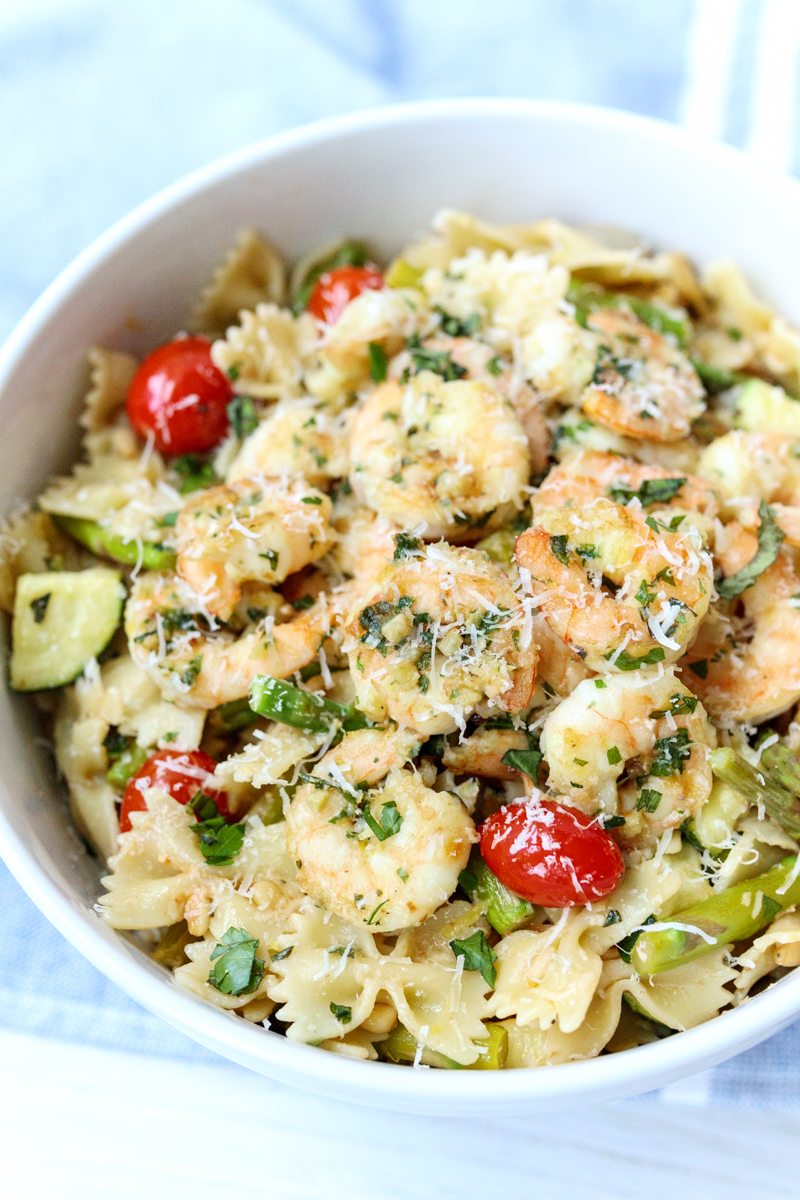
I love this dish because it’s so fresh, but all the veggies get a nice depth of flavor from being roasted. Asparagus, zucchini and grape tomatoes all get roasted before being tossed with pasta, toasted pine nuts, fresh Parmesan cheese and plenty of fresh herbs. There’s two standout other mix-ins, though. The first is the tender shrimp that get marinated in olive oil, lemon zest, basil parsley and garlic. The second is that zesty roasted garlic lemon sauce that should be used on every pasta, chicken and seafood dish from now until forever.
This dish is the perfect example of how some basic ingredients, like lemon, fresh herbs and roasted garlic, can take an ordinary pasta dish to a flavor-packed one that you don’t forget about for ten years. I’m so glad I finally made this dish again and with it fresh on our minds, I’m sure it won’t be another ten years until we have it again!
- 1½ pounds shrimp, peeled, deveined and tails removed
- 2 tablespoons olive oil
- 1 tablespoon fresh parsley, chopped
- 1 teaspoon fresh basil, chopped
- 2 cloves garlic, minced
- Zest of half a lemon
- Salt and pepper
- 1 bulb garlic
- 4 teaspoons olive oil, divided
- 1 yellow onion, chopped
- 8 ounces farfalle pasta
- 1 zucchini, diced
- 1 bunch of asparagus, ends removed and spears cut into thirds
- 2 cups grape tomatoes
- 1 tablespoon unsalted butter
- Zest of half a lemon
- Juice of 1 lemon
- ¼ cup grated fresh Parmesan cheese, plus more for topping
- 1 tablespoon fresh parsley, chopped
- 1 tablespoon fresh basil, chopped
- 2 tablespoons toasted pine nuts
- Sal and pepper
- Combine the shrimp, olive oil, parsley, basil, garlic and lemon zest in a bowl or plastic container. Season with salt and pepper. Cover and put in the fridge to marinate for at least 2 hours.
- Roast the garlic. Preheat oven to 400 degrees F. Cut off the top of the head of garlic so almost all the cloves are exposed. Place the head of garlic in a little square of aluminum foil and curve up the sides. Lightly drizzle the garlic with some olive oil then season with salt and pepper. Seal up the foil to make a little packet. Roast for 35 minutes then carefully open the foil packet to let cool. Once it's cool enough to handle, squeeze out the roasted garlic cloves.
- When the garlic has 15 minutes left, start the onions. Heat 1 teaspoon of the olive oil in a skillet over medium heat. Add the onions, lightly season with salt and pepper, and sauté for 15-20 minutes, until tender. Remove the onions to a large serving bowl then sear the shrimp in the same skillet, trying not to get too much of the marinade in the skillet. Cook for 3 minutes on each side, or until shrimp are pink and no longer translucent. Remove from the pan and add to the serving bowl.
- While the onions are cooking, start boiling the water for the pasta. Cook the farfalle according to the package instructions until al dente. Drain and add to the large serving bowl.
- On a large baking sheet lined with nonstick aluminum foil, spread out the zucchini, asparagus and grape tomatoes. Drizzle with 2 of the teaspoons of olive oil and season with salt and pepper. When you take the garlic out of the oven, add the baking sheet of veggies and cook for 7 minutes. Remove from the oven and add to the serving bowl.
- While the vegetables are roasting, roughly chop the roasted garlic cloves that you squeezed out of the skin. Combine in a small bowl with the butter, lemon zest, lemon juice and the remaining tablespoon of olive oil. Pour into the serving bowl.
- When the onions, pasta, shrimp, veggies and roasted garlic lemon sauce have all been cooked and added to the serving bowl, toss to combine along with the Parmesan, parsley, basil and toasted pine nuts. Season with salt and pepper to taste. Serve with more Parmesan on top, if desired.
Recipe from For the Love of Cooking.