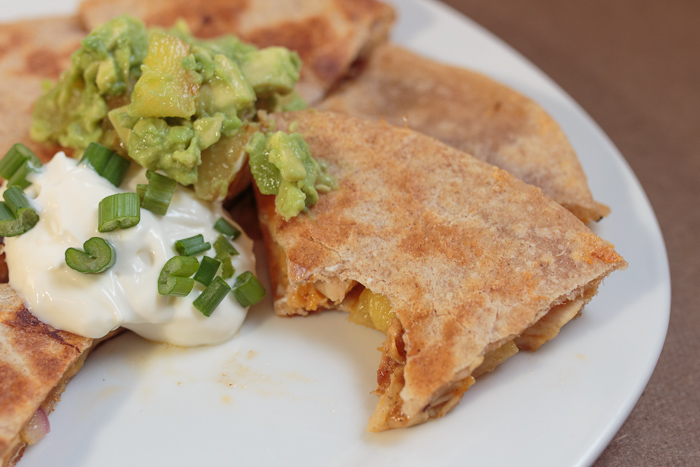
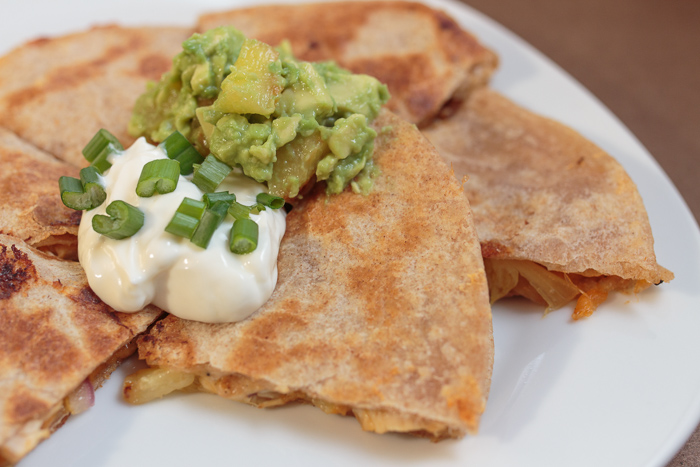
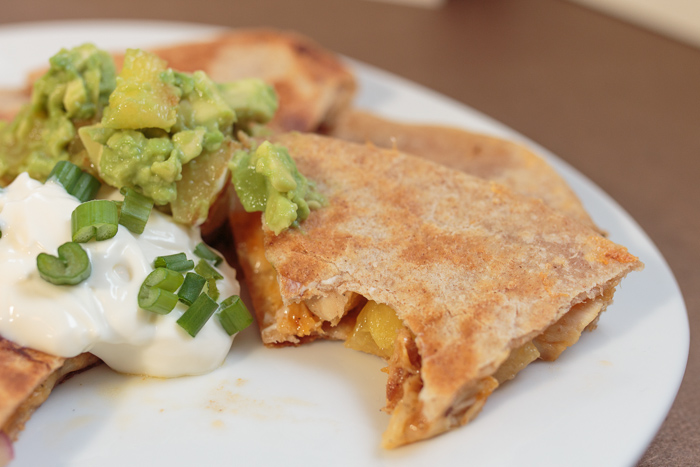
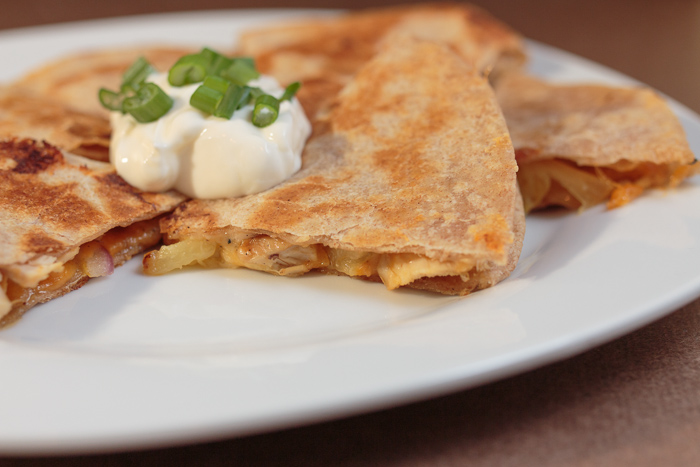
Grilled Pineapple and Barbecue Chicken Quesadillas
Oddly, quesadillas are a food quite dear to my heart. It’s not as though they are a family favorite we used to have every week or a dish I always requested on my birthday. Nothing like that. My food memories with quesadillas come from a variety of places. Like how my grandma and I would order them as an appetizer, along with the chicken noodle soup she loves, if we were extra hungry during our weekly Friendly’s trips. Or how my stepmom would always make them for me, with extra sour cream, if my dad wasn’t home for the night. Or how they were the first meal Matt and I ever cooked together in his summer college dorm with tortillas and cheese picked up from the local convenience store, just excited to have a kitchen to cook in for the first time.
Whether or not you have loving food memories with quesadillas like I do, their cheesy goodness and ease of preparation is undeniable. I love seeking out interesting combinations for this great dish and when I stumbled upon a grilled pineapple and barbecue chicken version I knew I had to try it for myself. It certainly did not disappoint.
The beauty of barbecue sauce is you can veer this dish in any direction you prefer. Spicy, sweet, tangy, it’s up to you. The sweetness from the pineapple, the smokiness from the grill and the flavor from the barbecue sauce will have you chowing down silently, minus the moaning escaping from your lips between bites. And when you dip these into the grilled pineapple guacamole and some sour cream then take a bite? Well this meal might start sounding R-rated.
- 2 sections of whole pineapple (see note), or 4 rings of pineapple
- 2 chicken breasts
- 4 tablespoons barbecue sauce
- 2 teaspoons olive oil
- 4 flour tortillas
- ½ cup shredded extra sharp cheddar cheese
- ½ cup shredded colby jack cheese
- ¼ of a red onion, thinly sliced
- Salt and pepper
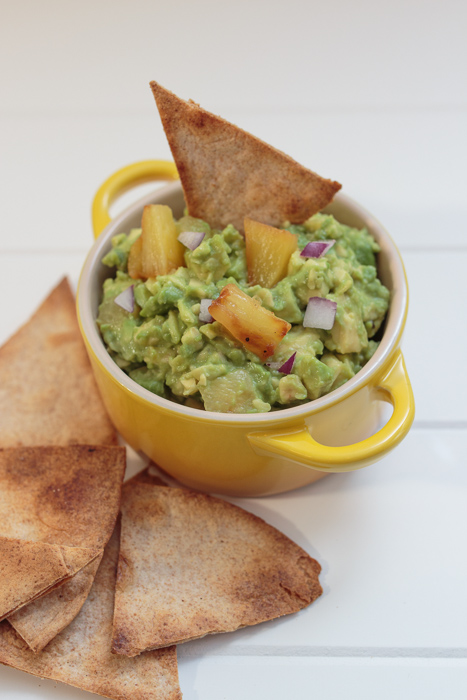
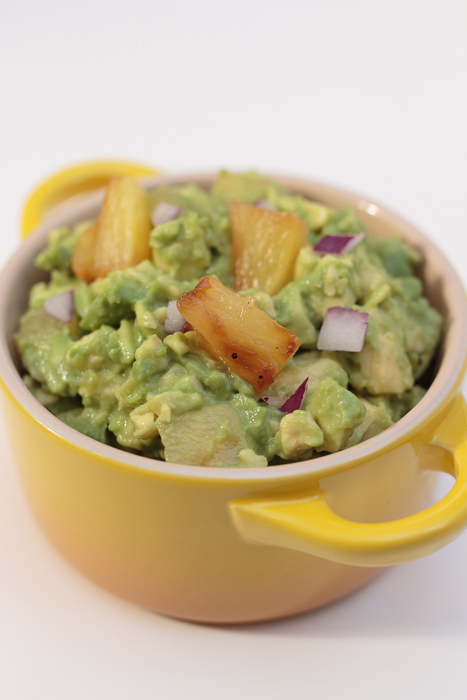
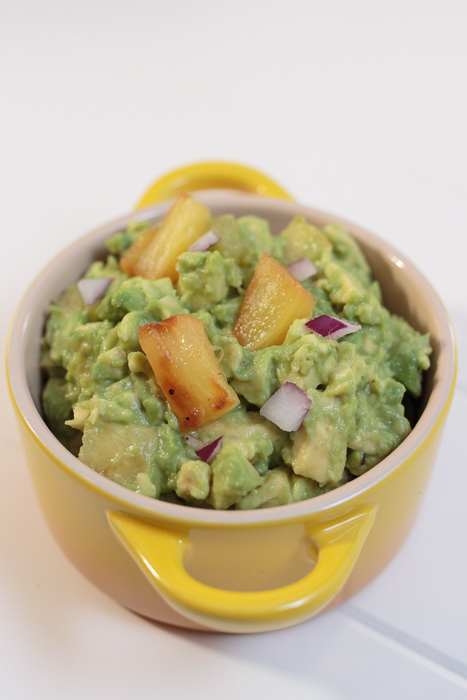
- Sliced scallions, sour cream, guacamole and salsa for serving
- Heat a grill or grill pan to medium-high heat and lightly coat with cooking spray. Grill the pineapple 2-3 minutes per side, or until light grill marks appear. Once grilled, cut the pineapple into ½”- 1” chunks.
- Season both sides of the chicken breasts with salt and pepper. Lightly coat the same grill or grill pan over medium-high heat and grill the chicken breasts. Cook for 6-8 minutes per side or until it reaches an internal temperature of 160 degrees F. During the last couple minutes of cooking coat both sides of the chicken with barbecue sauce. Remove and cut into 1” pieces.
- Heat a large skillet or griddle over medium heat and add the olive oil. Place 1 of the tortillas in the pan then top with ¼ cup of the cheddar cheese. Arrange half of the grilled pineapple chunks, half of the chicken pieces and half of the red onion on top. Drizzle with a little extra barbecue sauce if desired then top with ¼ cup of the colby jack cheese and a second tortilla.
- Cook until the cheese has melted and the bottom tortilla has started to brown, about 6 minutes. Flip the quesadilla then cook until the other side lightly browns, about 4 minutes. Remove from the heat.
- Cut into 6 wedges and serve with sour cream, guacamole, salsa and scallions.
1. Cut off the top and bottom of the pineapple.
2. Sitting the pineapple upright, cut it in half, then into quarters.
3. Standing each quarter upright, cut it in half to make 2 wedges.
4. Standing each wedge upright, cut the point off down the entire length of each wedge to remove the thick core, about ½” - ¾” into the pineapple.
5. Still standing each wedge upright, cut the skin off each wedge.
Recipe adapted from The Pioneer Woman.