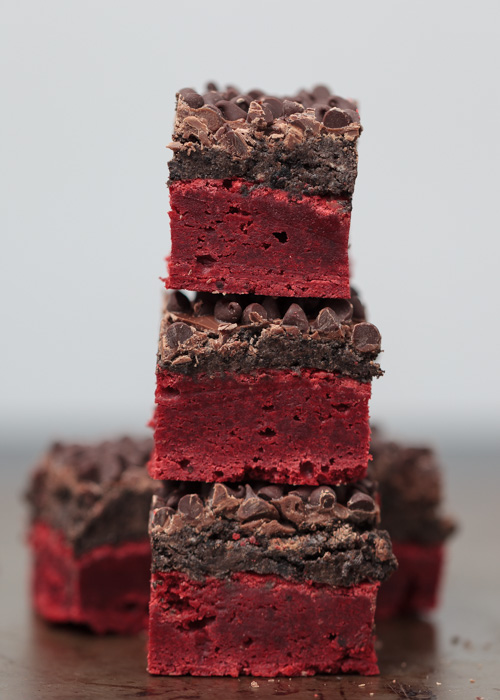
Red Velvet Oreo Truffle Chocolate Crunch Brownies
Remember way back when I promised the fifth, final and most outrageous installment of the Lemon & Mocha brownie series just in time for Valentine’s Day? Ta-da! Here it is: Red Velvet Oreo Truffle Chocolate Crunch Brownies. I am very sorry for keeping these from you for so long, but aren’t they perfect for Valentine’s Day?
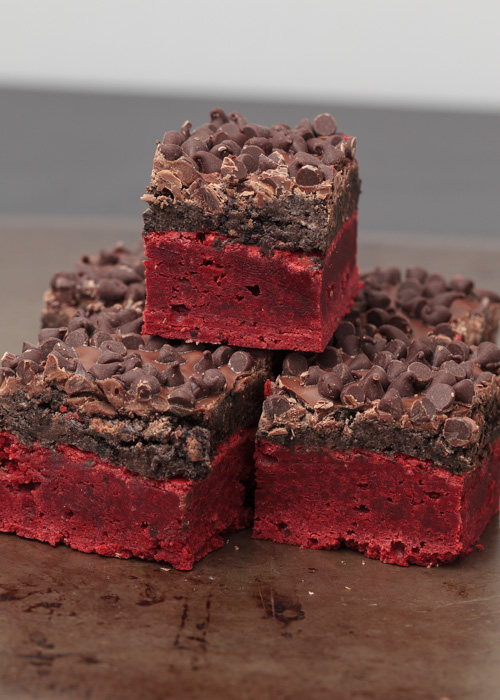
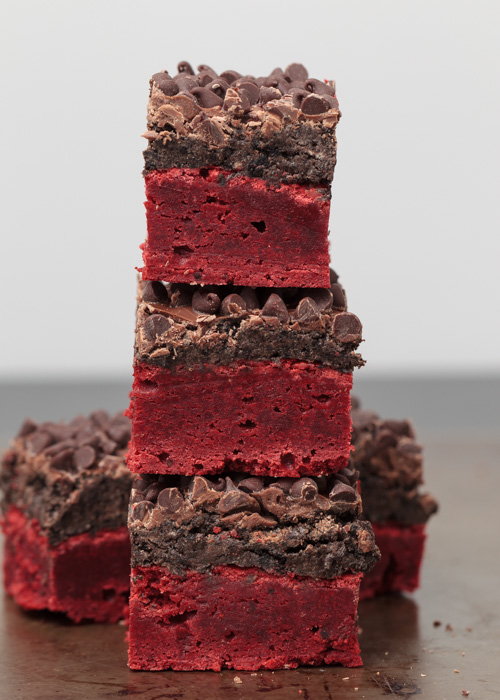
These brownies are the king of all brownies and they are utterly amazing. Lets go layer by layer to give you time to process the amazingness.
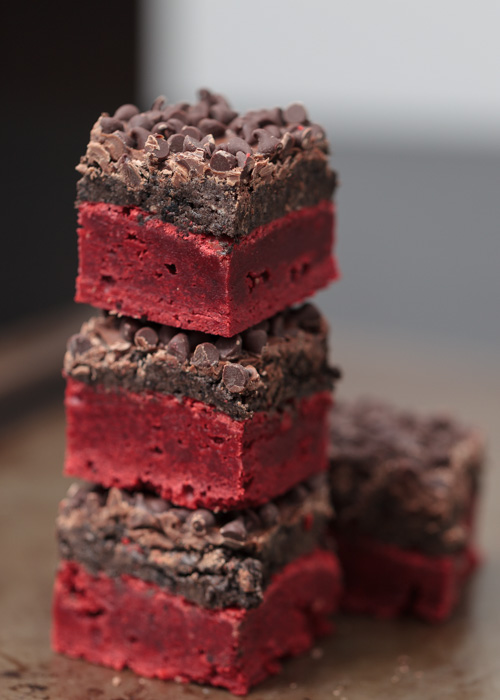
Layer one: homemade red velvet brownies. Fudgey, moist and with just a hint of chocolate flavoring that red velvet is known for, this is the perfect base.
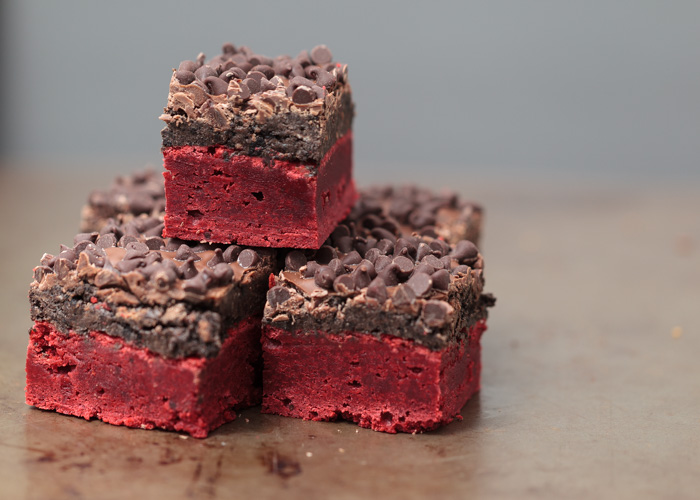
Next up, layer two: Oreo truffle. If these layers were children the Oreo truffle layer would be that favorite child. Have you ever made Oreo truffle balls? This layer is the inside of those truffles. Crushed Oreos and cream cheese are whipped together to create the most perfect balance of sweet, creamy and chocolatey.
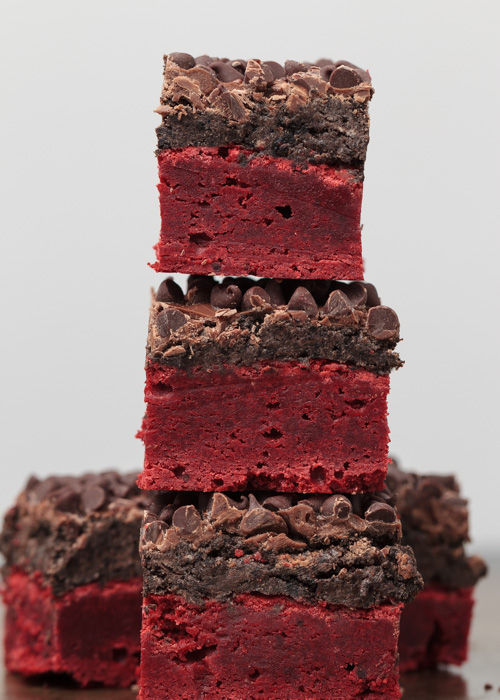
Finally, layer three: chocolate crunch. Chocolate is melted over the top of the Oreo truffle layer to create a hardened chocolate topping, but oh no, even that is not enough. Before the chocolate has time to harden, mini chocolate chips are sprinkled allover to create chocolate chunks in the hunk of chocolate.
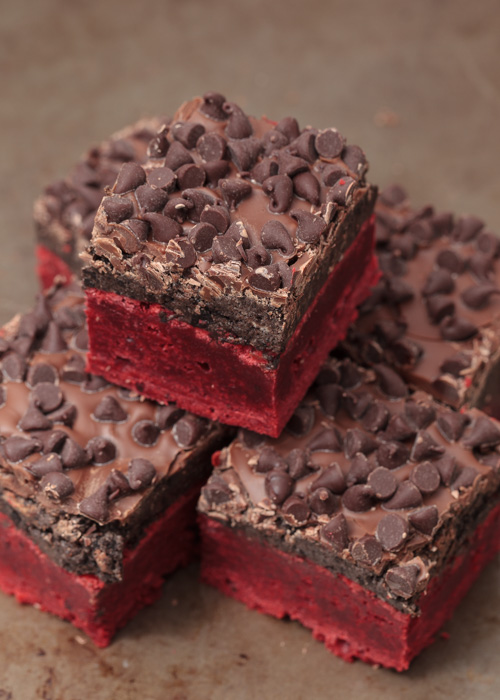
Yes, I promise you that this is real life and you can actually go make these brownies right now. They are an ultimate texture overload. Fudgey base, creamy Oreo middle and hard crunchy topping come together to make you eat a second, or a third, or a fourth, or a….
- 2 sticks unsalted butter (1 cup), room temperature
- 1½ cups sugar
- 1½ cups brown sugar
- 4 large eggs, room temperature
- 1-2 ounces red food coloring
- 4 teaspoons vanilla extract
- 2½ cups all-purpose flour
- 6 tablespoons unsweetened cocoa powder
- ½ teaspoons salt
- 1 package Oreos
- 8 ounces cream cheese, room temperature
- 1½ cups semisweet chocolate chips
- 2 teaspoons vegetable oil
- 1 cup mini chocolate chips
- Preheat oven to 350 degrees F. Grease and flour a 9 x 13 pan and set aside.
- Beat the butter, sugar and brown sugar together with the paddle attachment of a stand mixer for 2 minutes, or until fluffy. Add the eggs, one at a time, mixing after each egg is added. Add the food coloring and vanilla extract until the color is completely incorporating and is the desired color.
- In a separate medium bowl combine the flour, cocoa powder and salt. Carefully add the flour mixture to the wet ingredients being sure to incorporate completely while trying not to over-mix the batter. The batter will be very thick, but make sure the batter is a uniform color.
- Pour the batter into the prepared baking pan and smooth the top. Bake for 35 minutes, or until crunchy on top and gooey underneath. Let cool completely. Once cool you can either leave in the pan or very carefully flip the brownies out onto a large clean surface. I flipped my over onto a clean cutting board that easily fits in my fridge so it would be easier for later refrigerating and cutting.
- Turn the entire package of Oreos into crumbs using a food processor or crushing in a large plastic bag. Combine with the cream cheese until blended.
- Dollop the Oreo mixture onto the cooled brownies then carefully use your hands and a rubber spatula to create a smooth even layer covering the brownies all the way to the edges. If you try to simply spread you might tear the brownies.
- Melt the chocolate chips with the vegetable oil in the microwave. Microwave for 30 seconds, stir, then continue to microwave in 10 second intervals, stirring after each, until melted and smooth. Carefully pour over the Oreo truffle layer and smooth with a rubber spatula. Sprinkle with the mini chocolate chips then refrigerate until the chocolate crunch layer has hardened.
Red velvet brownies from Newlyweds.
Bar recipe from Pizzazzerie.