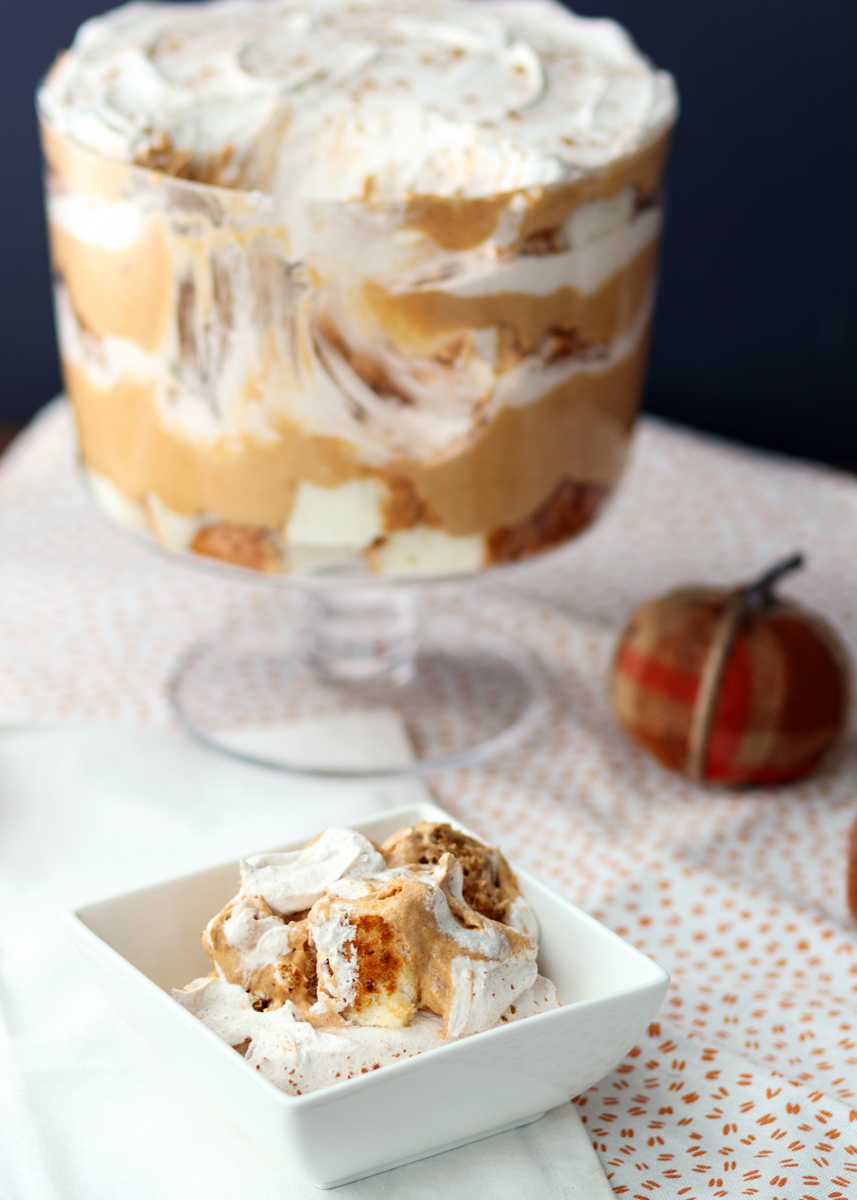
Pumpkin Cheesecake Trifle
Another Wednesday, another recipe full of pumpkin-goodness! I have two fairly simple desserts recipes that are both big crowd-pleasers that I’ll be sharing with you in time for Thanksgiving. Spoiler: they both include pumpkin! I love pie at Thanksgiving, but sometimes I want something a little different.
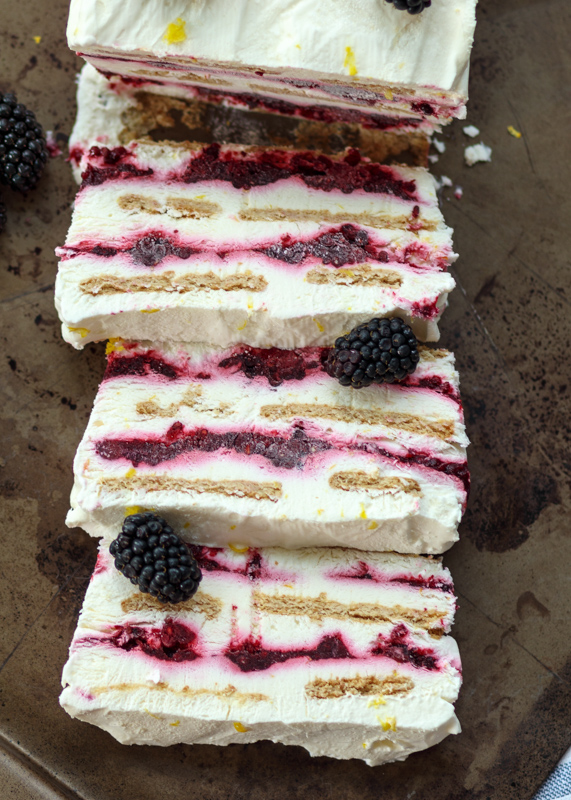
I discovered this Pumpkin Cheesecake Trifle two years ago and it became an instant favorite. I’m a sucker for a good trifle, especially one that involves angel food cake, because they’re so light, which is perfect for after a big holiday meal. The Summer Berry Trifle is a classic, but I wanted a go-to trifle during the fall and winter months as well.
This Pumpkin Cheesecake Trifle recipe is super easy and has just three layers. The first is the angel food cake. You can buy store-bought angel food cake, make it from a box mix or make your own homemade version. I personally like to stick to the box mix version since you just mix it with water and bake – crazy easy! One of these days I’ll try a homemade angel food cake, but when I’m throwing it into a trifle and busy with other holiday prep the box mix is good enough for me.
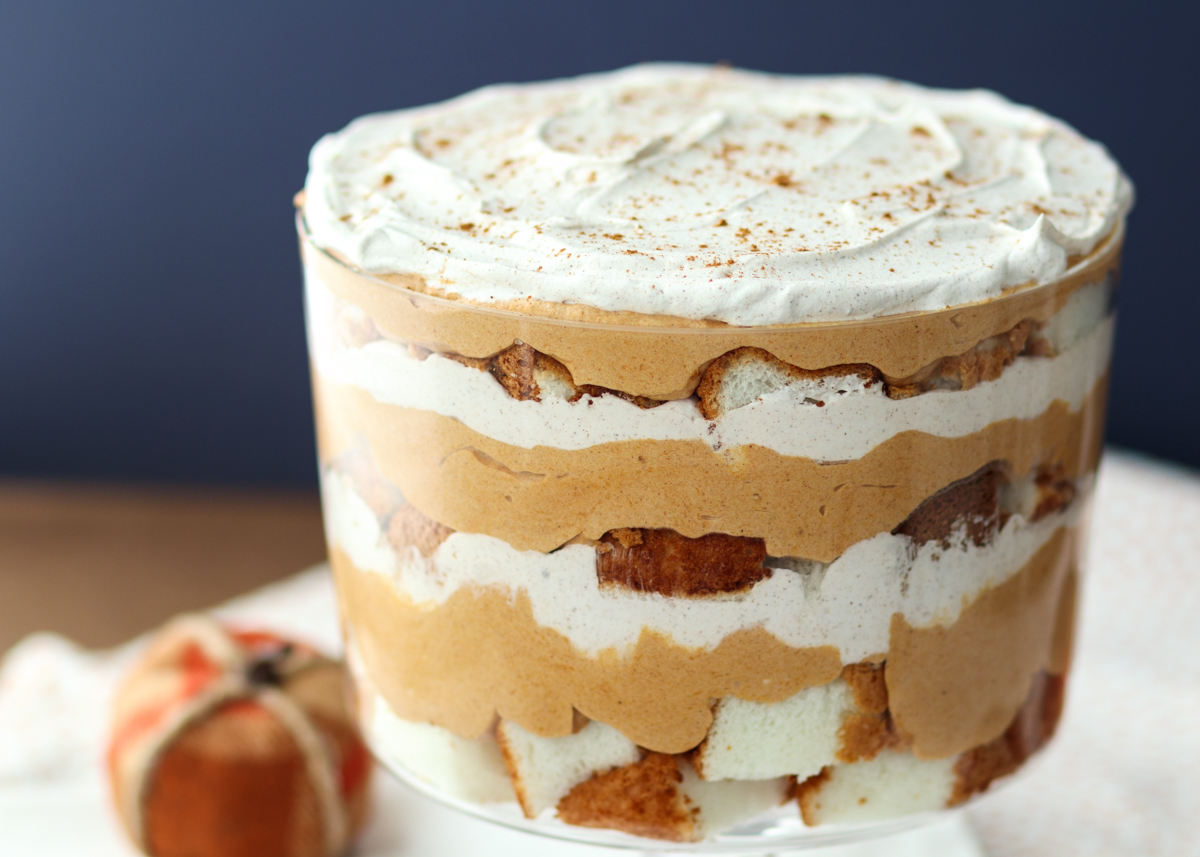
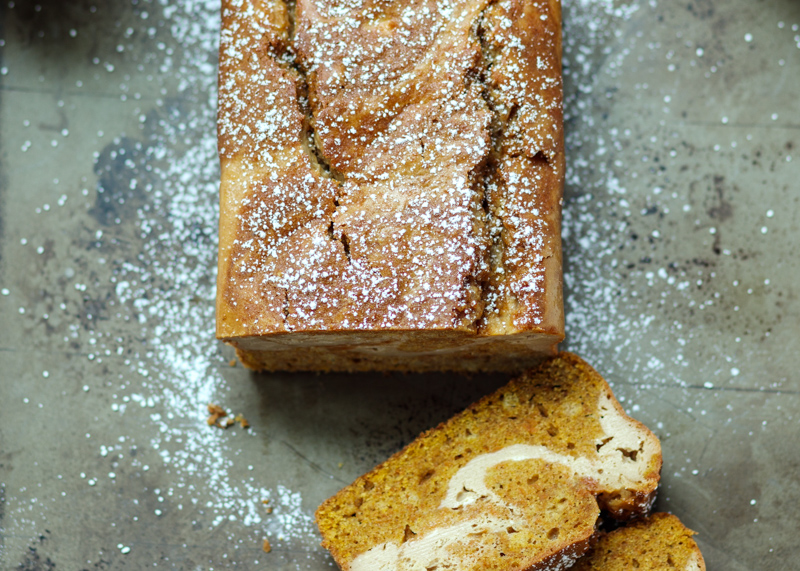
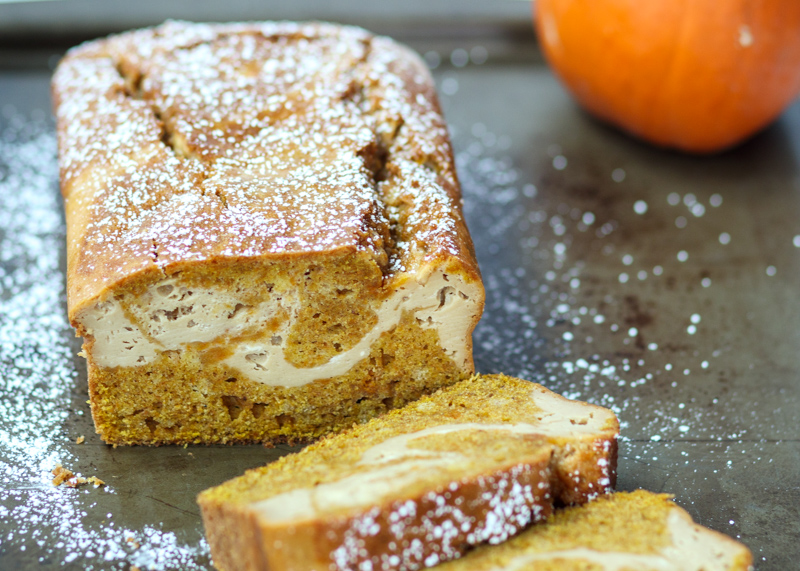
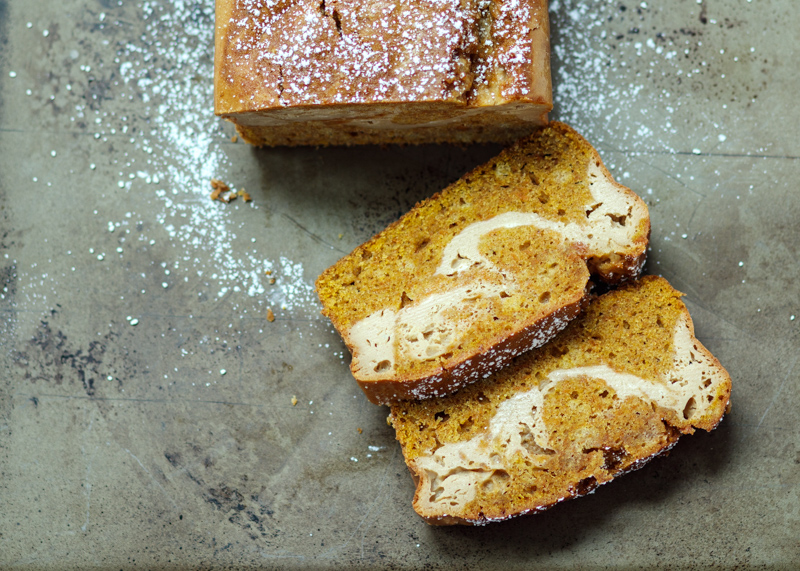
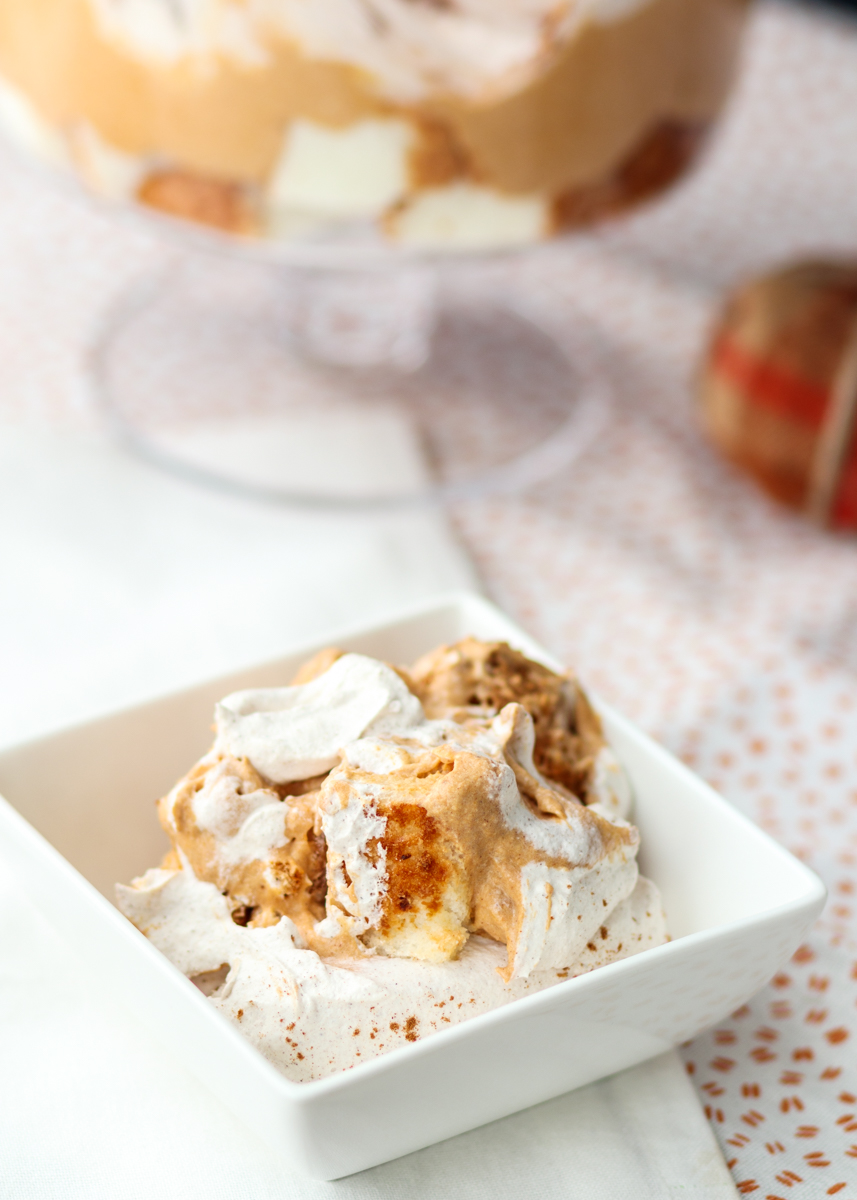
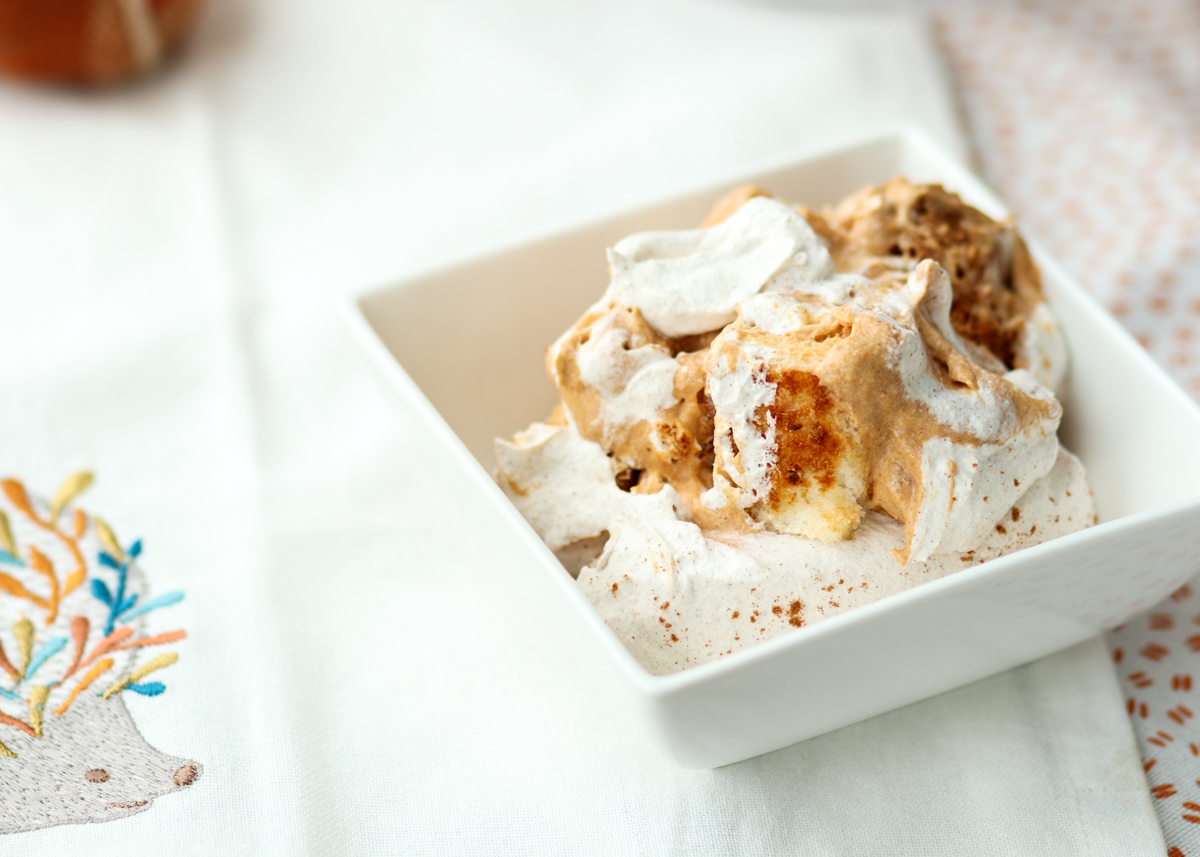
The next layer is a pumpkin cheesecake filling. Yes, it’s as incredible as it sounds. It’s creamy, warmly spiced and packed with pumpkin flavor. Finally, we have a cinnamon whipped cream because whipped cream is amazing, but cinnamon whipped cream is on the next level. I used whipped topping, but I included instructions for homemade whipped cream as well so feel free to use whichever you prefer!
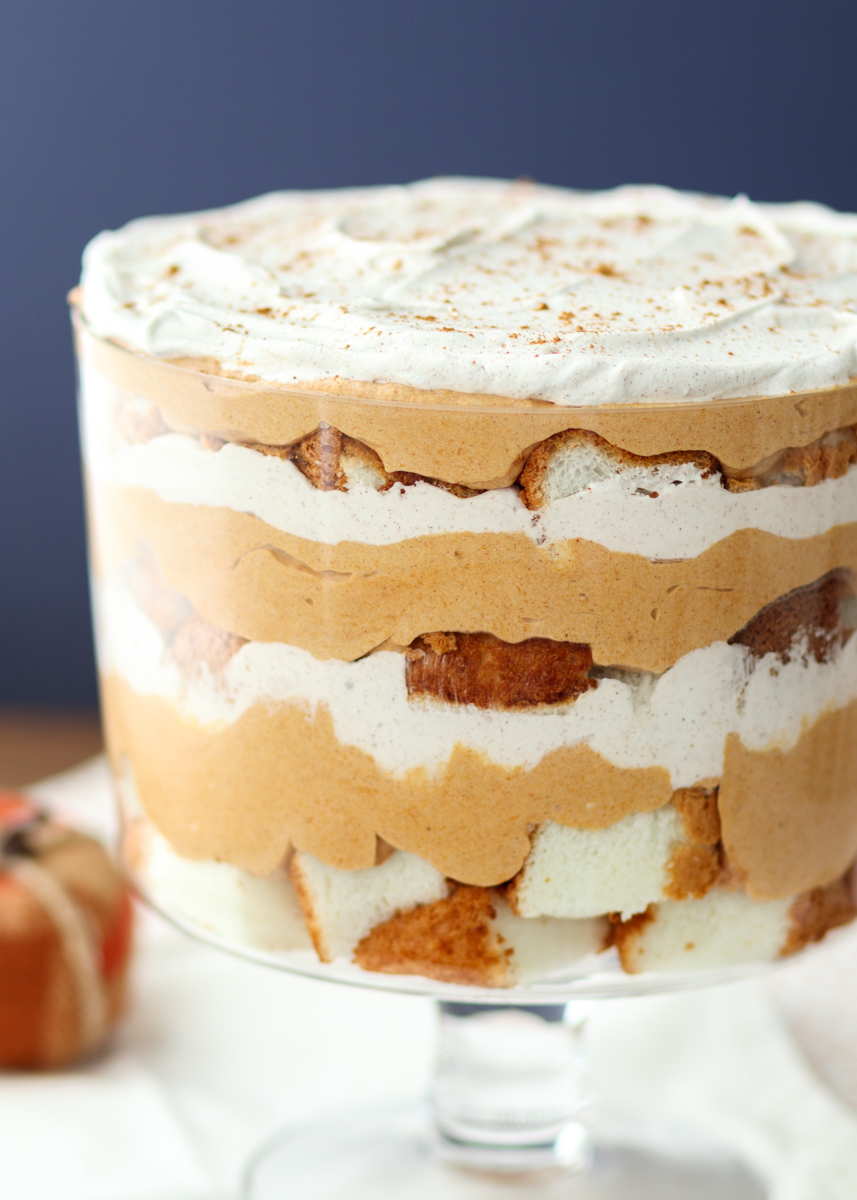
I used this 7.5” trifle bowl from Crate and Barrel, which as you can see is bursting at the top so you could definitely get away with a larger trifle bowl not looking too empty. Or just pile more cinnamon whipped cream on top! Enjoy!
- 1 prepared angel food cake (I use a box mix), cut into chunks using a serrated knife
- 4 cups whipped topping, see note
- 16 ounces cream cheese, light or regular
- 15 ounces pure pumpkin
- ¾ cup brown sugar
- 1 tablespoon pumpkin pie spice, plus more for topping
- 2 teaspoons vanilla extract
- 1 teaspoon ground cinnamon
- In the bowl of a stand mixer or a large mixing bowl with a hand mixer, beat the cream cheese until light and fluffy. Add the pumpkin, brown sugar, vanilla and pumpkin pie spice then beat until combined. Fold in 1⅓ cups whipped topping.
- Combine the remaining 2⅔ whipped topping with the ground cinnamon.
- Layer ⅓ of the angel food cake chunks into the bottom of the trifle bowl. Top with ½ of the pumpkin mixture, smooth into an even layer. Top with ⅓ of the cinnamon whipped cream, smooth into an even layer. Repeat the layers two more times so that you end with the whipped cream on the top. Sprinkle with a dusting of pumpkin pie spice then refrigerate until ready to serve.
Box mix tip: I don’t have an angel food cake pan so when I make the box mix for this recipe I use a 9x13” pan. I put parchment paper on the bottom then bake it at 350 degrees F for 35 minutes. The top should be golden brown and not sticky. Then turn the pan upside down using 4 cans of the same height under each corner and let it stay like that until it cools. Once it’s mostly cooled, run a butter knife around the edges then the cake should fall right out.
Recipe slightly adapted from Mom on Timeout.