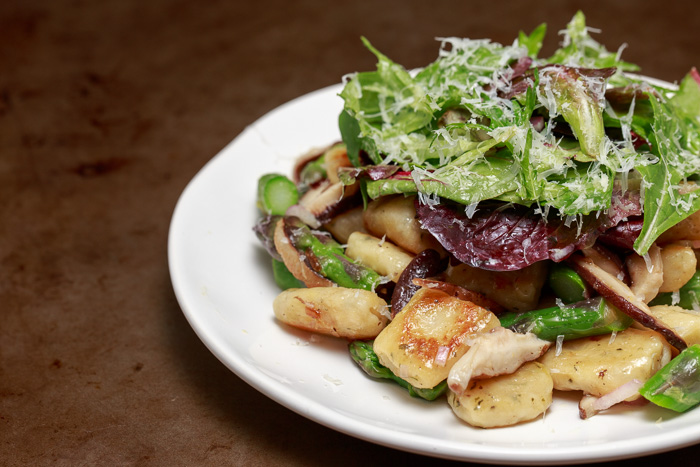
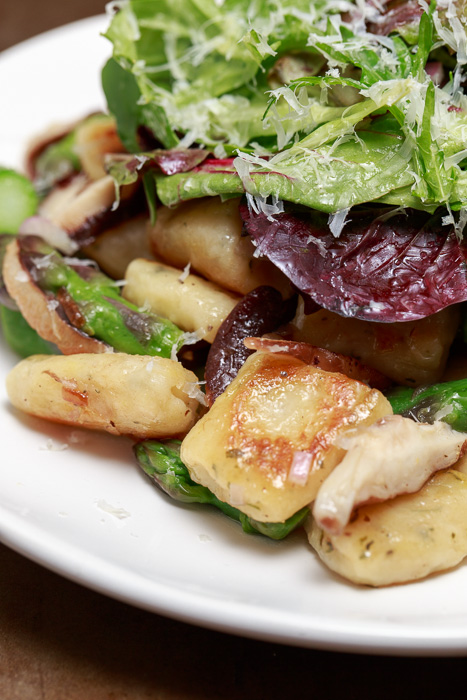
Coffee Ice Cream Cookie Sandwich Cake with Salted Butter Caramel Sauce

Did you make the coffee ice cream I posted on Tuesday yet? No? Well you’re going to be kicking yourself for it after you see today’s post. But don’t worry! There’s still time to remedy your huge oversight. If you haven’t already started a grocery list after just reading the title, then let me get right to it: you need to make this dessert. Now.
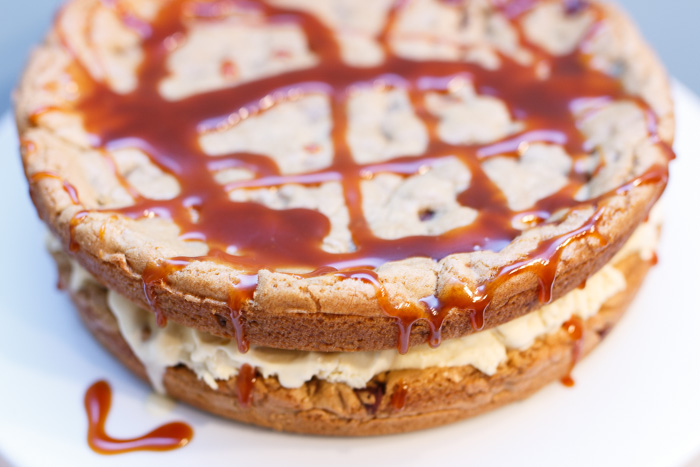
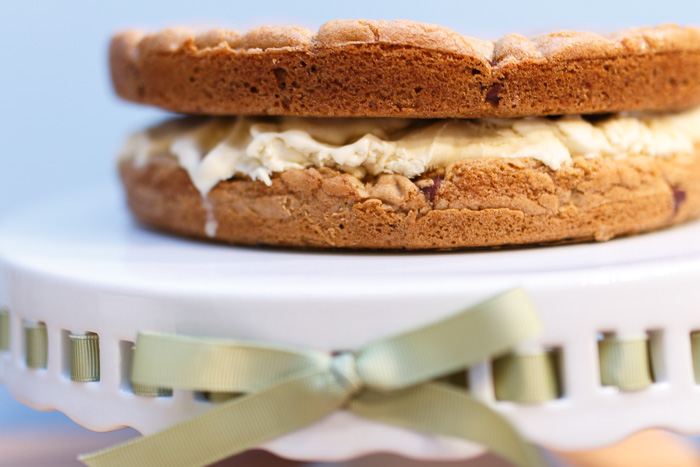
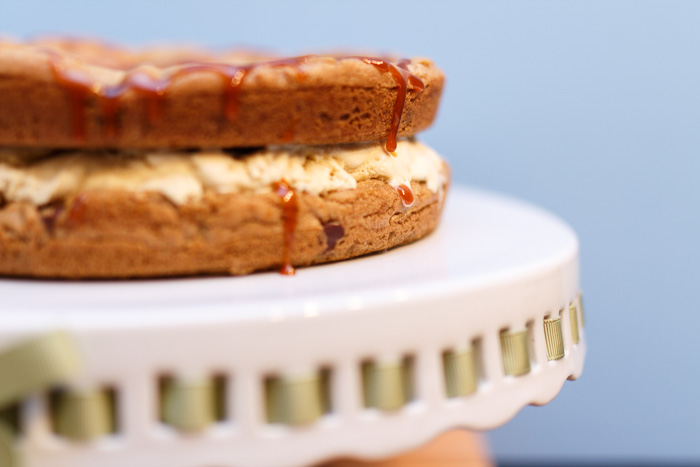
Or this weekend, you know with that pesky little thing called work consuming the weekdays. Chocolate chip cookie cake with coffee ice cream and a salted butter caramel sauce. Woah, someone hold me, I’m weak in the knees!
The inspiration for this dessert phenomenon was my fellow ice-cream loving friend. We aren’t normal ice cream lovers. We are ice cream aficionados. We eat, sleep and breath ice cream. If we were on the top of Mount Everest we would say to one another, “P-p-pass the ice cream p-p-please.” In addition to our ice cream desires we also maintain our manners under extreme conditions. For her birthday I decided to turn one of our favorite ice cream truck treats into an ultimate dream cake. It’s dessert in a dessert times ten.
Although it looks like a monster of a project, if you split out the components it is completely do-able and so worth it. The strong coffee flavor, buttery and chocolately cookie, and warm caramel sauce will have you making obscene noises perhaps not suitable for children. I have never seen a dessert be devoured so quickly and neither will you.
- 1 batch Perfect Chocolate Chip Cookie Dough
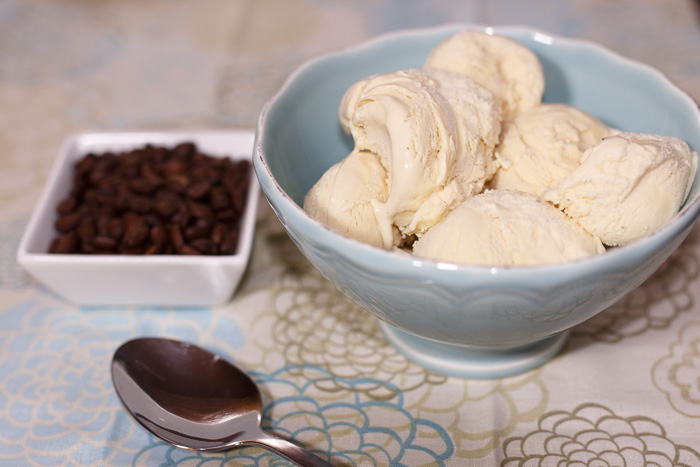
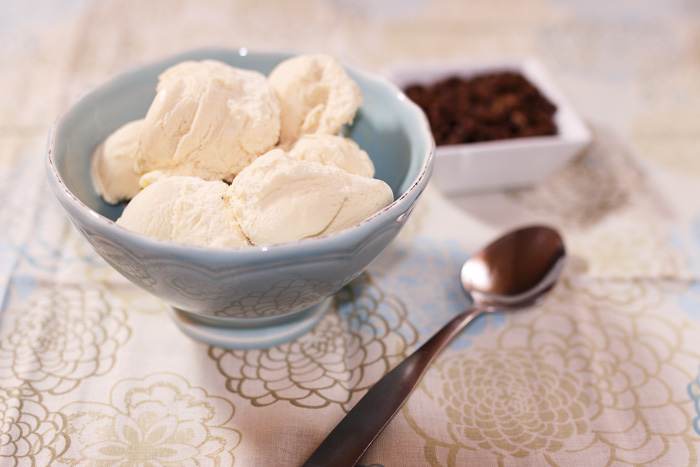
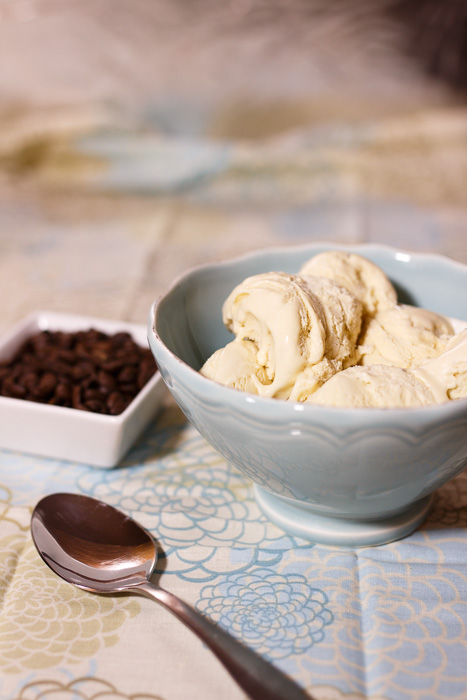
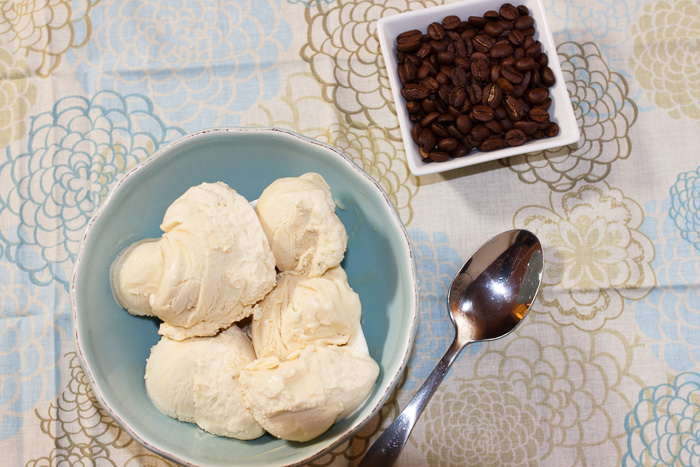
- 1 quart Coffee Ice Cream, softened
- 6 tablespoons unsalted butter
- ¾ cup sugar
- 1 cup heavy cream, divided
- ½ teaspoon vanilla extract
- 1 ¼ teaspoons coarse salt
- Preheat the oven to 350 degrees F.
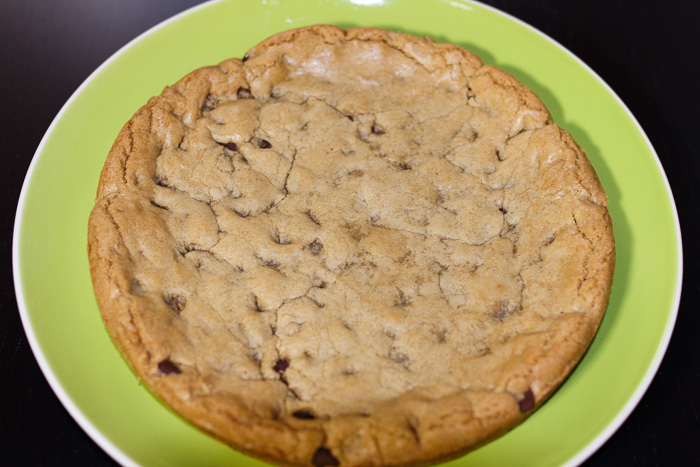
- Line a 9” round springform pan with parchment paper. Take half the cookie dough and evenly press into the bottom of the springform pan to create a large round cookie. Bake for 20 minutes. Do not overcook the cookie or it will be hard after freezing. Remove and let cool on a wire cooling rack. Repeat with the second half of the cookie dough.
- When the cookies are completely cool you can start assembling the cake. Place one of the cookies in the bottom of the springform pan lined with parchment paper. Scoop and evenly spread the coffee ice cream on top of the bottom cookie until you have about a 2” layer. You may not have to use all the ice cream. Place the second cookie on top, right side up, making sure not to press too hard. Wrap the entire pan in plastic wrap and freeze for at least 8 hours. Let the cake sit out and soften before serving.
- Melt the butter over medium heat in a large heavy duty saucepan. Stir in the sugar with a heatproof spatula and continue stirring frequently until the mixture is a deep golden brown and starts to lightly smoke. The sugar will be completely dissolved at this point.
- Remove from the heat and carefully whisk in ½ cup of the cream. I recommend using an oven mitt as the mixture may bubble splatter. Stir in the rest of the cream, vanilla extract and salt until combined. If any sugar lumps remain gently whisk over low heat until dissolved. Serve warm.