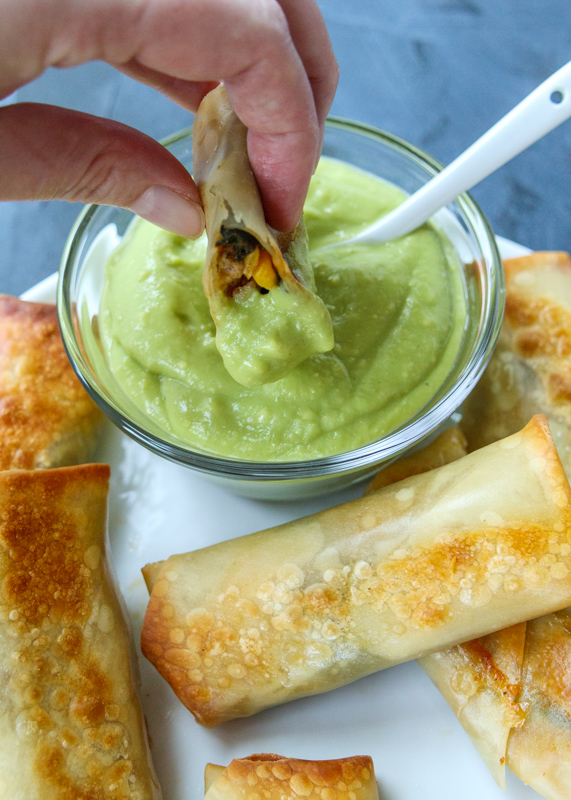
Southwest Turkey Baked Egg Rolls with an Avocado Dipping Sauce

Happy Wednesday everyone! Can you believe we’re halfway through August? Ah, I shouldn’t have even brought it up! Where did the summer go? I bet if I look at my past summer posts I probably said the same thing, but it still shocks me every year. To cheer us all up I’m sharing these flavor-packed and crunchy Southwest Turkey Baked Egg Rolls with an Avocado Dipping Sauce.
When I first made these, Matt and I were so hooked that I made them three weeks in row. That never happens! The egg rolls also got prettier each week as I had more practicing wrapping them. I also got a lot quicker at putting them together; it’s a lot more simple than you would think. I walk you through it in the directions, but if you get the Nasoya brand egg roll wrappers they have a diagram on the back of the package for how to wrap them up.

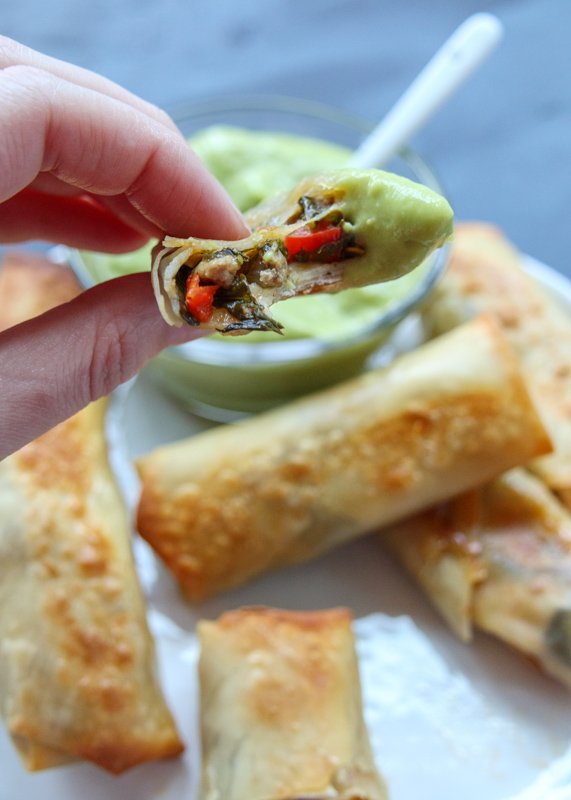
The ground turkey, corn and spinach filling for these Southwest Turkey Baked Egg Rolls is packed with spices that give it a smoky taste. They aren’t spicy since I don’t like spicy foods, but you could certainly amp up the chili powder if you preferred. The can of diced green chiles is key because it adds depth of flavor and also liquid to keep the ground turkey extra moist. I usually grab a bunch every time I’m at Trader Joe’s. You can use pepper jack cheese if you want a little more heat or if you prefer them more mild like me than you could use shredded Monterey Jack cheese.

Either way, they get baked for eight minutes on each side and when the egg rolls come out they are crispy, crunchy and ready to be dipped in my simple avocado dipping sauce. It’s basically a quick homemade guacamole that has been thinned out to make it a prime time egg roll dipping sauce.

We usually eat these Southwest Turkey Baked Egg Rolls as a meal with a salad or some stir-fried snap peas, but they would also be so good as a party appetizer. If you’re going to make them as an appetizer you should definitely double the recipe because they will be gone fast!
- 8 ounces 93% lean ground turkey
- ¼ teaspoon salt
- ¼ cup chopped onion
- ⅓ cup chopped red bell pepper
- 1 garlic cove, minced
- 1 can diced green chiles, about 4.25 ounces
- 5 ounces fresh spinach
- ¼ cup corn kernels
- 2 tablespoons sliced scallions
- ¾ teaspoon ground cumin
- ½ teaspoon smoked paprika
- Pinch of chili powder
- 12 egg roll wrappers, see note
- ¾ cup shredded pepper jack or Monterey jack cheese
- 1 avocado, cut open and pitted
- ⅓ cup water
- 2 tablespoons lemon juice
- ¼ teaspoon garlic powder
- Salt and pepper
- Preheat the oven to 400 degrees F. Line a baking sheet with nonstick aluminum foil or coat with cooking spray and set aside.
- Coat a medium skillet with cooking spray then heat over medium-high heat. Add the ground turkey and the salt and cook until it’s almost done browning, about 3 minutes. Break apart the ground turkey with a wooden spoon or silicone spatula as it cooks and browns. Add the onion, bell pepper and garlic then cook until the onion and pepper is a little tender, about 4 minutes. Reduce the heat to medium and add the can of green chiles, spinach, corn, cumin, smoked paprika and chili powder. Stir and continue to cook for about 3-4 minutes, or until the liquid has evaporated and the spinach is wilted. Remove from the heat and let cool a little.
- Before filling the egg roll wrappers, make sure you have a little bowl or cup of warm water and a clean work surface. Place the egg roll wrapper down so that a corner is facing you. Scoop 3 tablespoons of the turkey mixture and place it near the bottom corner of the wrapper. I like to adjust the mixture so it’s more of a log shape then a big mound. Place a tablespoon of the shredded cheese on top. Take the bottom corner of the wrapper and fold it up and over the mixture so it’s completely covering it then continue to roll it one more time. Fold in the left and right corners so they create a little envelope then continue to roll it until it’s 1 roll away from the top corner. Wet your finger with the water and use it to moisten the whole exposed top corner. Fold the corner down to close up and seal the roll. Place it on the baking sheet. Repeat for the remaining rolls then coat all the rolls with cooking spray.
- Bake the rolls for 8 minutes, then flip them over and bake for another 8 minutes. They should be crispy and golden brown. Serve warm with the dipping sauce.
- In a high-speed blender, combine the avocado flesh, water, lemon juice and garlic powder. Blend until combined, about 40 seconds. Season with salt and pepper to taste.
Recipe adapted from Skinnytaste Fast and Slow.
Some of the links above are affiliate links, which means I may receive a small commission for my referral. This does not affect the retail cost of the item. Thank you for supporting Lemon & Mocha!