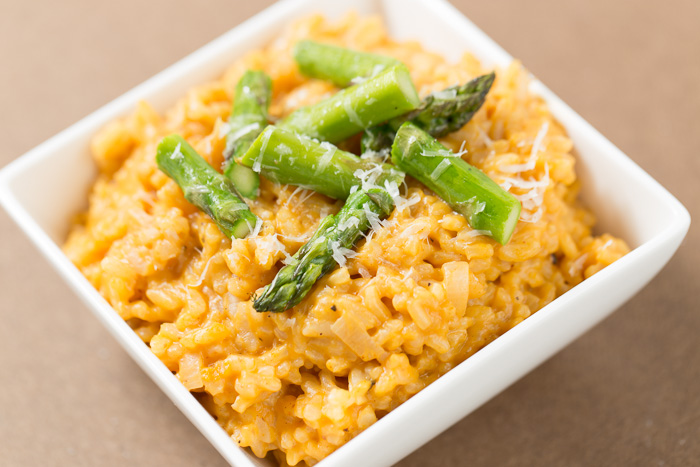
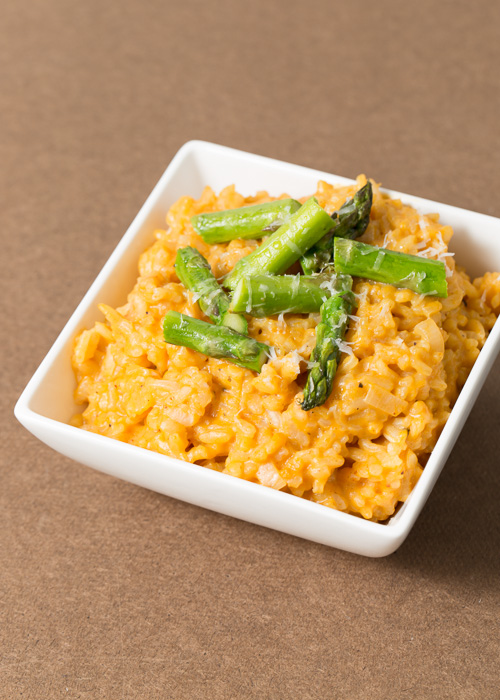
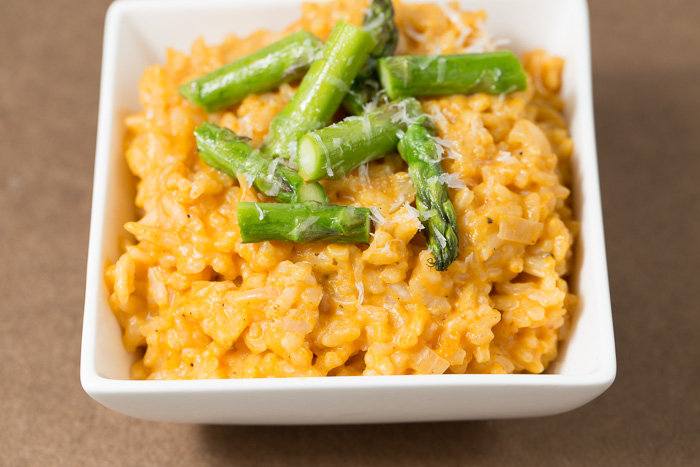
Pumpkin Risotto with Roast Asparagus
As excited as I am for the light and fresh ingredients of spring, I will definitely miss the cozy meals and rich flavors of winter. I decided to create a dish that would be a farewell to winter, as well as a welcoming hello to spring, if it ever decides to show itself up here in New England.

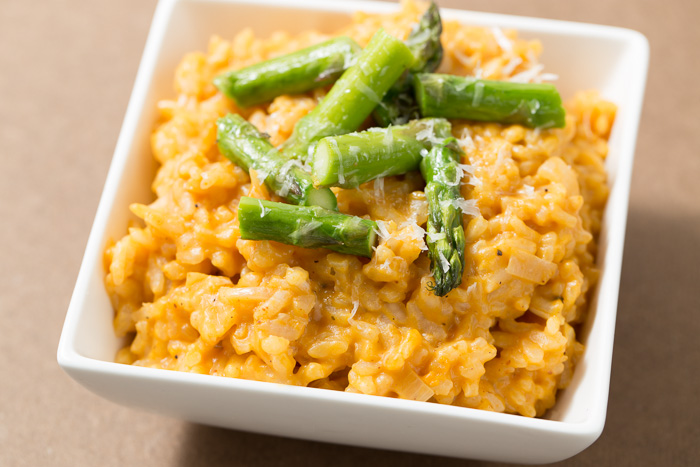
This pumpkin risotto with roast asparagus is creamy, robust and bright. The pumpkin flavor makes an appearance without overpowering the dish and the crisp asparagus complements the texture of the risotto. Now I’m about to get all product placement on you, but you’re used to my obsessive ravings by now. It is duly noted and acknowledged that I have an outrageous infatuation with food that has blessed me the ability to spout for hours about the topic. It is not limited to ingredients and meals, but also extends to restaurants, cooking methods, food science and news, appliances, food trucks, tableware and the occasional Costco sample discussion.
One of my absolute favorite appliances, courtesy of my stepmom, is my Breville Risotto Plus. What is this contraption you ask? Well the real question is, what isn’t it? Well actually it’s not a lot of things because an appliance can only be so many things out of the realm of all things, so lets stick to the original question.
This beauty is a slow cooker, rice cooker, steamer, saute-er and a risotto maker. You can cook brown rice while your broccoli is steaming. You can saute onions and garlic for a slow cooker meal without getting a second pan dirty. You can make risotto without constantly adding liquid and stirring. I’ll let that soak in for a second.

So Risotto Plus or no Risotto Plus, you should make this creamy risotto today and experience the flavors of winter and spring coming together.
- 2 tablespoons olive oil, divided
- 1 tablespoon butter
- 1 shallot, minced
- 2 garlic cloves, crushed
- 1¾ cups Aborio (risotto rice)
- 2 cups white wine
- 3 cups hot vegetable stock
- 1 cup pumpkin puree
- ½ cup fresh grated Parmesan, plus more for serving
- 1 pound asparagus
- ½ teaspoon Italian seasoning
- Salt and pepper
- reheat the oven to 425 degrees F.
- In a large pot over medium heat melt the butter and 1 tablespoon of the olive oil until hot. Add the shallots and crushed garlic. Cook until the shallots have softened, about 4-5 minutes.
- Add the rice and cook, stirring occasionally, for 4 minutes. Stir in the white wine, cover and let simmer until the wine has mostly been absorbed, about 5-6 minutes.
- Stir in 1 cup of the hot vegetable stock and let simmer until the liquid is mostly absorbed, stirring frequently. Repeat with the second and third cups of hot vegetable stock. When the third cup has been mostly, but not completely absorbed by the rice, stir in the pumpkin puree. Stir in the Parmesan cheese until melted then season with salt and pepper to taste.
- While the risotto is cooking, roast the asparagus. Remove the thick ends of the asparagus, cutting or snapping the bottom inch or two off each spear. Lay the asparagus on a baking sheet and drizzle with the other tablespoon of olive, then season with salt, pepper, and the Italian seasoning. Roast until the asparagus are tender, yet still firm, about 10 minutes. Cut each spear into thirds or fourths, depending on the length, for serving.
- To serve, top each bowl of risotto with some cut asparagus spears and freshly grated Parmesan.
*Use whatever white wine you have on hand for the recipe. I usually recommend to not use your best white wine, but still one that you wouldn’t mind drinking a glass of.
Recipe adapted from the manual for the Breville Risotto Plus.