Main Dishes

Mexican Street Corn Pasta Salad
Mexican Street Corn Pasta Salad  |  Lemon & Mocha

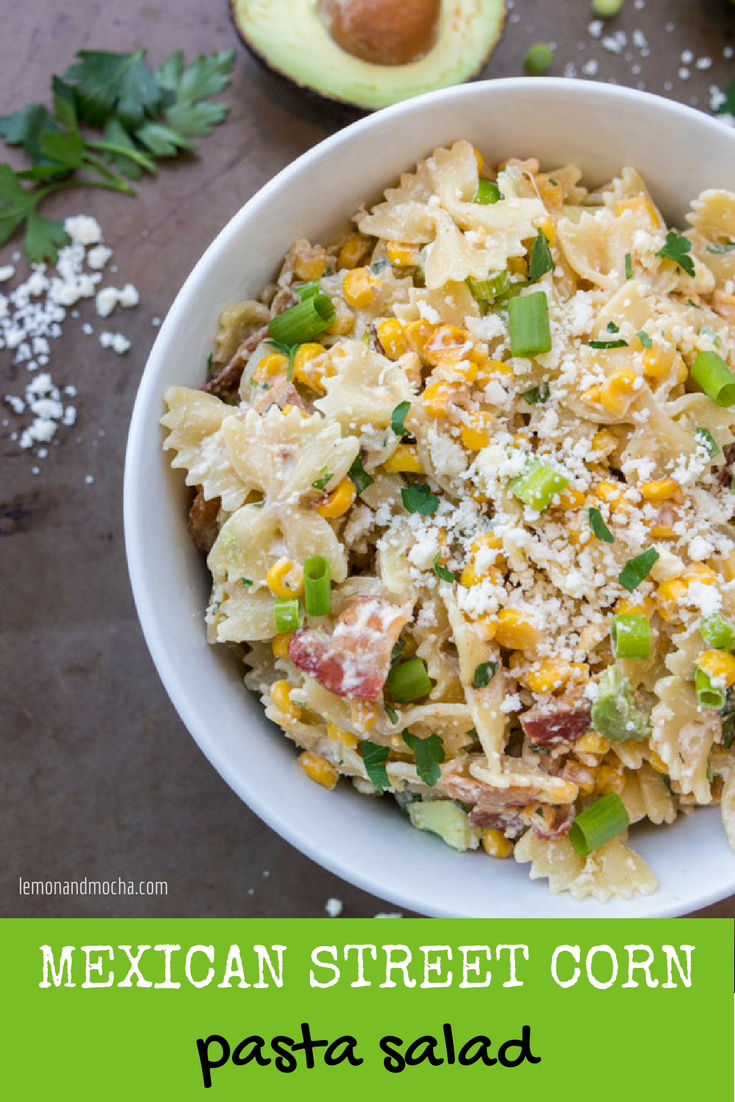
Matt, my cousin, Sarah, and I have a slight obsession with elote, also known as Mexican street corn. If your life has been elote-less thus far, what you need to know is that it is grilled corn slathered in lime juice, mayonnaise or crema, then sprinkled with salt, cotija cheese and chile powder. Basically, perfection on a cob.
Mexican Street Corn Pasta Salad  |  Lemon & Mocha

It’s hard to say where our obsession stems from. It could be because we’re cheese freaks, because we love Mexican food, or maybe because we have some inexplicable connection to corn fields. However, I think the real reason we love it so much is because it reminds us of summer beach days.
Mexican Street Corn Pasta Salad  |  Lemon & Mocha

Every year my family meets at the beach in Delaware for our family beach week. A few years ago, we started incorporating happy hour towards the end of the beach day. Yes, we enjoy having a drink while the sun’s still warm before having to shower and get ready for dinner. But let’s be honest – it’s really about the corn. We tried it at happy hour at the Mexican restaurant near the beach and we got hooked. I’m talking left the beach early because we couldn’t take the corn craving anymore hooked. Ever since then, we’ve been on an elote frenzy, ordering it whenever we see it popping up on restaurant menus. So when I saw this Mexican Street Corn Pasta Salad I knew I needed to have it as soon as possible.
Mexican Street Corn Pasta Salad  |  Lemon & Mocha

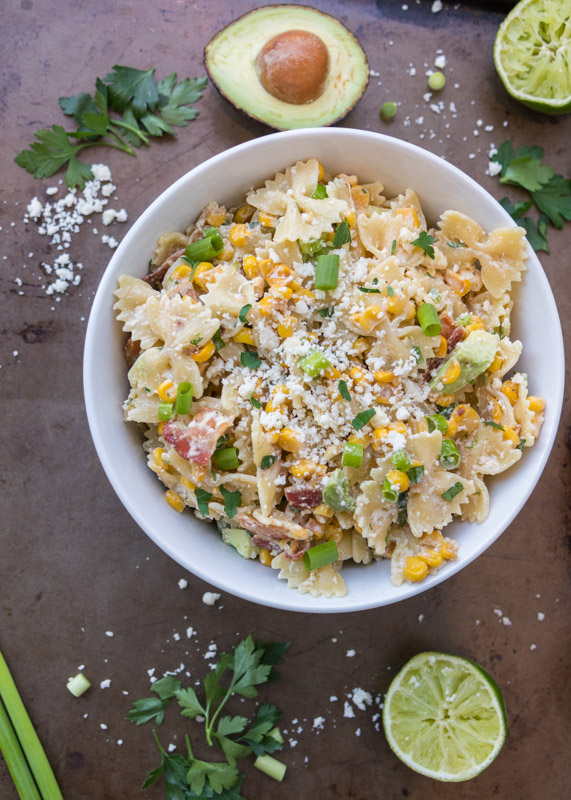
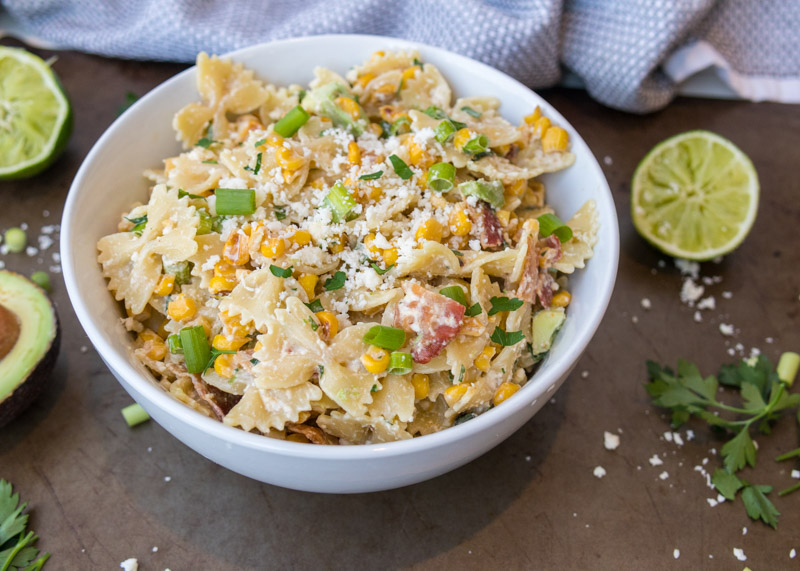
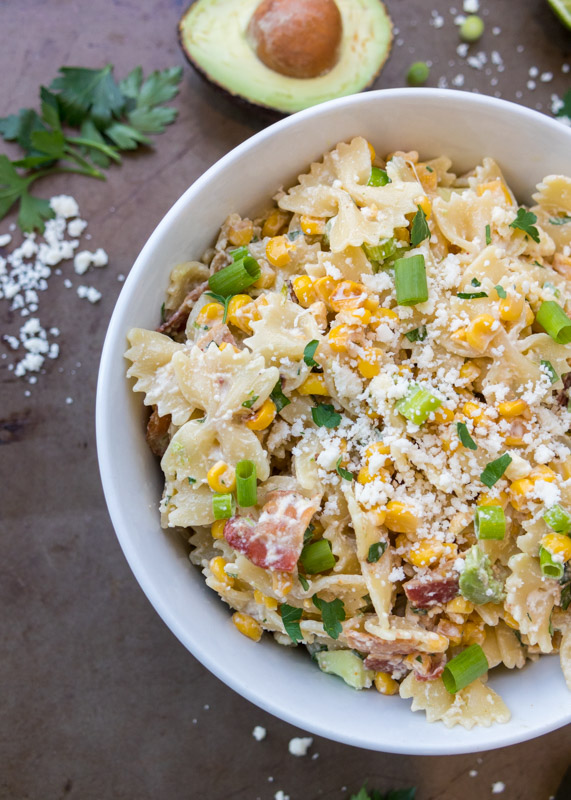
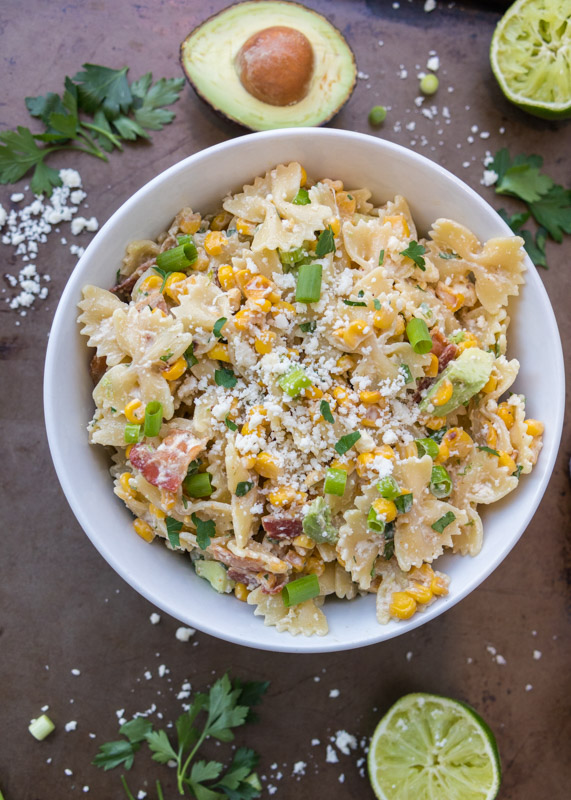
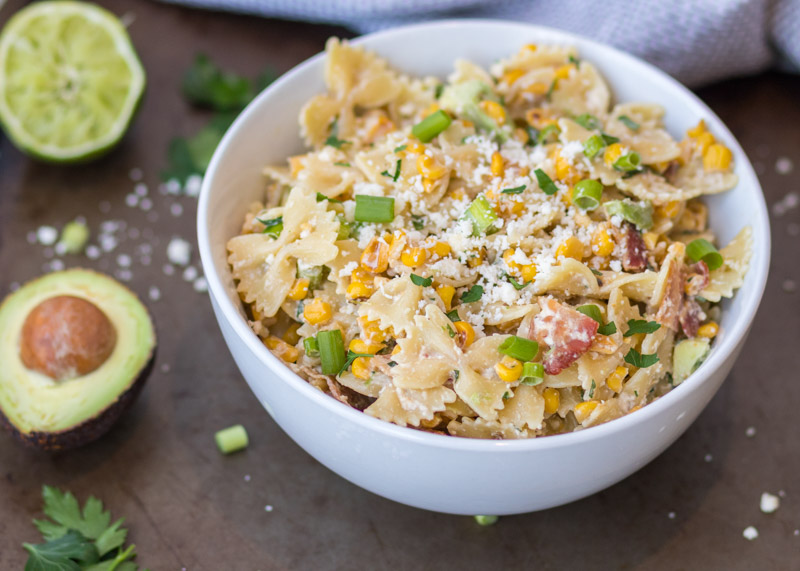
I first made it to bring to a barbecue and the weeks following I made it two more times because Matt and I couldn’t get enough. It is that good. I love elote and literally the only thing that could make it better is pasta, because hello – pasta! This pasta corn salad is packed with mind-boggling flavor and loaded with all the best goodies. There’s avocado, cheese and bacon in there. Yes, bacon! The pasta salad is smoky without being spicy, although you can certainly make it more spicy. My preference is usually just the least-spicy baby version possible.
Mexican Street Corn Pasta Salad  |  Lemon & Mocha

Every time I’ve made this it’s come out perfectly delicious. Even though I think it’s perfect as is, one of the reasons I love making pasta salads (other than my noodle obsession) is that it’s so easy to adjust the flavors to your personal preferences. Like it richer? Add more mayonnaise. Like it with more zippiness? Add more lime juice and zest. I like to make it as written, taste, and then add more of whatever I feel it needs, if anything. If you are going to make it ahead I would wait and stir in the bacon, cheese and avocado last minute. Also the pasta will soak up some of the dressing if you leave it overnight before serving so maybe make some extra dressing to pour in last minute as well.
Mexican Street Corn Pasta Salad  |  Lemon & Mocha

Mexican Street Corn Pasta Salad
 
Yield: 8 servings
Ingredients
for the pasta salad
  • 1 lb farfalle pasta
  • 2 15-ounce cans of fire-roasted corn, roughly 3 cups corn (see note)
  • 3 scallions
  • ½ cup parsley leaves (or cilantro if you prefer)
  • ½ jalapeño (see note)
  • 6-8 strips bacon, cooked
  • ⅔ cup Cotija cheese
  • 1 avocado
for the dressing
  • ¾ cup regular mayonnaise
  • 4 tablespoons lime juice
  • Zest from 1 lime
  • 1½ teaspoons hot sauce (see note)
  • ½ teaspoon smoked paprika
  • ⅛ teaspoon ground cumin
  • ⅛ teaspoon chili powder (more if desired)
  • Salt and pepper to taste
Directions
for the pasta salad
  1. Cook the farfalle pasta according to the package directions, being sure not to overcook. Strain and then immediately rinse with cold water. Let strain until completely drain, lightly patting with paper towel if needed.
  2. Drain the cans of corn and add them to a large mixing bowl. Add the cooked pasta. Remove the ends of the scallions then slice and add to the bowl. Chop the parsley or cilantro and add to the bowl. Carefully remove the seeds and pith from the jalapeño being sure to wear gloves or wash your hands immediately after. Finely chop and add to the mixing bowl. Crumble the cooked bacon and the cheese into the mixing bowl. Pour the dressing on top then stir to combine. Season with salt and pepper as needed. Dice the avocado and fold in to combine.
for the dressing
  1. Combine all the ingredients in a small bowl and whisk to combine. Season with salt and pepper as needed.
Notes
- Note about corn: If you can’t find or don’t want to use cans of fire-roasted corn, you have a few options. Trader Joe’s sells roasted corn in their freezer section. You could char some drained regular canned corn in a skillet on medium-high heat. You could also grill your corn then remove from the cob.
- Note about spiciness: I do not like spicy food. If you make the recipe as written and remove the seeds and pith from the jalapeño, use a mild hot sauce (I use Trader Joe’s Green Dragon sauce), and use a minimal amount of the chili powder, it will not be spicy. If you are concerned, reduce the amount of hot sauce and omit the chili powder. If you want it spicier, I would leave the seeds of the jalapeño and increase the amount of chili powder.

Recipe adapted from Chelsea’s Messy Apron.

Roasted Veggie Hummus Wraps

Roasted Veggie Hummus Wraps  |  Lemon & Mocha

Lunch always seems to be a struggle for me, especially when I’m trying to eat healthy. I don’t want it to be complicated because if I’m cooking lunch and dinner on a weekday I’ll feel like all I did all day was cook and work with no time to relax. Boring also won’t cut it because then I’ll find myself not wanting to eat it and will end up with takeout or vending machine chips instead. My ideal healthy lunch has lots of veggies, minimal carbs and is something I can mass meal prep on a Sunday without taking too much time out of one of my days off.

Roasted Veggie Hummus Wraps  |  Lemon & Mocha

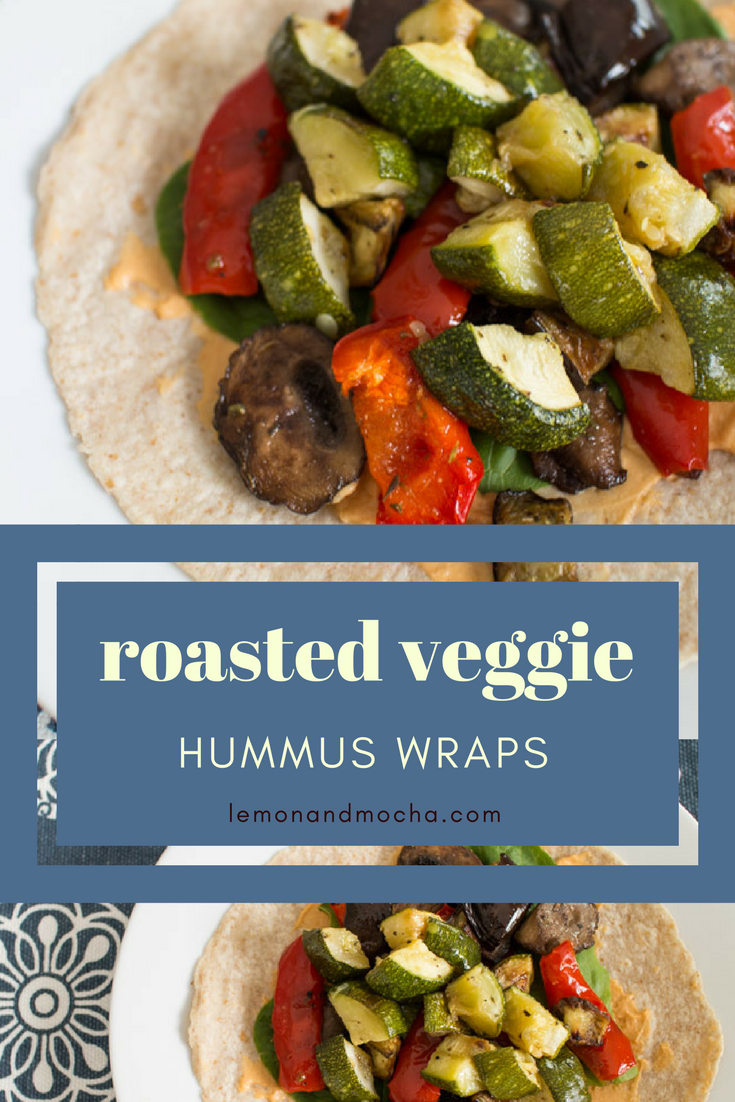
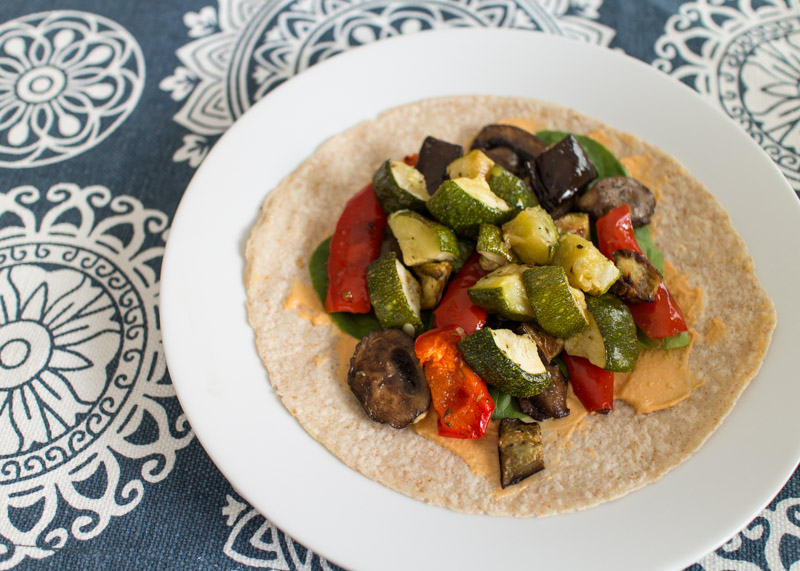
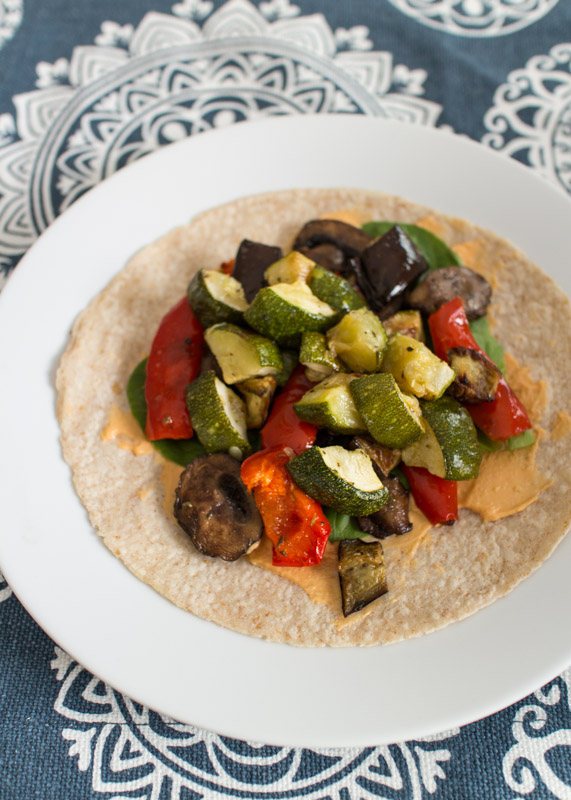
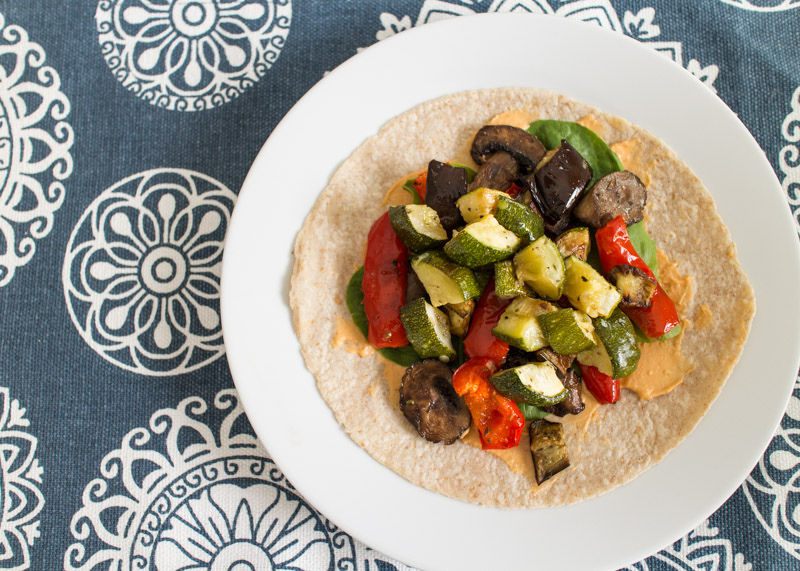
Roasted Veggie Hummus Wraps are one of the go-to’s in our house. I roast all the vegetables on Sunday and then we are ready for lunches for the week. Having lots of roasted veggies in the fridge for weekday lunches is great when you want veggies, but the thought of another salad is making you want to order a panini and fries! If you have never had roasted vegetables with hummus before you are missing out. The creaminess of the hummus with the tender bell pepper, zucchini, eggplant and mushrooms is a really tasty combination. This recipe makes four servings, but it can easily be scaled up or down. If you want more protein in your lunch these wraps work really well with grilled or rotisserie chicken.

Roasted Veggie Hummus Wraps  |  Lemon & Mocha

When you are buying wraps, especially if you are trying to be healthy, make sure you read the ingredients and nutrition facts. I always thought wraps were healthier than sandwiches, but a while back I did some research and found that a lot of wraps can be worse for you than sliced bread. Many brands claim to be healthy, but are full of sodium and trans fat. Try to find wraps that are high in fiber, low in sodium and don’t have artificial preservatives.

Roasted Veggie Hummus Wraps  |  Lemon & Mocha

A quick tip for softening your wrap to make it easier to roll so it won’t crack on you: wrap the tortilla in a damp paper towel and microwave for ten seconds. That’s it! I told you it was a quick tip!

Roasted Veggie Hummus Wraps
 
Yield: 4 servings
Ingredients
  • 1 red bell pepper, thickly sliced
  • 2 zucchinis, quartered then thickly sliced
  • 1 small eggplant, small diced
  • 1 package sliced baby bella mushrooms, about 8 ounces
  • 4 6” whole wheat wraps
  • ½ cup roasted red pepper hummus
  • 1 cup spinach leaves
  • Olive oil, salt, pepper, garlic powder, Italian seasoning
Directions
  1. Preheat the oven to 425 degrees. Line a half sheet pan with nonstick tinfoil. Arrange all the prepared bell pepper, zucchini, eggplant and mushrooms on the baking sheet. Try to get the vegetables in a single layer, slightly overlapping the mushrooms if needed. Drizzle with olive oil then lightly move around with a spatula to coat. Generously season with ground black pepper, salt, garlic powder and Italian seasoning.
  2. Roast the vegetables in the oven for 20-25 minutes, adding more time if needed, until the vegetables are tender. Toss the veggies halfway through the cooking time.
  3. Lay out the wraps. Spread 2 tablespoons of the hummus onto each wrap. Divide the spinach leaves between the 4 wraps then evenly divide the veggies. This is definitely a loaded wrap so you will probably need a fork to finish all the yummy veggies that fall on your plate while eating!
Notes
- If making ahead, store the roasted veggies separate from the wraps and add when ready to eat so they don’t make the wraps soggy. This can be eaten with the veggies room temperature or heated up. If I was bringing these wraps to work or packing in a lunch I would put the divided veggies in a little reusable container. That way the veggies can either be warmed up in their container or left cold. Then I would put the hummus and spinach on the wraps and roll them up. When it is time to eat, carefully unroll the wrap, add the veggies, and wrap it back up.
- For additional protein, add some grilled or rotisserie chicken to the wrap.


Thai Steak Lettuce Wraps with Charred Green Beans

Thai Steak Lettuce Wraps with Charred Green Beans  |  Lemon & Mocha

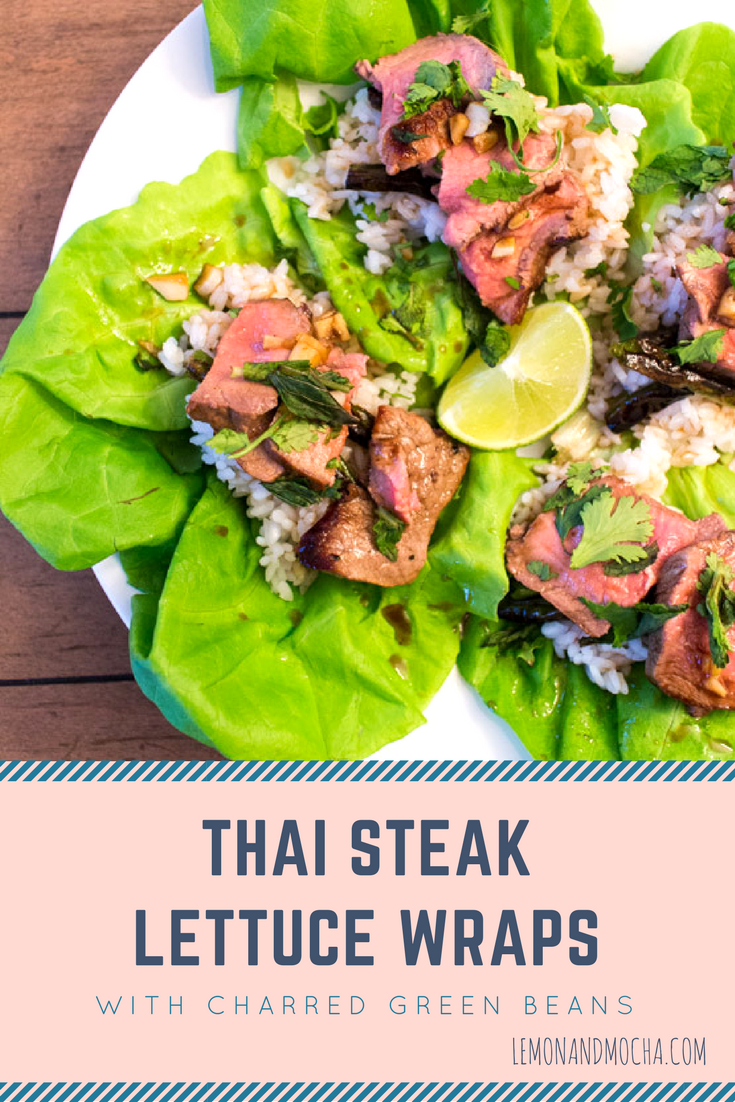
I am channeling some serious warm weather feels with these Thai Steak Lettuce Wraps with Charred Green Beans. Maybe it’s the lettuce or maybe it’s the lime, but they’re definitely bringing me to fresh springtime. Matt learned how to ski a few years ago and ever since winter hasn’t seemed so bad up here in Boston because we get to go skiing on the weekends. So we tough through the driveway shoveling and the messy commutes because we know there is a bright snow-covered mountain light at the end of the New England winter tunnel. However, now that we are solidly in mid-March I am ready for spring to emerge. Come on barbecues, flip-flops, grilling, and outside walks with no jacket on! Is there anything more exciting than being outside without a jacket on?! Ok, yes, but it’s still pretty awesome.

Thai Steak Lettuce Wraps with Charred Green Beans  |  Lemon & Mocha

We first made this recipe as one of our Blue Apron meals. Have you tried Blue Apron? There are aspects I love about it, such as having all the ingredients sent without having to run back and forth across a grocery store. I’m also a big fan of the detailed photo instructions so other family members can jump in and help by picking some steps to follow on their own. And by that I mean Matt can help without asking me questions or what he should do next while I’m working on another part of the dish 😂.

Thai Steak Lettuce Wraps with Charred Green Beans  |  Lemon & Mocha

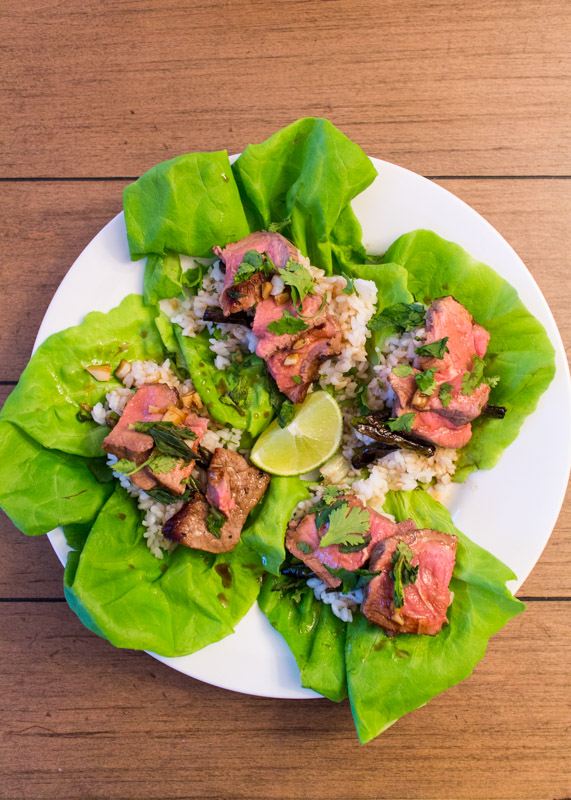
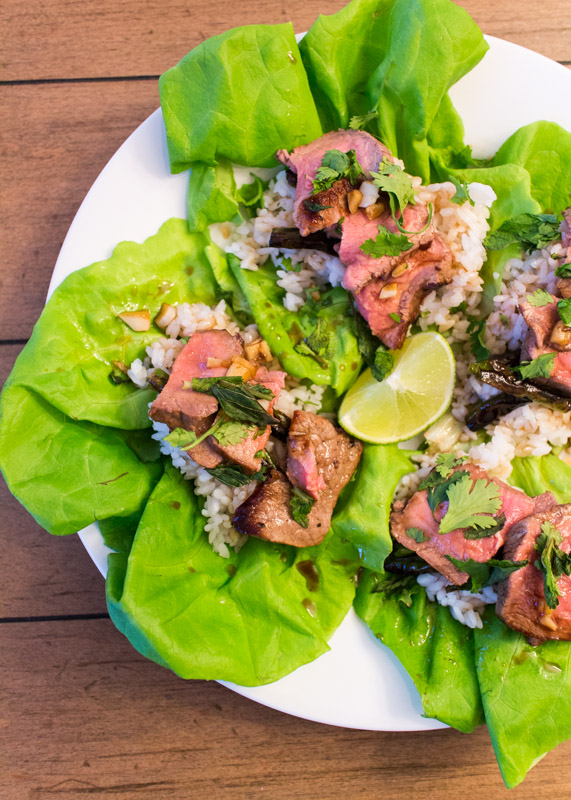
The main reason we don’t order Blue Apron more (and why we order a different box now that I will share in another post) is the recipes seemed to be hit or miss for us. These Thai Steak Lettuce Wraps with Charred Green Beans were a definite hit. I’ve made steak lettuce wraps before, but I’ve never added sushi rice and green beans. The rice bulks them up a little and adds a balancing tenderness to the wraps. Charring the green beans brings some smokiness and crunchiness. Finally, the sauce is the perfect combination of zesty, sweet and umami for this springtime weeknight meal. Enjoy!

Thai Steak Lettuce Wraps with Charred Green Beans
 
Yield: 2 servings
Ingredients
  • ¾ cup sushi rice
  • 3 teaspoons olive oil
  • 4 ounces green beans, trimmed
  • 8 ounces sirloin steak
  • 2 cloves garlic, minced
  • 2 tablespoons ponzu sauce
  • 1 tablespoon sugar
  • 1 lime, quartered
  • 1 head butter lettuce, washed and separated
  • A small handful of cilantro leaves, roughly torn
  • A small handful of mint leaves, roughly torn
Directions
  1. In a small pot or a rice cooker, combine the sushi rice, 1½ cups of water, and a pinch of salt. Heat on high until boiling, then cover the pot and reduce the heat to low. Continue to cook for 15-17, or until the rice is tender and there is no more excess water. Remove from the heat and fluff with a fork.
  2. While the rice is cooking, heat 2 teaspoons of the olive oil in a pan on medium-high heat. Add the green beans and season with salt and pepper. Cook the green beans until they are slightly charred and softened, about 4-5 minutes, stirring occasionally. Remove the green beans and wipe the pan with a paper towel.
  3. Dry the steaks if needed then season generously on both sides with salt and pepper. Heat 1 teaspoon of the olive oil in the same pan over medium-high heat. Add the steaks and cook to your desired degree of doneness. For medium-rare steak, cook about 2-3 minutes per side for a 1" steak. Remove the steaks from the pan and let them rest before cutting them for at least 5 minutes.
  4. With the browned bits from the steak still in the pan add the minced garlic, as well as a drizzle of olive oil if the pan is dry. Heat over medium-high heat for 30 seconds to 1 minute, stirring constantly. Add the ponzu sauce, sugar, the juice of 2 lime quarters, and 2 tablespoons of water. Continue to cook for 1-2 minutes or until the sauce has slightly thickened, continuing to stir. Remove the sauce from the heat.
  5. Place the lettuce leaves on the plates. Top each lettuce wrap with some cooked rice and charred green beans. Slice the steak against the grain and place over the rice and green beans. Finish the lettuce wraps with the sauce, torn cilantro and mint leaves, as well as an extra squeeze of lime as desired.

 Recipe from Blue Apron.

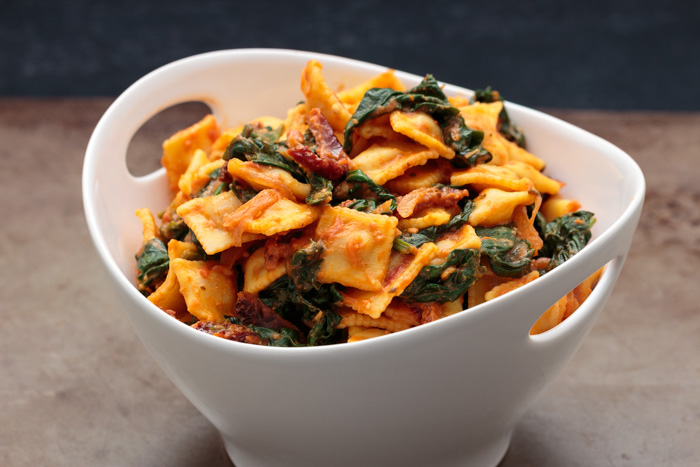
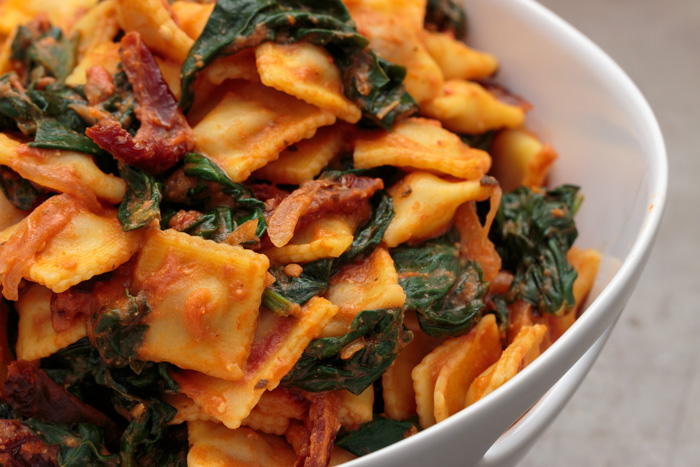
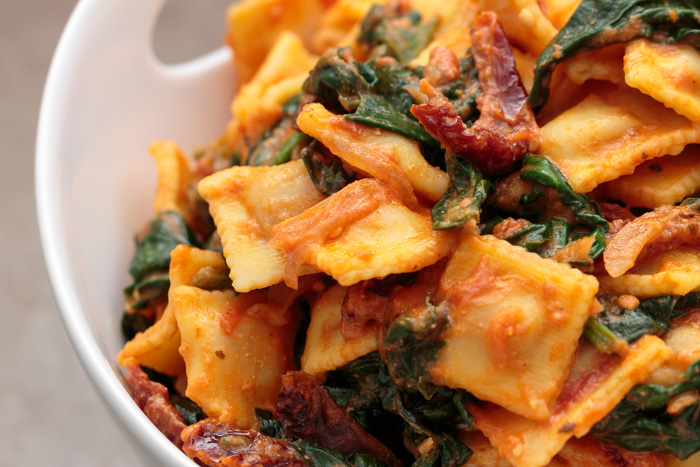
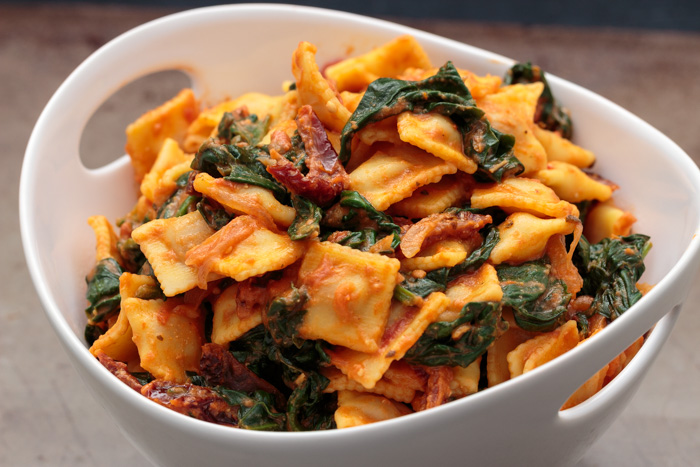
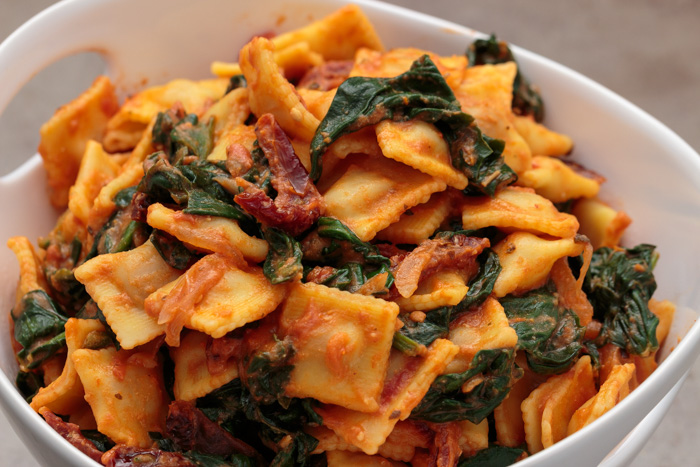
Mini Raviolis with Sun-dried Tomatoes, Spinach & Goat Cheese

Mini Raviolis with Sun-dried Tomatoes, Spinach & Goat Cheese  |  Lemon & Mocha

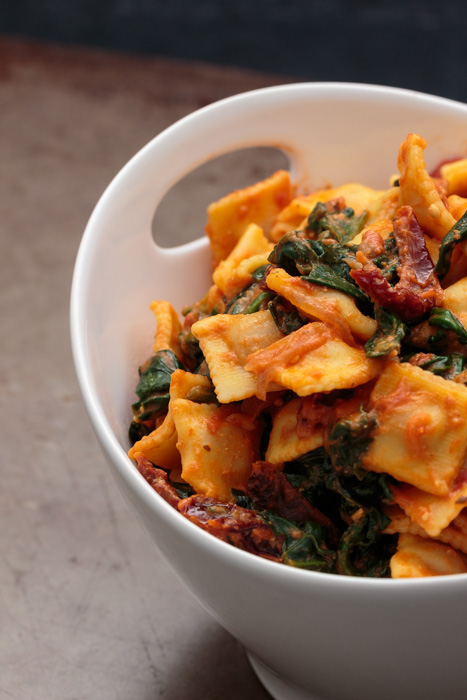
Why do mini food items always taste better? Does their cuteness enhance their deliciousness? Or is it that knowing you can eat more of the tiny bites makes them even more irresistible? Whatever the reason may be, the mini raviolis in this dish certainly increase the tasty factor.

Mini Raviolis with Sun-dried Tomatoes, Spinach & Goat Cheese  |  Lemon & Mocha

And using store-bought raviolis and prepared sauce is a winning weeknight dinner combination. This pasta meal was an unplanned dish born from the ingredients in my fridge, but I was so happy with the results I decided to share it here on Lemon & Mocha.

Mini Raviolis with Sun-dried Tomatoes, Spinach & Goat Cheese  |  Lemon & Mocha

The sautéed garlic, shallots and sun-dried tomatoes tend to be my go-to pasta trifecta. They are the perfect base to almost any pasta dish, providing full-packed savory flavoring.

Mini Raviolis with Sun-dried Tomatoes, Spinach & Goat Cheese  |  Lemon & Mocha

The fresh spinach leaves are a great way to sneak in some veggies and are a great pairing for the ricotta-filled raviolis. The goat cheese adds a depth and creaminess to regular prepared sauce, almost giving it the taste of a vodka sauce.

Mini Raviolis with Sun-dried Tomatoes, Spinach & Goat Cheese  |  Lemon & Mocha

Feel free to swap out the spinach and use your favorites veggies to mix and match this pasta dish. I think asparagus and mushrooms or eggplant and zucchini would both be delicious variations. I might have to go give them a try!

Mini Raviolis with Sun-dried Tomatoes, Spinach & Goat Cheese  |  Lemon & Mocha

Mini Raviolis with Sun-dried Tomatoes, Spinach & Goat Cheese
 
Yield: 6-8 servings
Ingredients
  • 1 tablespoon olive oil
  • 1 tablespoon butter
  • 1 clove garlic, minced
  • 1 shallot, minced
  • 1 cup sun-dried tomatoes, julienned
  • 12 ounces fresh spinach leaves
  • 2 ounces goat cheese, regular or garlic & herb
  • 1-2 cups prepared tomato sauce, depending on sauciness preference
  • 1 pound mini raviolis, prepared according to package instructions
  • Freshly grated Parmesan, if desired, for serving
Directions
  1. Heat the olive oil and butter in a large pot over medium heat. Add the garlic and cook until fragrant, about 30 seconds. Add the minced shallot and cook, stirring frequently, until the shallot has softened and started to lightly brown.
  2. Add the sun-dried tomatoes and cook until softened, about 5 minutes. Add the spinach leaves, a handful or so at a time, stirring often, until all the spinach has been aded and wilted.
  3. Stir in the goat cheese until melted. Add the tomato sauce and stir until warm.
  4. Carefully stir in the prepared mini raviolis until coated. Serve hot with freshly grated Parmesan, if desired.


Chicken Cordon Bleu with Honey Mustard Sauce

This post was originally published on 1/22/2015. It was updated with new photos and content on 1/28/2019.

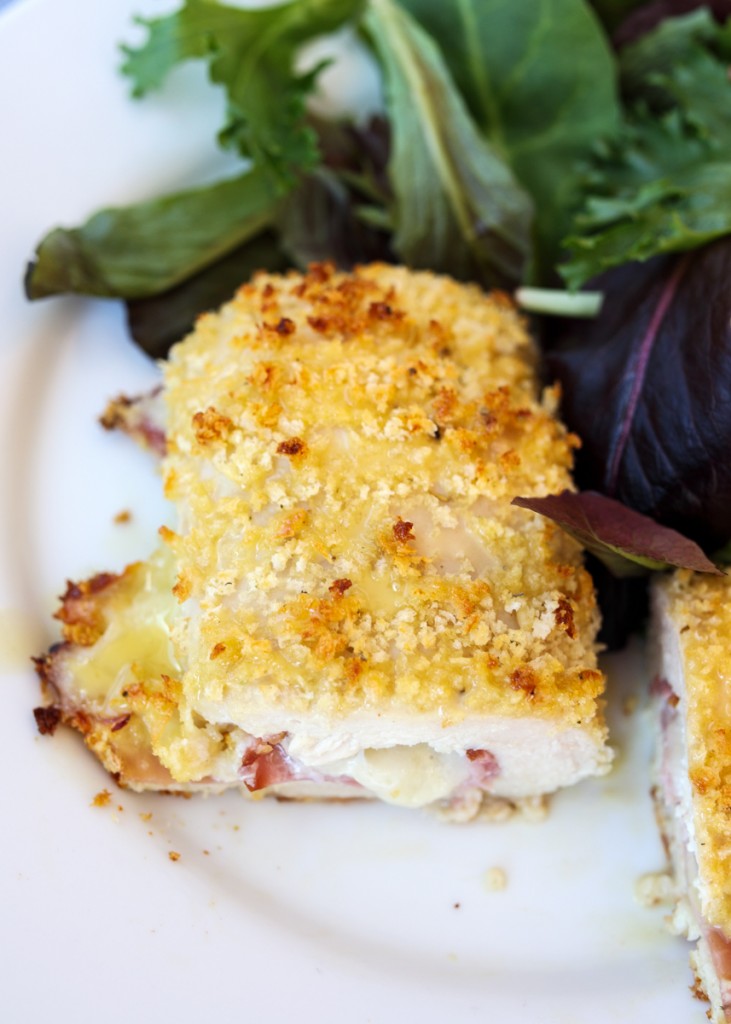
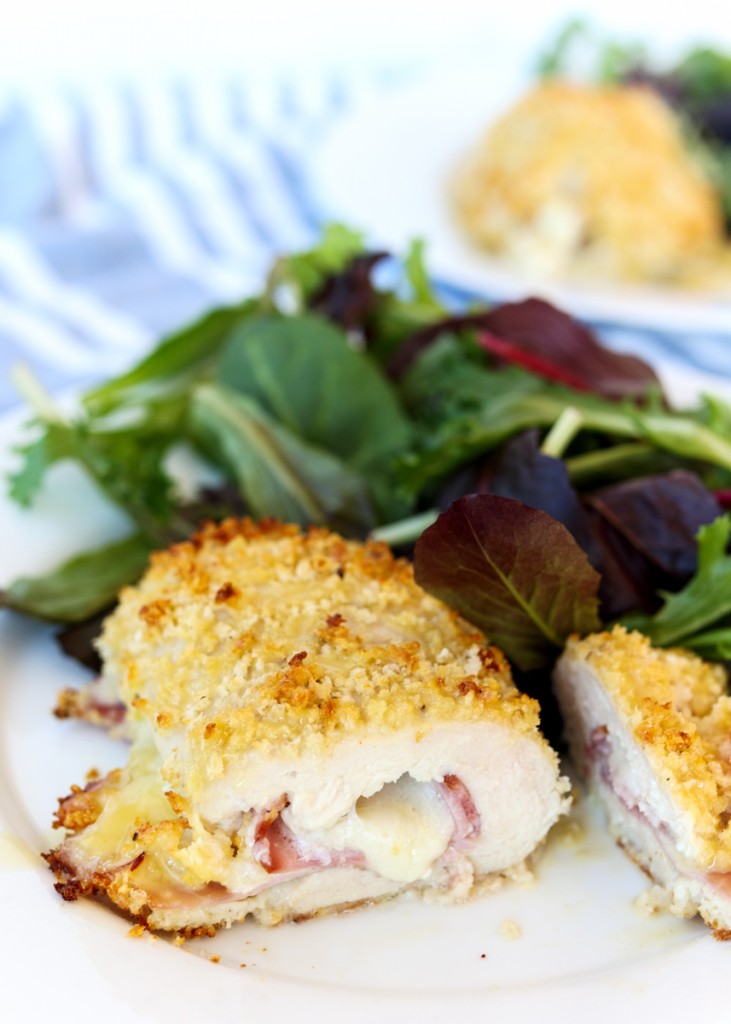
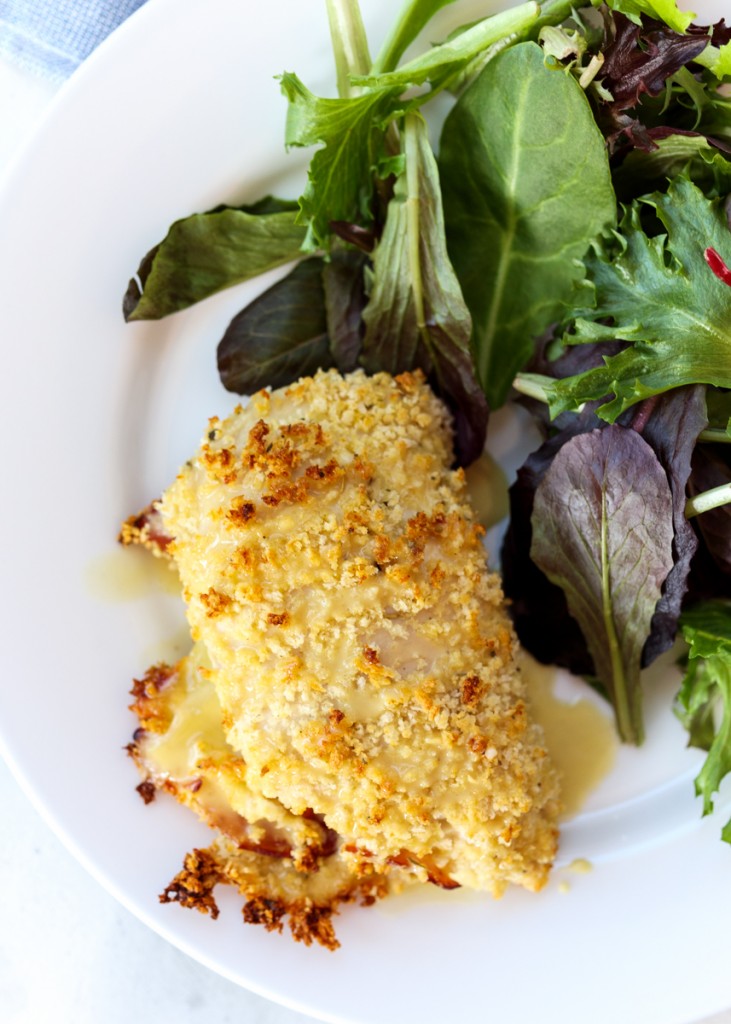
Chicken Cordon Bleu with Honey Mustard Sauce  |  Lemon & Mocha

Among my overflowing collection of cookbooks, this chicken cordon bleu recipe from Cook This, Not That! is one of my absolute favorites. There may certainly be recipes I have that I crave more or that are more awe-inducing (cue my large dessert cookbook category), but when you compare those to a delicious, healthy, looks-fancy-but-only-took-me-30-minutes dinner? Game over, chicken cordon bleu for the win.

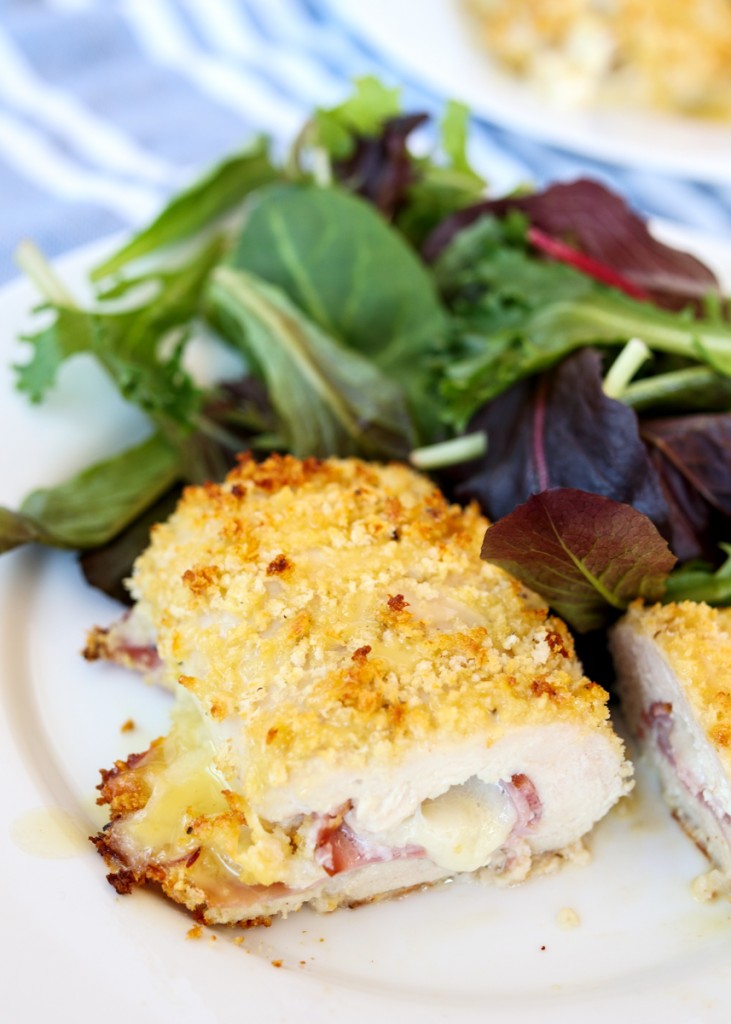
Chicken Cordon Bleu with Honey Mustard Sauce  |  Lemon & Mocha

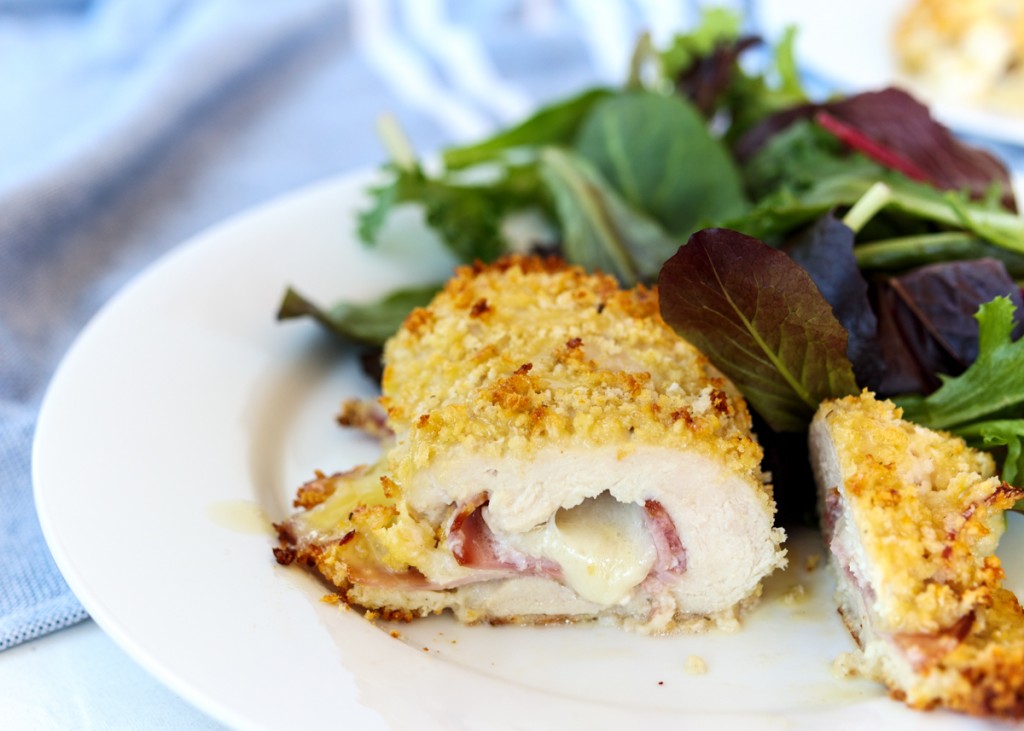
Gooey melted cheese, savory ham, moist chicken, crunchy breadcrumb coating and creamy honey mustard sauce all work together to create weeknight meal perfection. When you make this dish your family and friends will think, “Wow, such a fancy meal! Such technique! They really pulled out all the stops for me!” When what you actually did was secretly quite simple.

Chicken Cordon Bleu with Honey Mustard Sauce  |  Lemon & Mocha

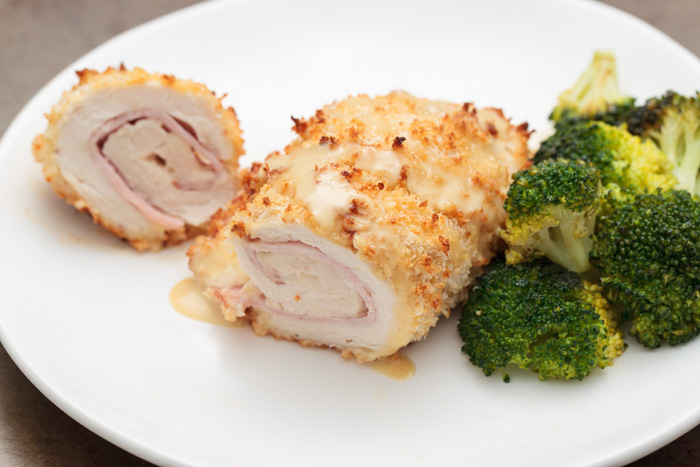
First, pound out the boneless skinless chicken breasts until they are about ¼ inch thick. Think about that aggravating e-mail you got at work or that jerk that cut you off right before the stoplight and whack away with your meat mallet! Make sure they are only ¼ inch thick (for reference the chicken in these photos is not pounded thin enough). If you want to save a little bit of time this step could be done the night before. Then layer two slices of ham and one slice of Swiss cheese on the cutlet.

Chicken Cordon Bleu with Honey Mustard Sauce  |  Lemon & Mocha

Completely roll up the chicken starting from one of the short ends. It’s okay if some cheese or ham is poking out. Then dredge the whole rolled chicken in flour, then beaten egg, then panko bread crumbs. This part sounds complicated, but just make sure you hold the chicken roll tight and you’ll be just fine. Bake the breaded chicken roll for 18-22 minutes and you’re done!

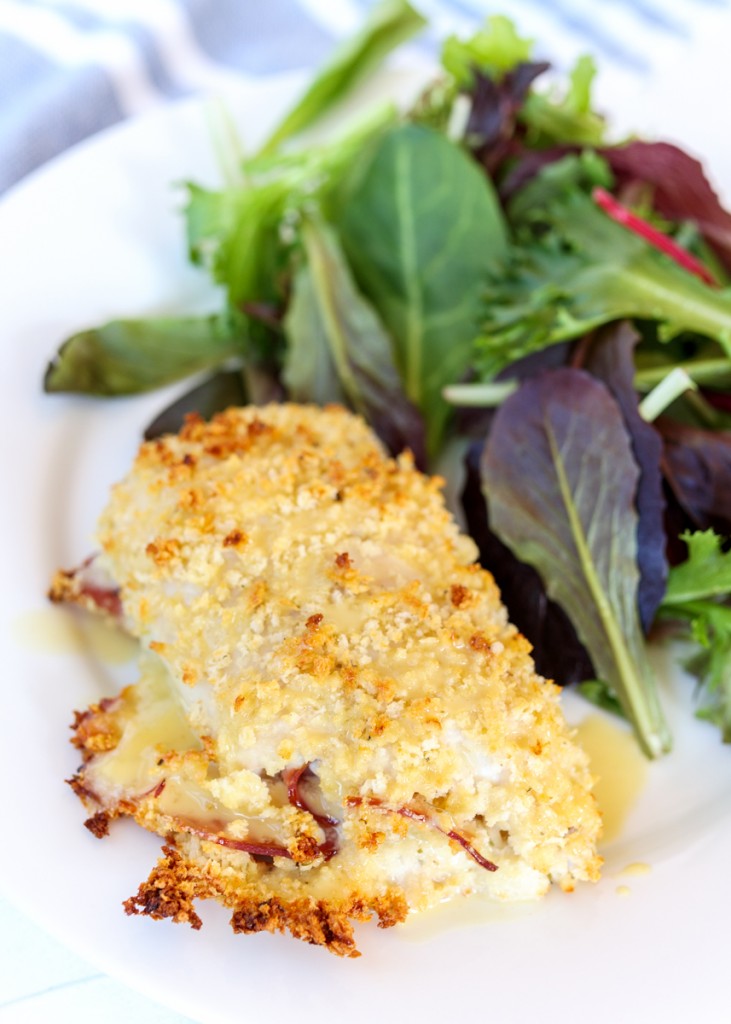
Chicken Cordon Bleu with Honey Mustard Sauce  |  Lemon & Mocha

Well, as soon as you smother it in an easy homemade honey mustard sauce, which is a definite do-not-skip part of this recipe! The tangy sweetness of the honey mustard drizzled over the crispy chicken is the perfect combination. Serve alongside some steam-sautéed broccoli or a green salad for a healthy meal worthy enough to become a weekly regular. I’ve been making this dish for about six years and Matt and I still both do a little happy dance every time we eat this meal. I love that the Lemon & Mocha readers love this Chicken Cordon Bleu with Honey Mustard Sauce as much as we do; it’s one of the top ten most popular posts of all time on the blog! If you haven’t made this one yet, it needs to go to the top of your must-make list! Enjoy!

Chicken Cordon Bleu with Honey Mustard Sauce  |  Lemon & Mocha

Chicken Cordon Bleu with Honey Mustard Sauce
 
Yield: 4 servings
Ingredients
for the chicken cordon bleu
  • 3 tablespoons all-purpose flour
  • 1 large egg, beaten
  • 1 cup panko breadcrumbs
  • ½ teaspoon Italian seasoning
  • ¼ teaspoon garlic powder
  • 4 boneless skinless chicken breasts
  • 8 thin slices deli ham or 4 slices if thicker cut
  • 4 slices Swiss cheese
for the honey mustard
  • 2 tablespoons mayonnaise
  • 1 tablespoon honey
  • 2 teaspoons lemon juice
  • 2 teaspoons Dijon mustard
Directions
for the chicken cordon bleu
  1. Preheat the oven to 450 degrees F. Line a baking sheet with nonstick aluminum foil and set aside. Set up a breading station with the flour, egg and panko breadcrumbs each in their own shallow bowl. Add the Italian seasoning and the garlic powder to the panko and stir to combine.
  2. Place 1 chicken breast on a cutting board and cover the chicken with plastic wrap. Pound the chicken until ¼” thick with a meat mallet or heavy skillet. Make sure it's only ¼” thick; if it's thicker than that (which the chicken in my photos is a little too thick) then it will take longer to bake. Repeat for the remaining 3 chicken breasts.
  3. Layer 2 slices of ham and 1 slice of cheese on each chicken cutlet. I usually tear the deli slices so I can place them better on the chicken cutlet. Working one at a time, carefully roll up the cutlet from short end to short end. It’s okay if some of the ham and cheese is sticking out. Holding on tight to the rolled up cutlet, dip it in the flour bowl until completely coated, making sure to get the ends as well. Then dip in the egg mixture to completely coat, make sure the excess egg drips off. Finally, completely coat the rolled chicken in the panko bowl. I usually use my other hand to help coat and press the panko onto the chicken. Place the breaded chicken seam side down on the prepared baking sheet and repeat with the rest of the cutlets.
  4. Bake for 18-22 minutes or until it reaches an internal temperature of 165 degrees F and the breading is golden. Serve hot with the honey mustard sauce.
for the honey mustard
  1. Whisk together the mayonnaise, honey, lemon juice and Dijon mustard then adjust according to personal taste.
Notes
If you want the bottom of your chicken cordon bleu to be crispy as well, you can spray a cooling rack with nonstick spray then place on top of the baking sheet. I normally don’t do this, but I thought I would mention it.

Some of the links above are affiliate links, which means I may receive a small commission for my referral if you purchase something. This does not affect the retail cost of the item. Thank you for supporting Lemon & Mocha!

Recipe slightly adapted from Cook This, Not That! Easy & Awesome 350-Calorie Meals.