Dressings & Condiments

Chocolate Ganache

This recipe is life changing. Now I know I have been throwing a lot of bold words around on Lemon & Mocha lately, but there are so many recipes out there that I can’t afford to be meek. If I let you live your life even just one more day without tasting this chocolate ganache I could never forgive myself. And if I withheld this deliciousness from you for months before suddenly sharing, well, I shudder to think about the angry mobs.

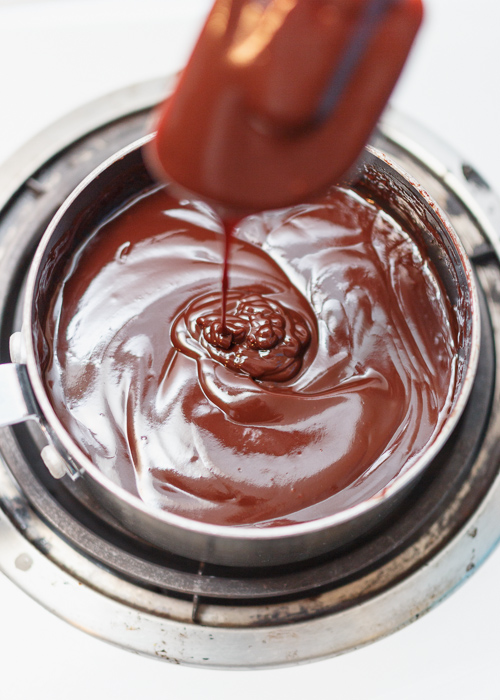
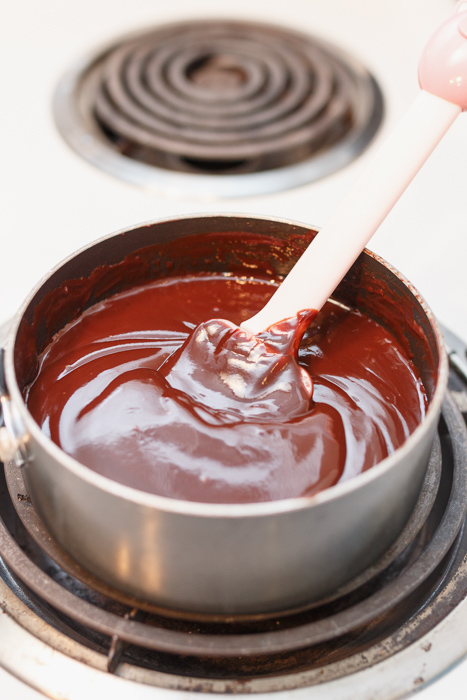
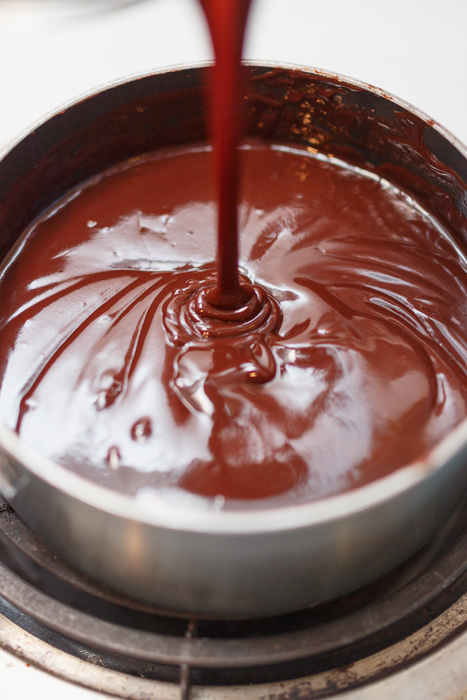
Chocolate ganache is just a fancy way of saying a sauce of chocolate and heavy cream, or a fancy way of saying “mmm.” You heat heavy cream until it’s steaming, add in the chocolate then voila- the ganache is complete. This ganache has been known to bring people to their breaking point. I have even heard someone utter that they were ready to smack a ganache-topped cupcake out of child’s hand because they thought it was the last one! Don’t worry, I won’t name names ;-).

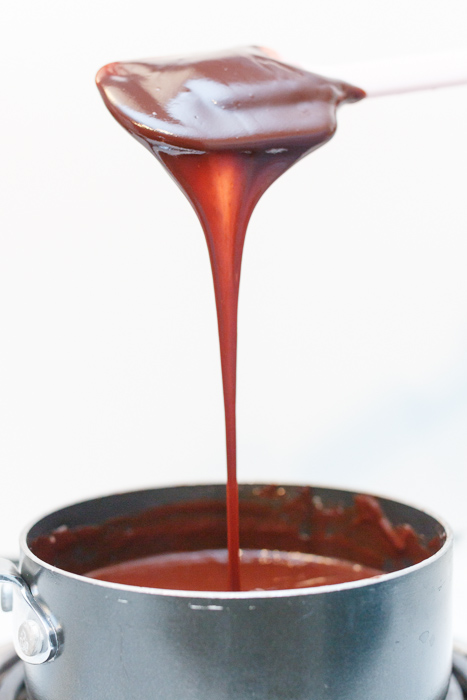
Now this photo is deceiving because once you have poured, dipped or drizzled the ganache it hardens into a glistening chocolate shell and develops a fudge-like quality. The beauty of this recipe other than the rich chocolate taste and smooth velvety texture is its versatility. Originally used to make faux Hostess cupcakes, I have since used the ganache for a wide variety of chocolate sinfulness. Topping chocolate cupcakes? Check. Coating brownies? Check. Eating with a spoon? Check. Matt likes to heat leftover ganache in the microwave then drizzle over ice cream. Now is that a boy after my own heart or what? You better make sure your computer screen is clean because when you see what I make with the ganache on Friday you might find yourself licking your monitor. It’s ok, I won’t judge.

Chocolate Ganache
 
Ingredients
  • ¾ cup heavy cream
  • 1- 12 ounce bag of bittersweet chocolate chips
  • 3 tablespoons unsalted butter, softened
Directions
  1. Heat the cream over medium heat until steaming, stirring constantly.
  2. Once steaming, remove the cream from the heat. Add the chocolate and stir then let sit for 5 minutes.
  3. Add the butter to the chocolate mixture then stir until smooth.
  4. Dip, pour or drizzle as directed in your recipe.
Notes
Any leftover ganache will keep in an airtight container in the fridge for up to 4 weeks.

Recipe from The Curvy Carrot.

Homemade Brown Sugar

I am about to reveal a secret that will blow your mind. If you already are aware of the fact I am about to share, I am obviously very excited so the least you can do is play along. So here it is: you can make your own brown sugar. Are you still there or did your head explode with that knowledge? That is how I felt when I stumbled across this nugget of information. Brown sugar is simply granulated sugar with molasses added. Who knew?! Well, maybe you did. But shh! Don’t spoil the moment.

When you buy a fresh box of brown sugar at the store, bring it back and open it up, it’s so soft and fluffy. You measure out your necessary amount with ease and since no recipe exists that calls for an entire pound of brown sugar you always store the rest of it. A few weeks later you have a cookie craving so you go to take your brown sugar out of the pantry and it looks like this:

Look familiar? You chip off a chunk and follow the “re-softening” directions on the box. Somehow after putting it in the microwave with a wet paper towel over top it is now both syrupy and still hard. How is that combination of qualities even possible?

It’s time to say goodbye to your brown sugar woes forever. You can simply make your own fresh brown sugar whenever you need it. Just mix one cup of granulated sugar with one tablespoon of molasses. That’s it! For dark brown sugar use two tablespoons of molasses.

Homemade Brown Sugar
 
Yield: 1 cup
Ingredients
  • 1 cup granulated sugar
  • 1 tablespoon molasses, 2 tablespoons for dark brown sugar
Directions
  1. Pour the sugar in a medium mixing bowl. Add the molasses.
  2. Stir with a fork. This takes some time. After the first five minutes it will look barely any different and you will think there’s no way this is going to look like the picture. You will want to give up, but you can’t! All good things come to those who wait so keep stirring and fluffing with the fork. Stir and fluff until no molasses clumps remain. Suddenly, ta-da! Brown sugar.
Notes
*No need to lift weights after this recipe. Your bicep will grow a whole ¼ inch from this recipe workout!
*Sometimes I have had some excess brown sugar and have stored it in a plastic container. I used it in the next couple weeks and it was still soft enough to measure out perfectly.

Recipe from Joy the Baker.