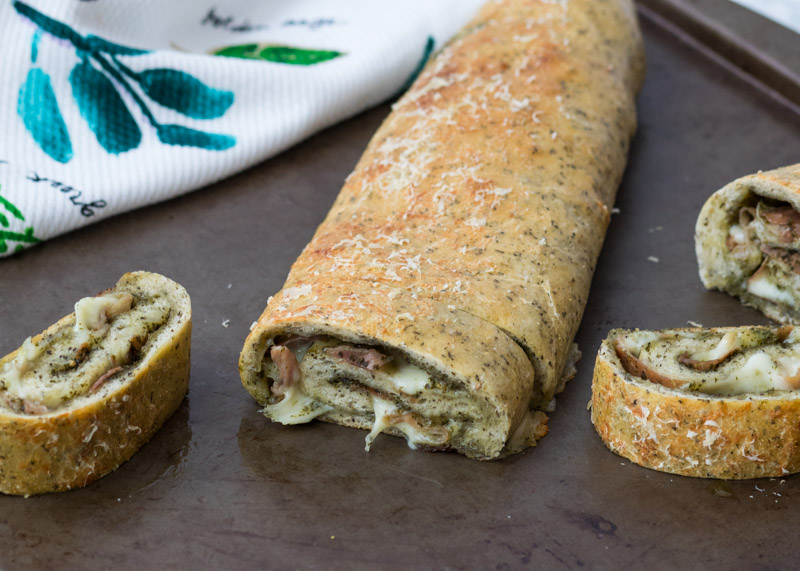
Olive Oil Rosemary Bread
Halloween is over, which means I guesssss it’s okay to start planning for the holidays. I hate when Thanksgiving and Christmas prep creeps before Halloween because it feels like everyone’s trying to rush through October. Here in New England, November and December weather is kind of crummy so I don’t know what the rush is!

However, once October is done, I’m perfectly fine with gearing up for the holidays because they’re fun, bright spots during these next dreary couple of months. Matt and I are taking the holiday season one day at a time since it’s right when our little one will be arriving, but just because I’m not planning my own meals doesn’t mean I can’t help you all plan yours!
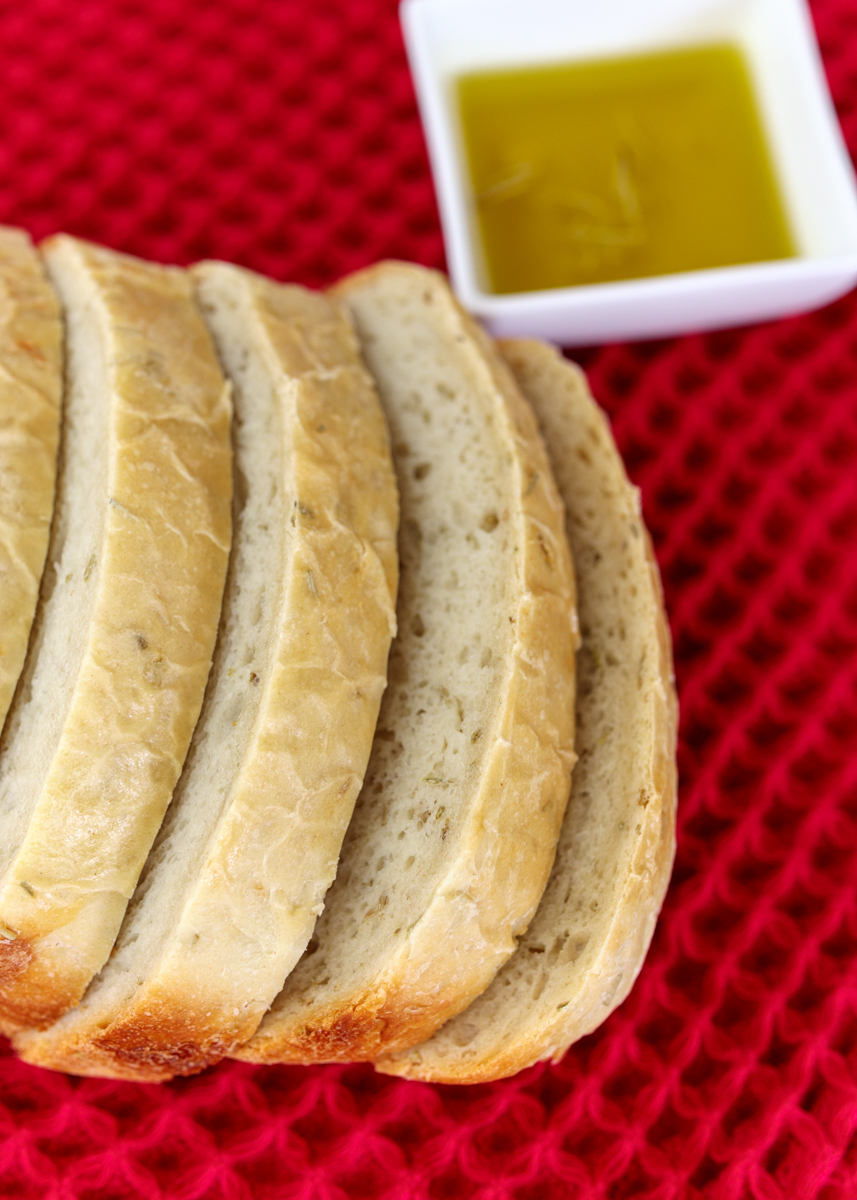
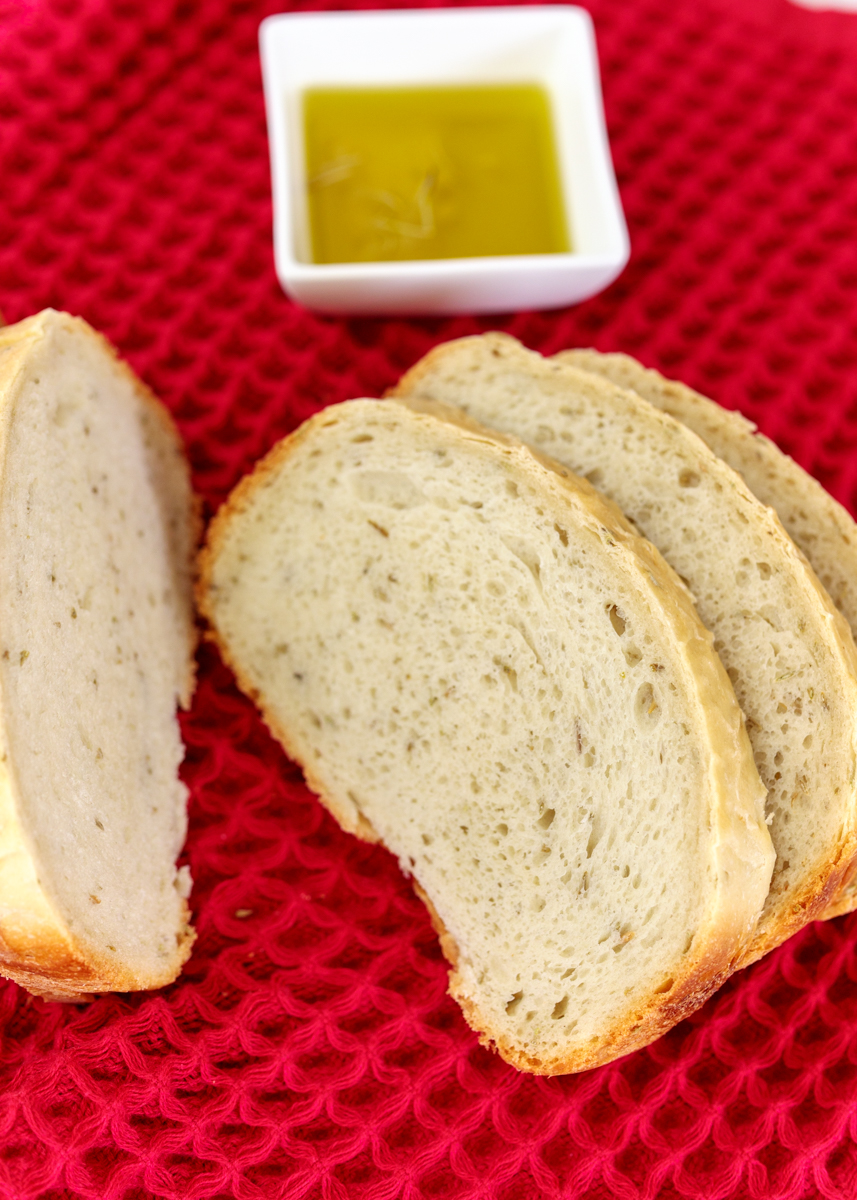
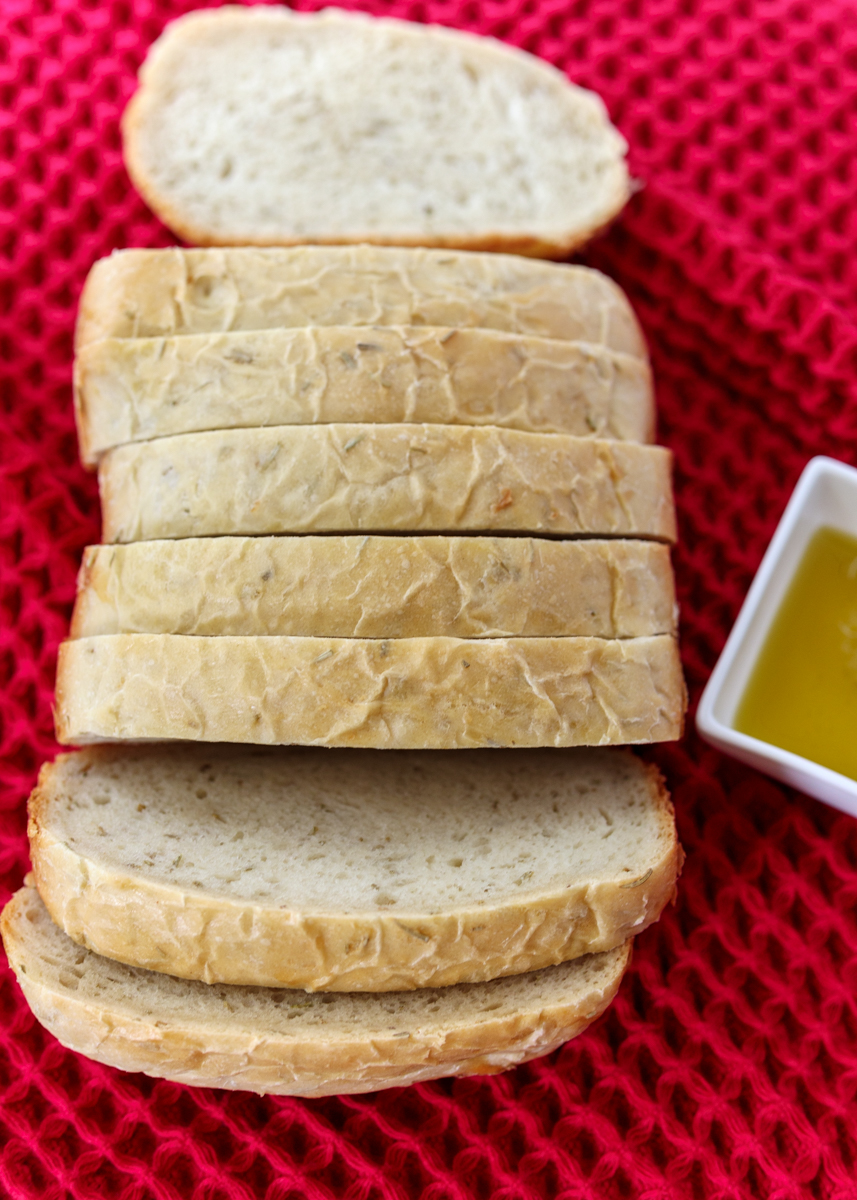
Whenever I’m hosting a big meal, some sort of bread, roll or biscuit situation is a necessity. The easiest solution for this also happens to be the most delicious so there’s really no going wrong here. What I’m talking about is this Olive Oil Rosemary Bread that I make in my bread maker. Now before you start asking all kinds of questions, I’ll get right to the point: this recipe is for use in a bread maker, specifically the Breville Custom Loaf bread maker. I am not well versed in bread making so although I would assume you could use this recipe to proof, rise, knead and bake your own loaf without a bread maker, and I would assume you could use this same recipe in a different type of bread maker, I’ve never tried it so I really can’t say with any sort of certainty.
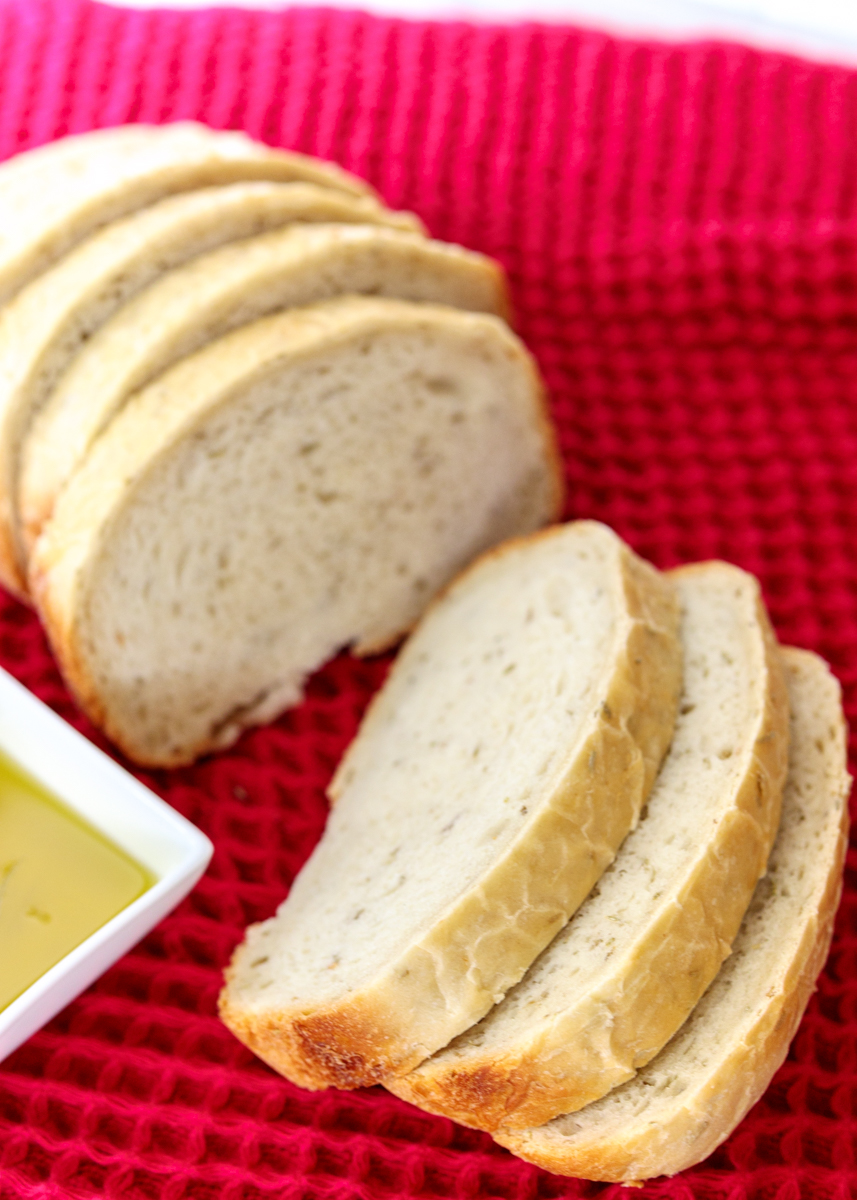
What I can say is that when I follow this recipe, which involves dumping a small list of ingredients in a set order into my bread maker, and pull out a loaf of this crusty, soft and melt-in-your mouth Olive Oil Rosemary Bread it becomes the star of the meal every single time. Dip some into a little olive oil sprinkled with some seasoning salt and you will be in absolute carb-heaven. If you are looking to invest a bread maker, I highly recommend the Breville Custom Loaf bread maker, which I’ve been using for the last four years. Even if it’s only to make this bread over and over again – worth it!
- 1 cup plus 2 tablespoons water, 80 degrees F
- 3 tablespoons extra virgin olive oil
- 1½ teaspoons salt
- 3 cups bread flour
- 2 teaspoons vital wheat gluten
- 2½ tablespoons dried rosemary
- 1¾ teaspoons active dry yeast (see note)
- 1 egg
- Additional dried rosemary and coarse sea salt, optional
- Make sure the collapsible paddle is attached and in the upright position. Add ingredients to the bread machine, one at a time, in the order they’re listed in the recipe. Select “basic” setting, medium crust color and 1.5 lb size. Press start.
- Beat the egg with 1 tablespoon of water. When the dough is at the end of the final rise (right before the bake step), brush the top of the dough with the egg wash then sprinkle with additional dried rosemary and coarse sea salt (if using).
- When the bread is done, use oven mitts to carefully remove from the bread machine and place on a wire rack to cool. Let cool 5-10 minutes before slicing.
- To reheat to serve warm, wrap the loaf completely in aluminum foil and bake on a low oven temperature for 10-20 minutes until warm.
Recipe from Breville.