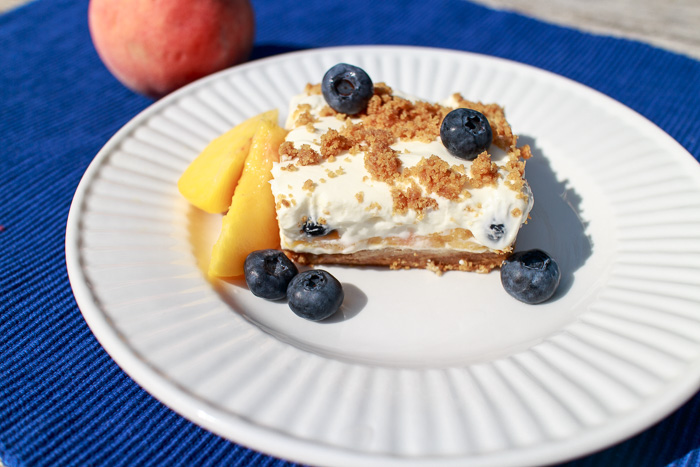
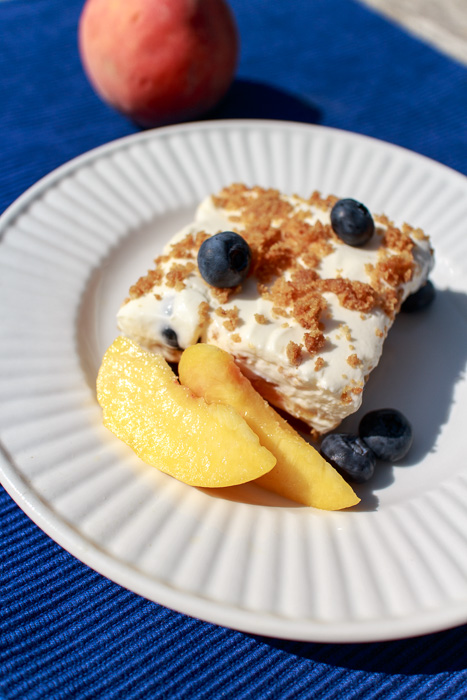
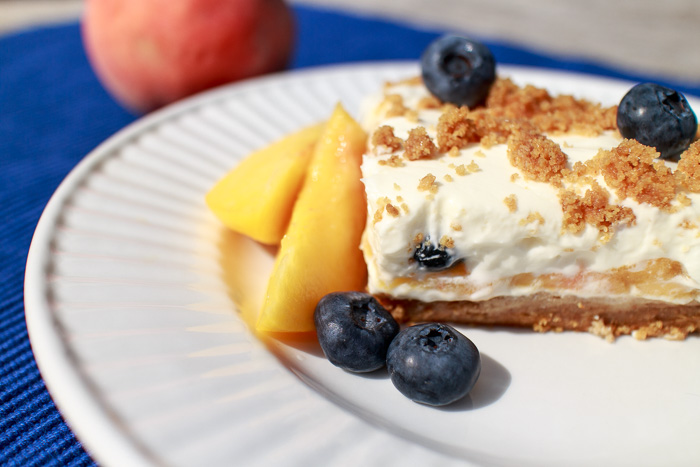
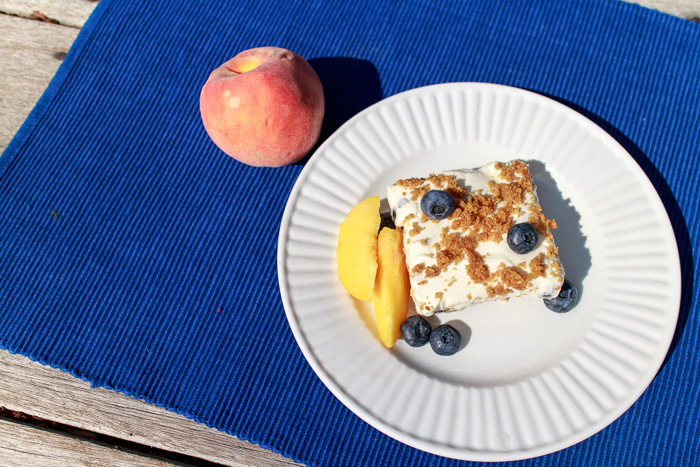
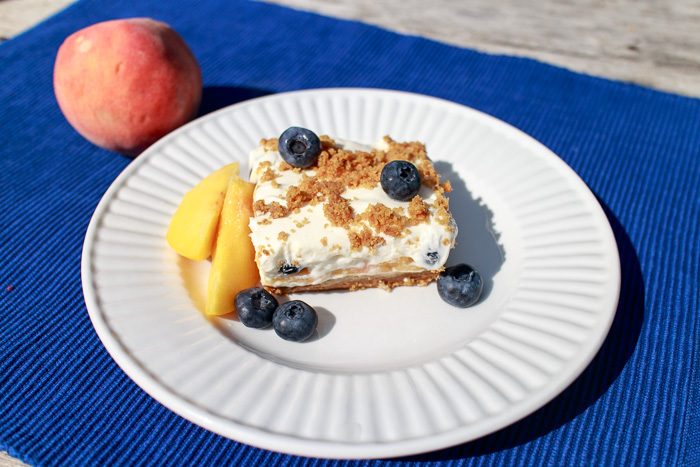
Peaches, Blueberries & Cream Delight
We are still in the peak of peach season. Although it varies based on the year’s climate, peach season is at its peak during July and August. So it’s not too late to squeeze the most out of this juicy sweet fruit!
I love cooking and baking with in season ingredients because they are at the pinnacle of their deliciousness. When I was down in Delaware for my annual family reunion a couple weeks ago my Aunt Dottie grabbed some local peaches at a farmer’s market and asked me to make a peach dessert for dinner.
I realized I didn’t have a go-to peach dessert so I quickly started scouring the web for a recipe that would help the fresh peaches shine. When I stumbled across this recipe from Mel’s Kitchen Cafe I knew it was the one. Just reading the recipe made me drool as I imagined how light and refreshing it would taste. I also loved that it looked simple to whip up.
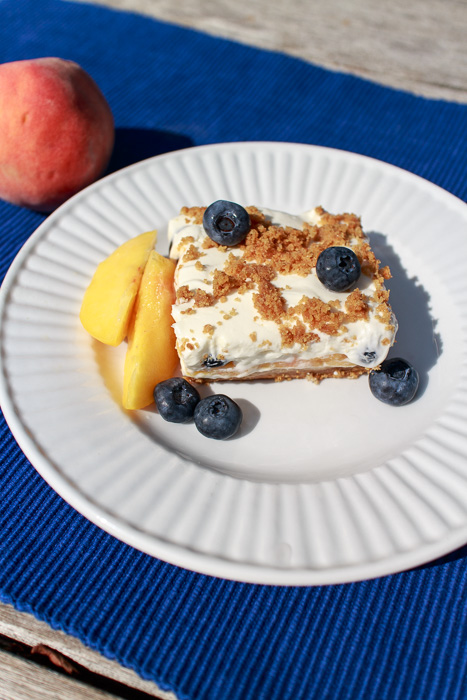
This peaches, blueberries and cream delight is aptly named. We know from my browned butter peach ice cream with graham cracker crumble that peaches and graham crackers are a tasty pair. This dessert starts with a subtly sweet and buttery no-bake graham cracker crust. Then a sturdy whipped cream is made and folded into the fresh peach slices and blueberries.
You can adapt this dessert to whatever fruit is your favorite or in stock at your local farmer’s market. Strawberries, plums or any other stone fruit and berries would work well. The next combination on my list is peaches and raspberries… mmm. Enjoy!
- 3 cups graham cracker crumbs, about 2 sleeves of graham crackers
- 3 tablespoons sugar
- 12 tablespoons butter (1 ½ sticks), melted
- 8 ounces light cream cheese, room temperature
- 1 ½ cups powdered sugar
- ½ teaspoon vanilla extract
- 2 cups heavy cream, chilled
- 5 fresh peaches, peeled, pitted and thinly sliced
- 1 cup fresh blueberries
- Combine the graham cracker crumbs and sugar in a medium bowl. Add the melted butter and mix until combined. Reserve ⅓ of the crumb mixture for topping the dessert. Press the remaining crumb mixture into the bottom of a 9” by 13” pan. Refrigerate while making the filling.
- In a large bowl beat the cream cheese and powdered sugar together until light with a hand mixer or a stand mixer. Beat in the vanilla.
- Carefully pour in the heavy cream and beat on low. As the mixture starts to come together bring the speed up to medium-high and continue until the mixture is thick and airy.
- Take the crust out of the fridge and spread a thin layer of the cream over the crust. Layer the sliced peaches on top, followed by the blueberries.
- Scoop large blobs of cream onto the fruit and carefully bring together with your rubber spatula to cover the fruit. Continue adding the cream until the 9” by 13” pan is filled to the edges.
- Sprinkle with the reserved graham cracker crumbs and cover with plastic wrap before returning to the fridge. Let sit in the fridge for 2-12 hours before serving.
Recipe from Mel’s Kitchen Cafe.