Cookies

Half Moon Cookies

Half Moon Cookies  |  Lemon & Mocha

Late last summer a bakery a couple blocks away from my apartment closed. I had recently discovered it and quickly became addicted to its treats. I think its closure was due to the universe saving me from gaining 50 bajillion pounds, although technically, they were just unable to renew their lease.
Half Moon Cookies  |  Lemon & Mocha

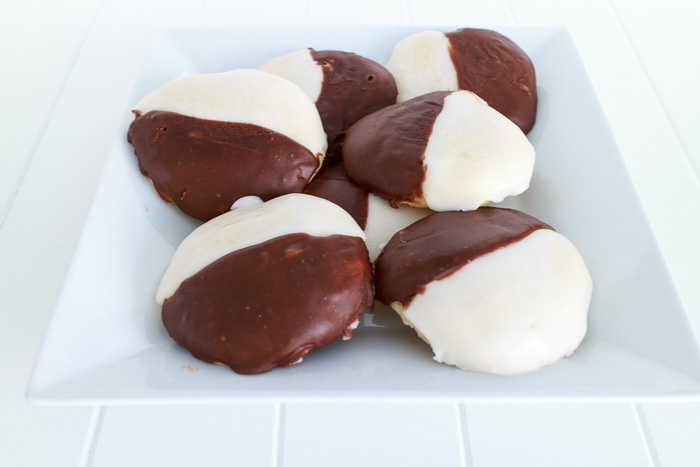
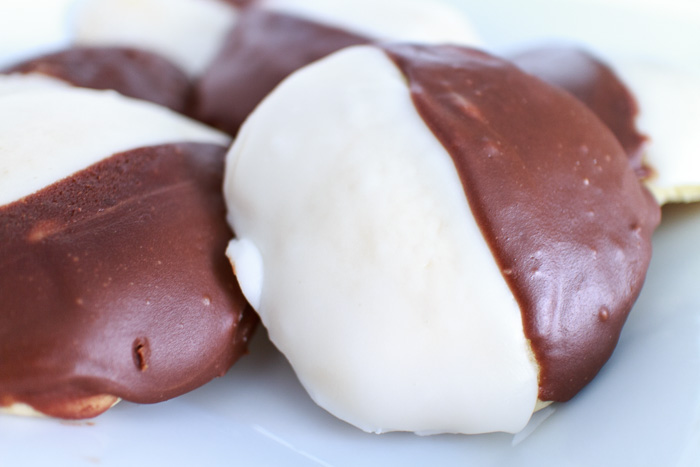
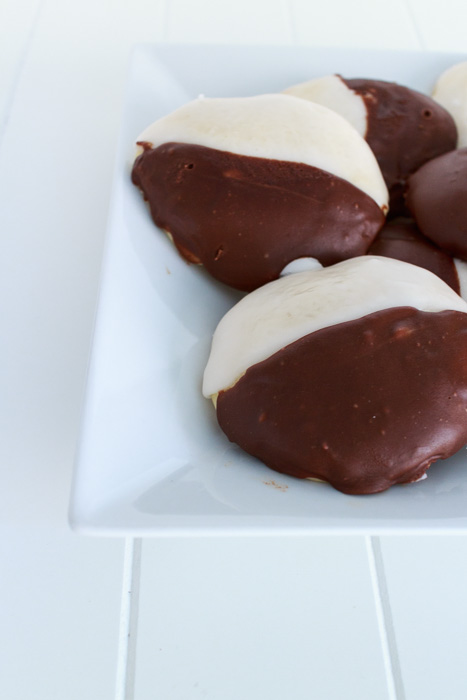
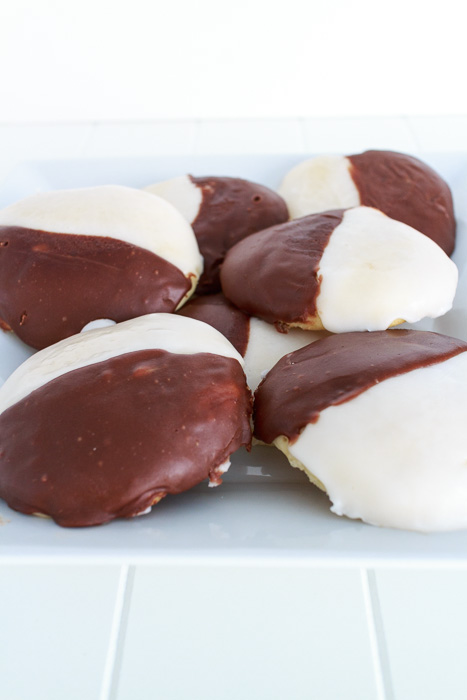
One of my favorite treats of theirs was their half moon cookies. Monstrous in size with a light cakey texture and the perfect amount of chocolate and vanilla icing.
Half Moon Cookies  |  Lemon & Mocha

Shortly after their closing I was craving these delightful cookies and realized that Matt’s half birthday was coming up. I had never done anything for Matt’s half birthday before, but thought it would be a fun surprise. Half moon cookies for a half birthday, what could be better than that?
Half Moon Cookies  |  Lemon & Mocha

I was a little intimidated about the icing portion since my patience for decoration is minimal, but they were actually very easy to frost. And even better to eat of course. With just a hint of lemon in the cookies themselves I must admit that I enjoyed these even more than their counterparts from the closed bakery. So take that universe!
Half Moon Cookies  |  Lemon & Mocha

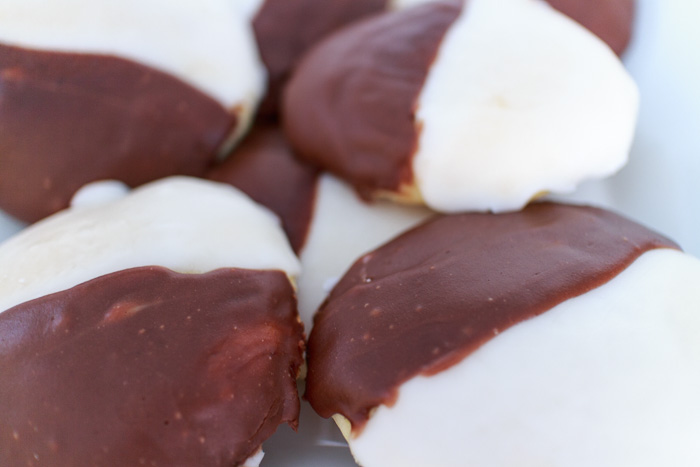
To get true white icing for your half moon cookies be sure to use clear vanilla extract. You can buy it here, in your regular grocery store or in a large craft store chain, such as A.C. Moore.
Half Moon Cookies  |  Lemon & Mocha

Half Moon Cookies
 
Yield: 22 cookies
Ingredients
for the cookies
  • 1½ cups sugar
  • 1 cup unsalted butter, softened
  • 1 tablespoon baking powder
  • 2 teaspoons vanilla extract
  • 1½ teaspoons salt
  • ⅛ teaspoon lemon extract
  • 3 large eggs
  • 4½ cups all-purpose flour
  • 1 cup milk (not non-fat)
for the vanilla icing
  • 2 cups plus 2 tablespoons powdered sugar
  • 3 tablespoons hot water
  • 2 tablespoons light corn syrup
  • ½ teaspoon clear vanilla extract
for the chocolate icing
  • 1½ cups powdered sugar
  • 2½ tablespoons hot water
  • 2 tablespoons light corn syrup
  • ½ teaspoon vanilla extract
  • ½ cup semisweet chocolate chips, melted
Directions
for the cookies
  1. Preheat the oven to 400 degrees F. Line two baking sheets with parchment paper.
  2. Combine the sugar, butter, baking powder, vanilla extract, salt and lemon extract with the paddle attachment of a stand mixer.
  3. Add the eggs to the sugar mixture one at a time, beating after adding each egg until combined.
  4. Gently stir in 1 cup of the flour followed by ¼ cup of the milk. Continue alternating carefully stirring in 1 cup of flour and ¼ cup of milk, ending with the last ½ cup of flour.
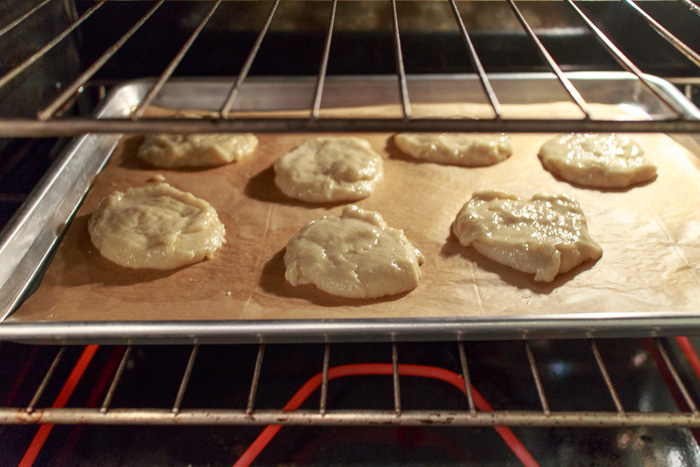
  5. Drop the dough ¼ cup at a time onto the prepared baking sheets. Wet the bottom of the measuring cup (so it doesn’t stick) and press onto the dough to flatten and spread it into a 3” diameter circle. Try to make sure the circle of dough is an evenly flattened. Leave 2” to 2½” between each cookie because they will spread.
  6. Bake for 10-11 minutes and cool them on the pan to give them time to fully set before moving them to a cooling rack
for the vanilla icing
  1. Whisk together the powdered sugar, hot water, corn syrup and vanilla extract.
  2. Once the cookies are completely cooled, use a butter knife or icing spatula to carefully spread the vanilla icing over half of each cookie. It is okay if you ice them a little more than half because you will be adding the chocolate icing.
for the chocolate icing
  1. Whisk together the powdered sugar, hot water, corn syrup and vanilla extract. Add the melted chocolate and stir until smooth and well combined.
  2. Once the vanilla icing has set on the cookies carefully spread the chocolate icing on the other half. Let the cookies rest on the cooling racks until the icing has set.
Notes
*If you don’t want to purchase clear vanilla extract you can use regular vanilla extract, but your vanilla icing won’t be white.
*Store at room temperature

Recipe slightly adapted from King Arthur Flour.

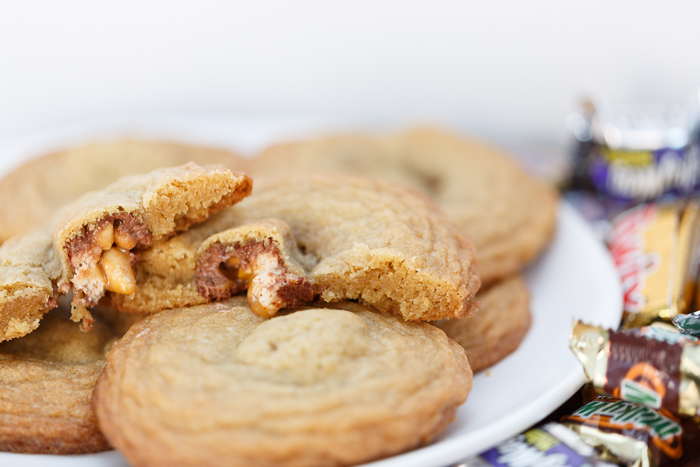
Leftover Halloween Candy Cookies

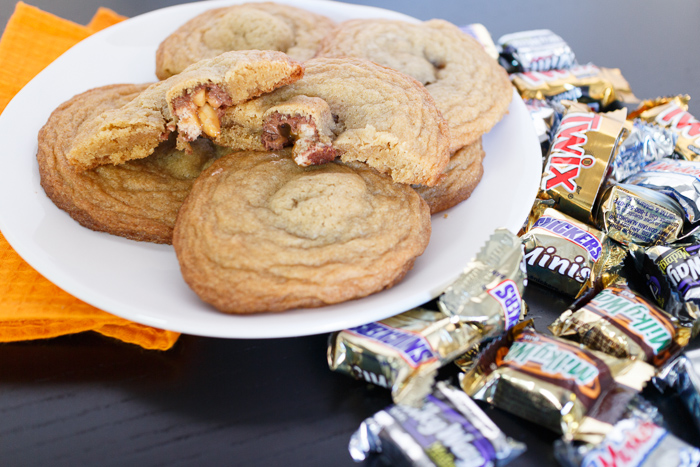
Happy Halloween! I wanted to post a recipe that would utilize leftover Halloween candy and I came across this idea in a magazine. Cookies are delicious, but what makes them even more decadent? Candy! Most people usually have leftover Halloween candy so you may find yourself in this very situation tomorrow. Maybe you didn’t get that many trick-or-treaters this year or you bought too much because you were worried about running out. Or maybe you live in an apartment building with no kids, but bought a bag of Halloween candy anyways because you have serious chocolate addiction problems that you should really see someone about.

For all you leftover candy havers it’s time to reinvent your candy. Sick of all those miniature Milky Ways? Transform them into cookies! Suddenly it’s a whole new food group. For all those less fortunate folks who got picked clean from those neighborhood rascals, don’t pout just yet. Now all the Halloween candy is on sale; unless they already replaced it with Christmas candy, which is both extremely possible and incredibly ridiculous. So go buy some so you can put it in these cookies.

I used miniature candies for these, but if you’re one of those houses that hands out the full size candy bars, first of all kids everywhere thank and applaud you. Second, you can just add an extra step and cut your large candy bars into one inch squares to use in this recipe.

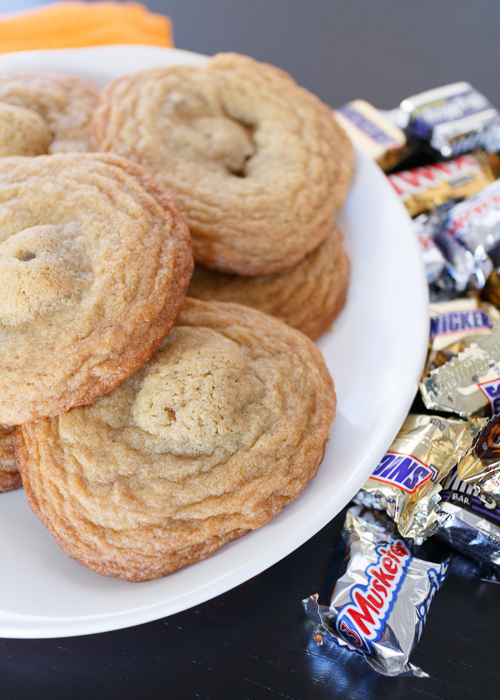
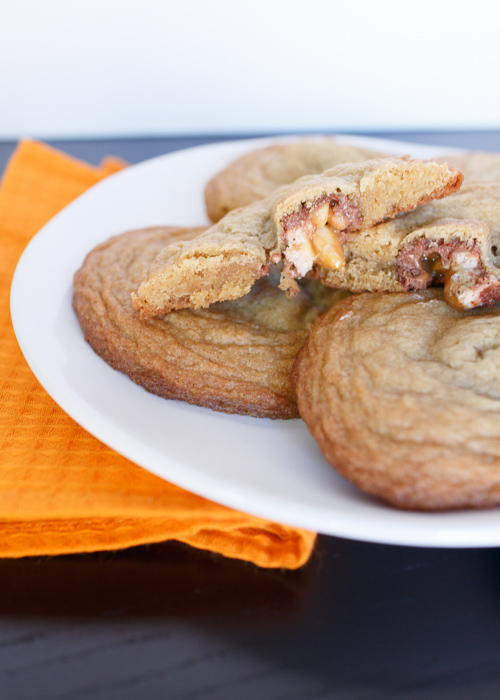
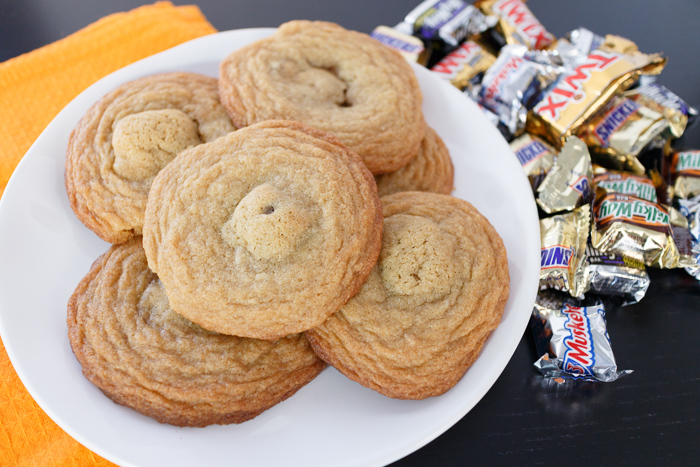
The cookies are soft and chewy, which nestles the gooey candy center perfectly. I used a chocolate chip cookie base without the chocolate chips, but if you’re feeling extra devilish this Halloween you can always add one cup of chips to the batter. Muhahaha!

Leftover Halloween Candy Cookies
 
Yield: 16 cookies
Ingredients
  • 14 tablespoons unsalted butter
  • 1 ¾ cups all-purpose flour
  • ½ teaspoon baking soda
  • ¾ cup dark brown sugar
  • ½ cup sugar
  • 2 teaspoons vanilla extract
  • 1 teaspoon salt
  • 1 large egg
  • 1 large egg yolk
  • 16 unwrapped miniature chocolate candies
Directions
  1. Preheat the oven to 375 degrees. Line 2 baking sheets with parchment paper.
  2. Melt 10 tablespoons of the butter in a small saucepan over medium-high heat.
  3. While the butter is melting, whisk together the flour and baking soda in a medium mixing bowl.
  4. When the butter has melted, keep it on the heat and swirl the pan until the butter is a golden brown. This should take 2-3 minutes. Remove the saucepan from the heat and stir in the remaining 4 tablespoons of butter. Continue to stir until completely melted then transfer to a large mixing bowl.
  5. Add the brown sugar, sugar, vanilla and salt to the bowl with the butter. Whisk to combine.
  6. Add the egg and egg yolk to the butter mixture. Whisk until the mixture is smooth.
  7. Let the mixture sit for 2 minutes then whisk again for 30 seconds. Repeat this 1 more time so that the mixture is smooth and shiny.
  8. Using a rubber spatula carefully stir the flour mixture into the butter mixture until just combined. If you were including chocolate chips you would add 1 cup of them to the batter after this step.
  9. Scoop out about 3 tablespoons of batter and press one of the unwrapped candies into the center. Carefully form a ball with the batter and the candy in the center with your hands then place on the baking sheet.
  10. Continue this process until you have 16 cookies total, 8 per baking sheet.
  11. Bake 1 tray at a time for 8-10 minutes or until the edges have begun to set and the cookies are golden. Rotate the baking sheet halfway through the baking time.
  12. Set the baking sheet on a wire rack and let sit for a few minutes then transfer cookies to the wire rack using a spatula to cool.

Recipe slightly adapted from May & June 2009 issue of Cook’s Illustrated.
Inspiration from October 2011 issue of Everyday Food.